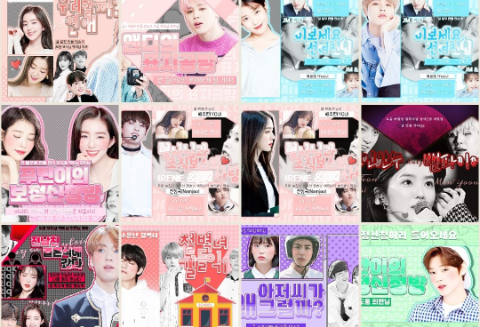
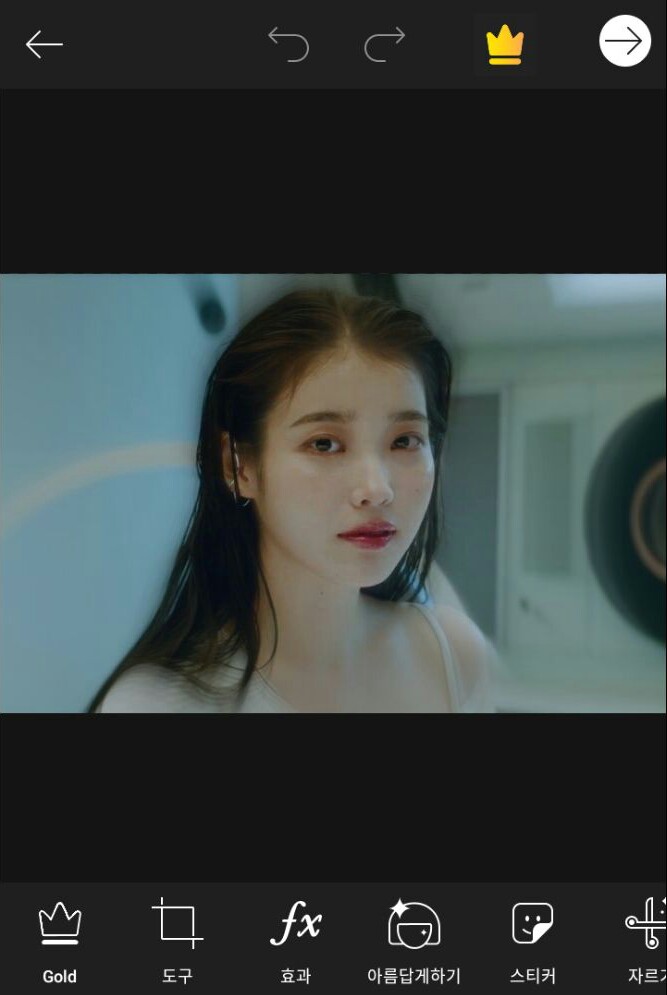
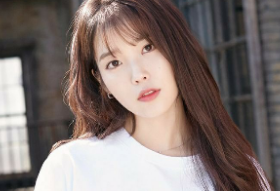
Enter the PixArt we know!

Please click search here!
Type the group name and activity name of the person you want once in English and once in Korean to get the photo you want!
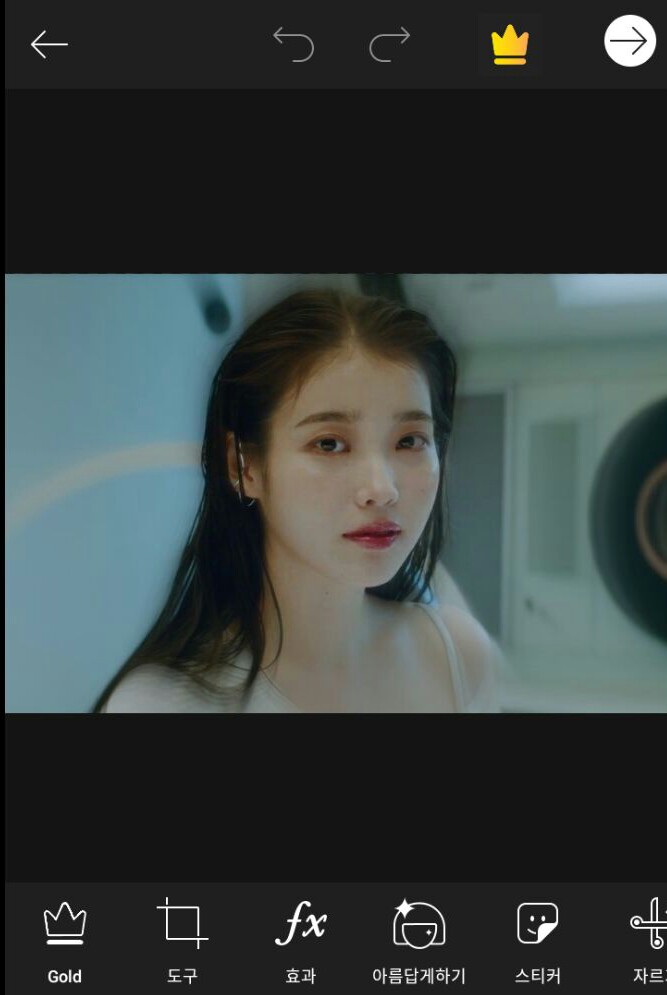
Once you have the photo you want, go to Effects and Tools→Adjustments and add effects!
Well then, let's leave it as it is and go to Ibis!!
 Here
Here
select!
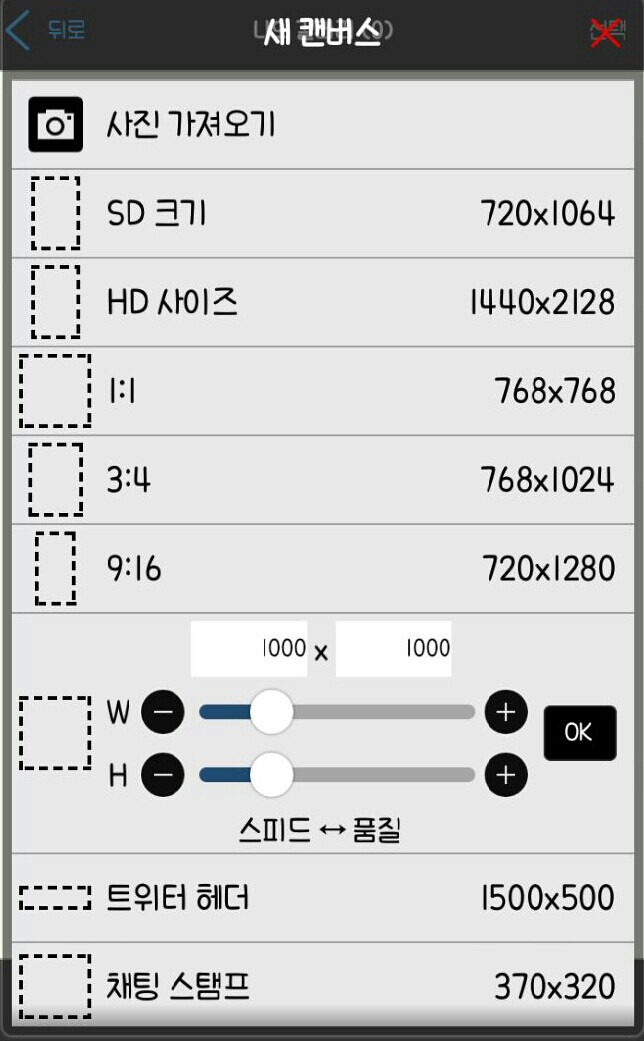
 Among the lists below
 Select layer!
Here
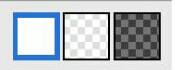 Click on the black one located in the third position!
 Please make me a Yorokorom
 Add text!
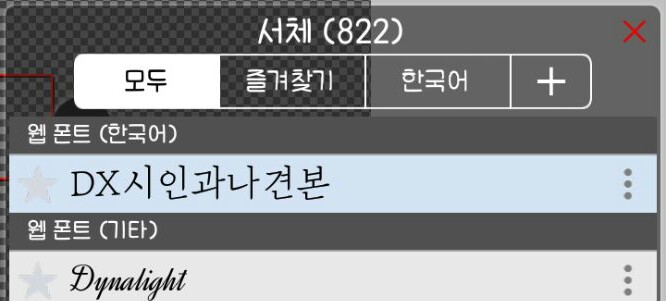
After selecting the font
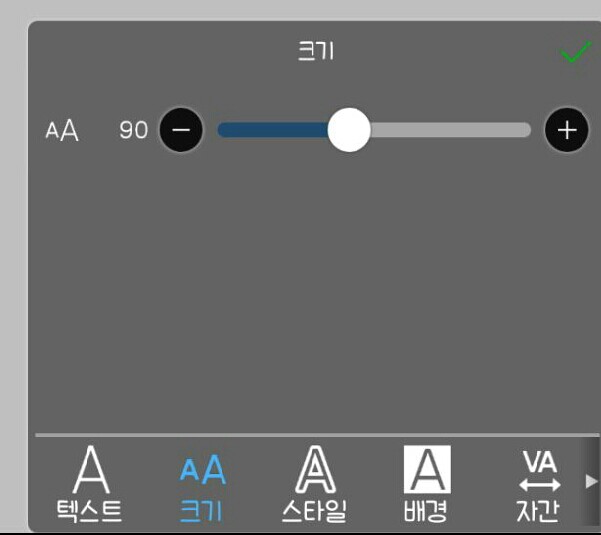
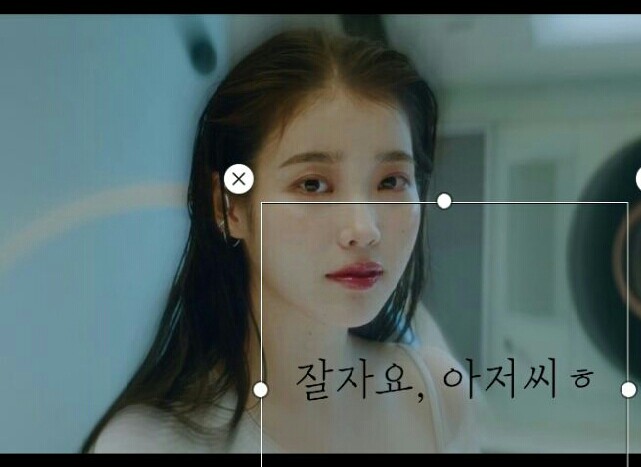
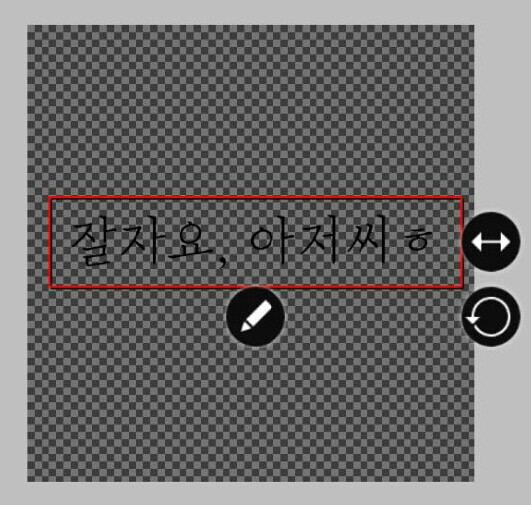 Resize and reposition!
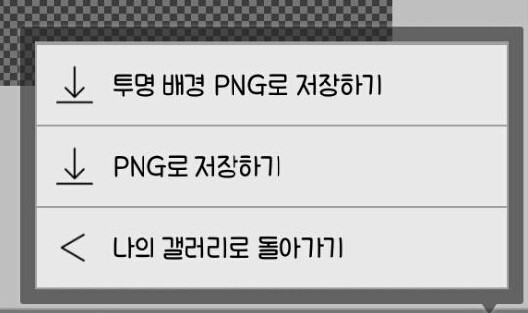
Now I need to save it, but I'll save it as a transparent background PNG!!
Go back into PixArt
 Click this guy👆
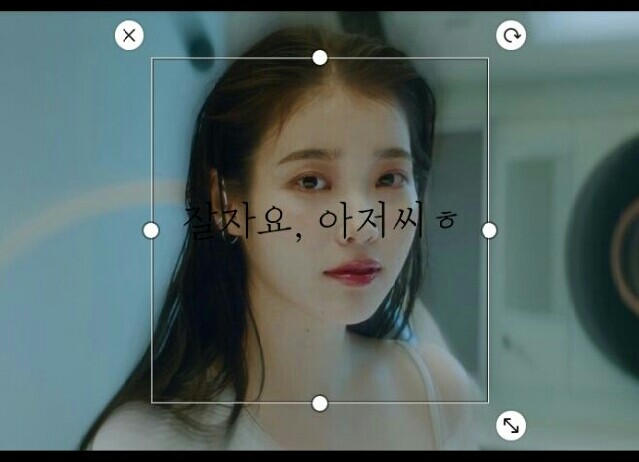
Take out the title you created and saved earlier and adjust its position!
Now I'm going back to Ibis (( 쑝쑝
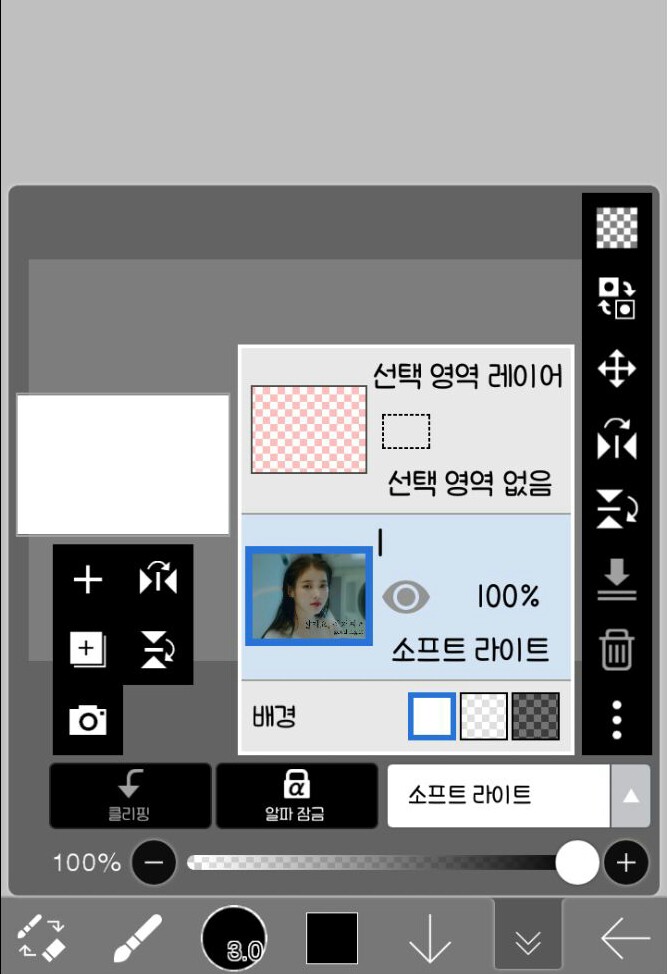 Open the layer window
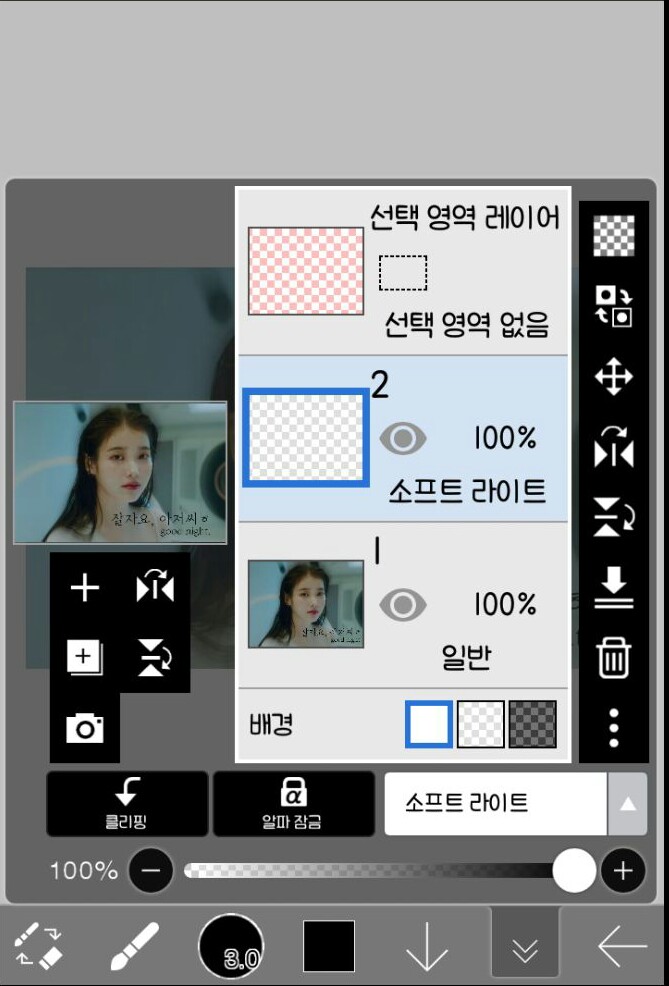
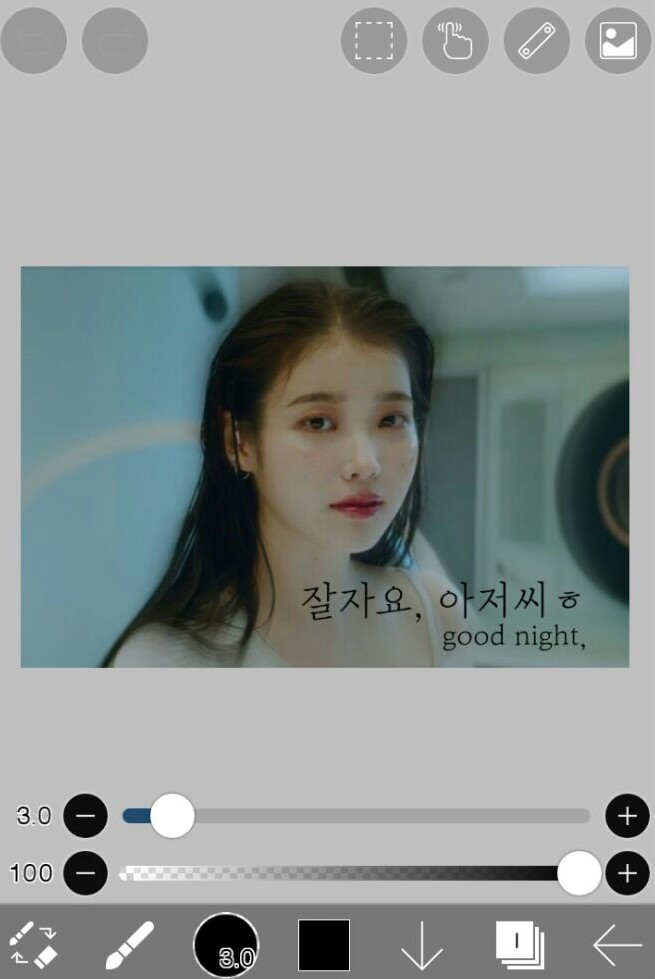
Add one more layer!
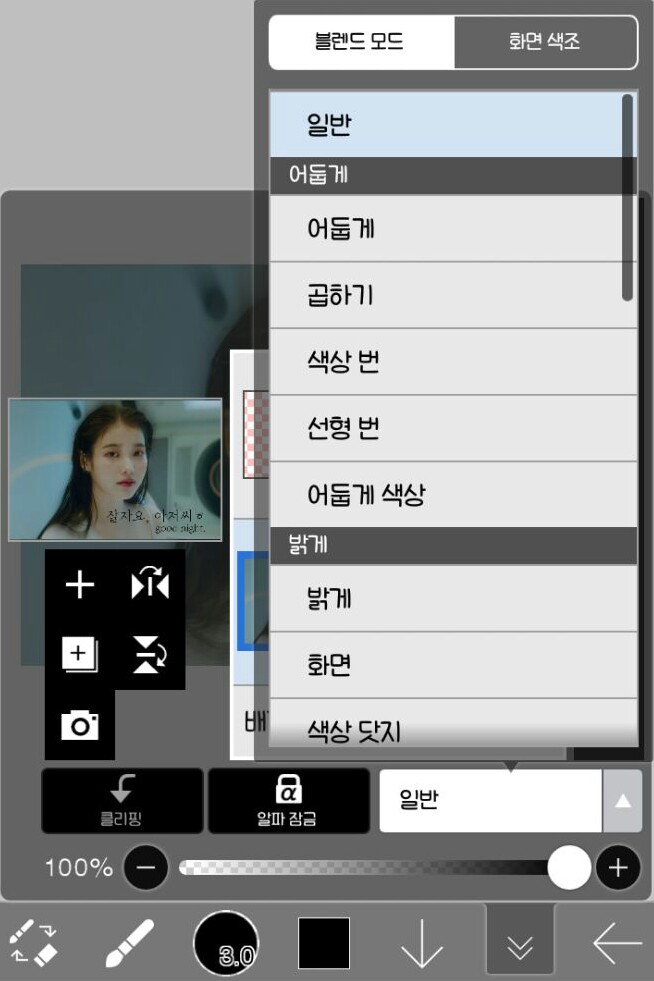 Contrast → Select soft light!
 After selecting the brush
 Set transparency to 50~70!
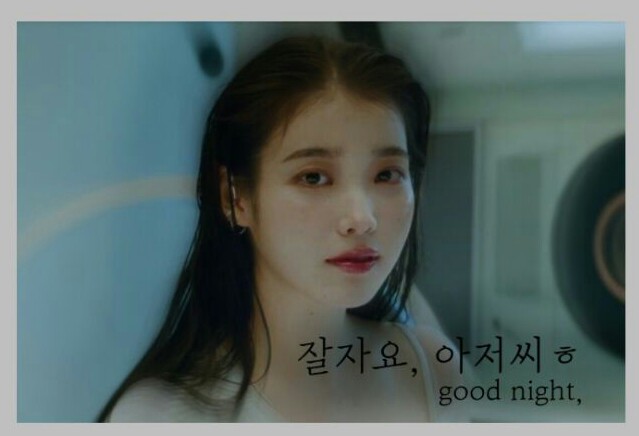
Paint around the people and title
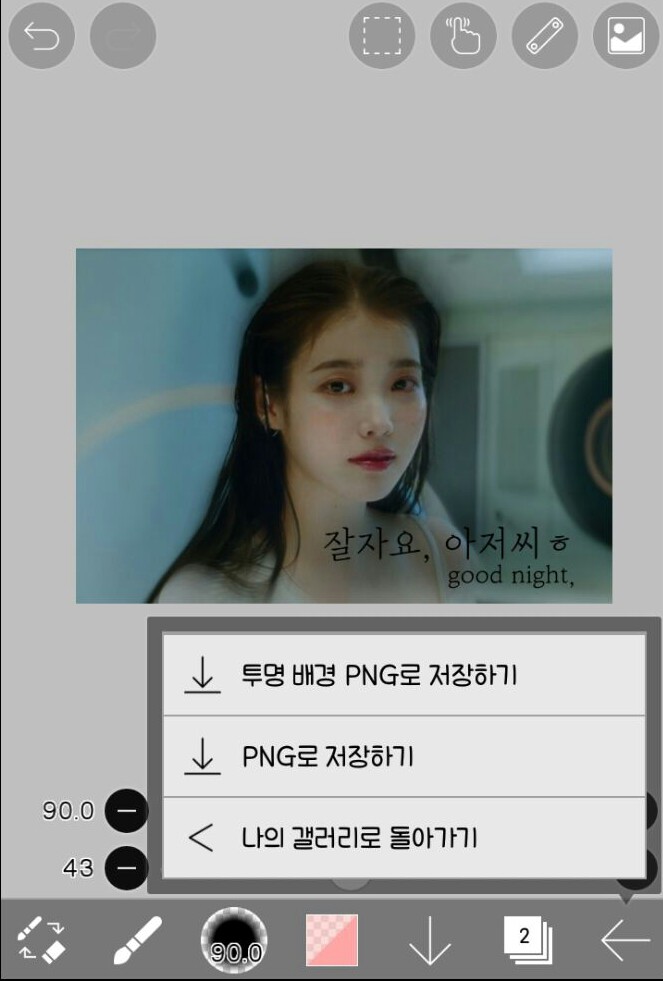
If you save it
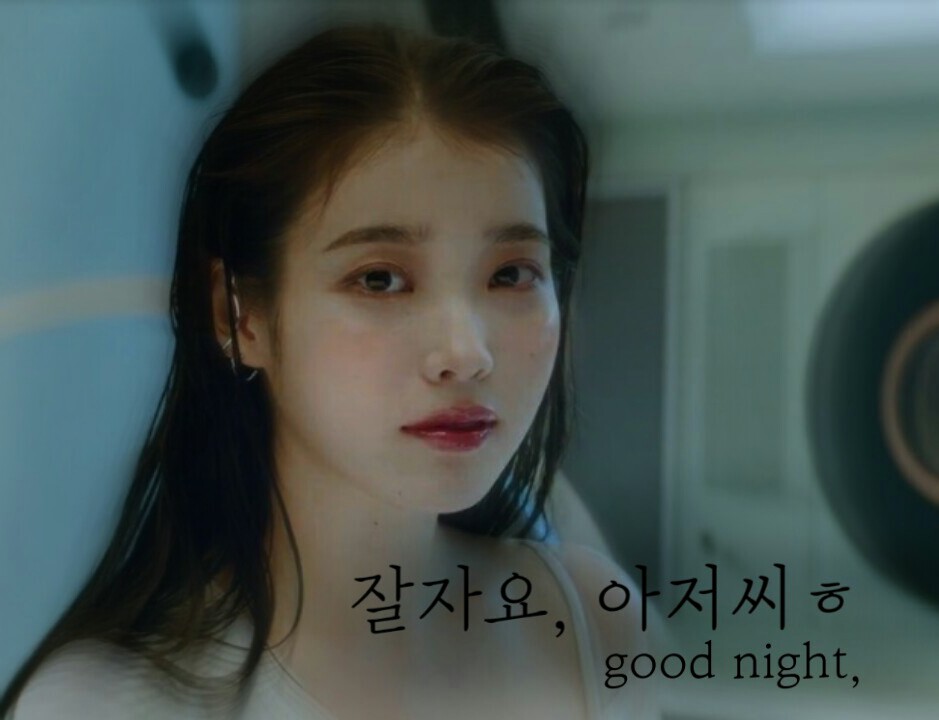
completion!!
(How to save fonts will be explained next time!)
(If there are any points you don't understand, go to Lesson 1!)


![I'll be your bodyguard [all year round] thumbnail](https://cdnetphoto.appphotocard.com/fanfic/1945746/197212/thumbnail_img_20220620220406.png)