
※ Lesson 1 is tailored for beginners who are using Ibis for the first time.
It's made up of very basic things!
It might be a little childish...??
Yeah! Hello!
Nice to meet you all, students who joined the first class!
As I said above, this river
Here are the basic things you need to know when installing Ibis for the first time.
It's organized. Let's learn it step by step!
1. Ibis Paint X

As you all know, the Ibis app looks like this
The full name is Ibis Paint X
For convenience, let's call it Ibis.
2. Loading the canvas
Loading a canvas is the most basic of the basics.
If you can't do this, you're an idiot
Okay, from now on, I'll follow the red circle.
When you enter the Ibis app, this appears on the first screen.
Among themMy Gallery touch!
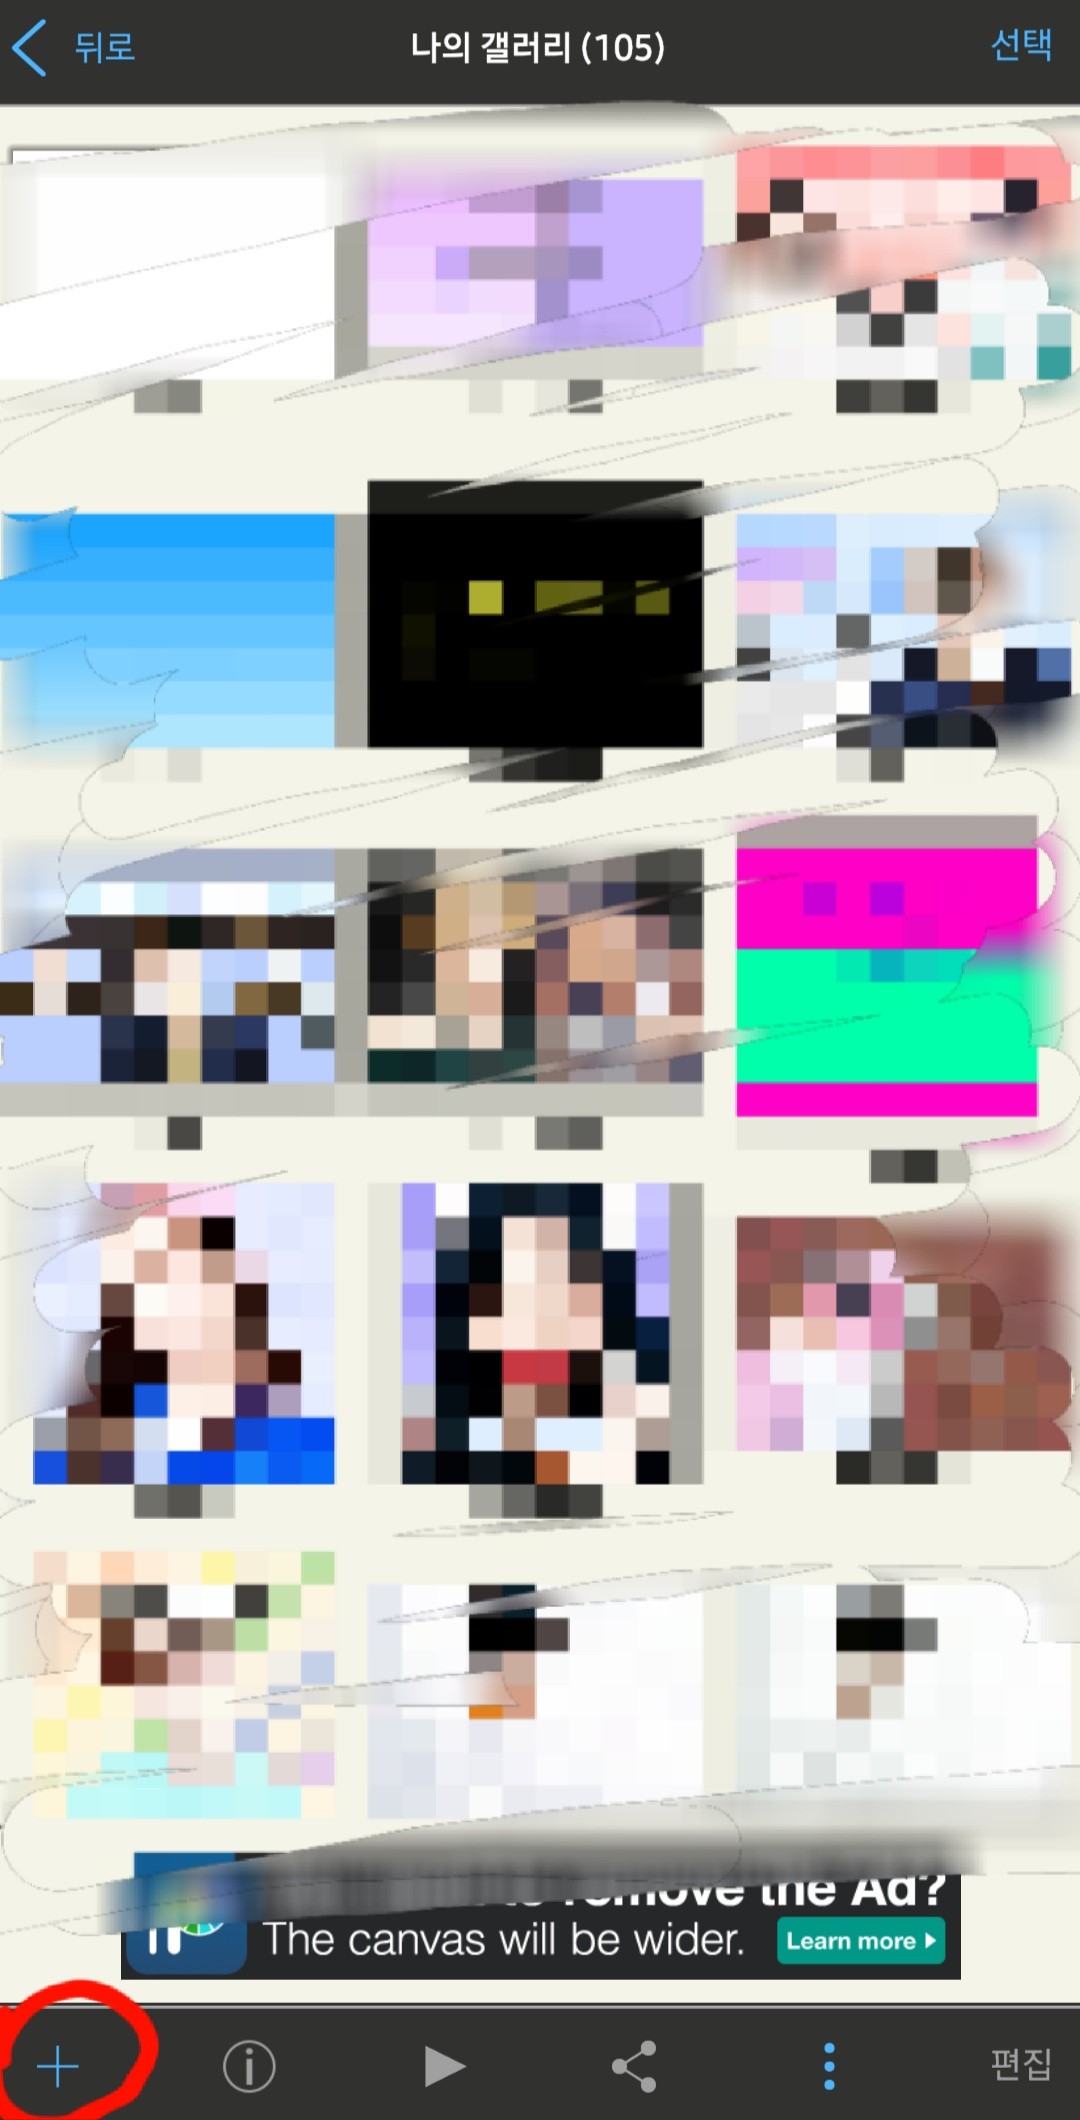
Then, a screen like this will appear.
Plus button at the bottom left touch!
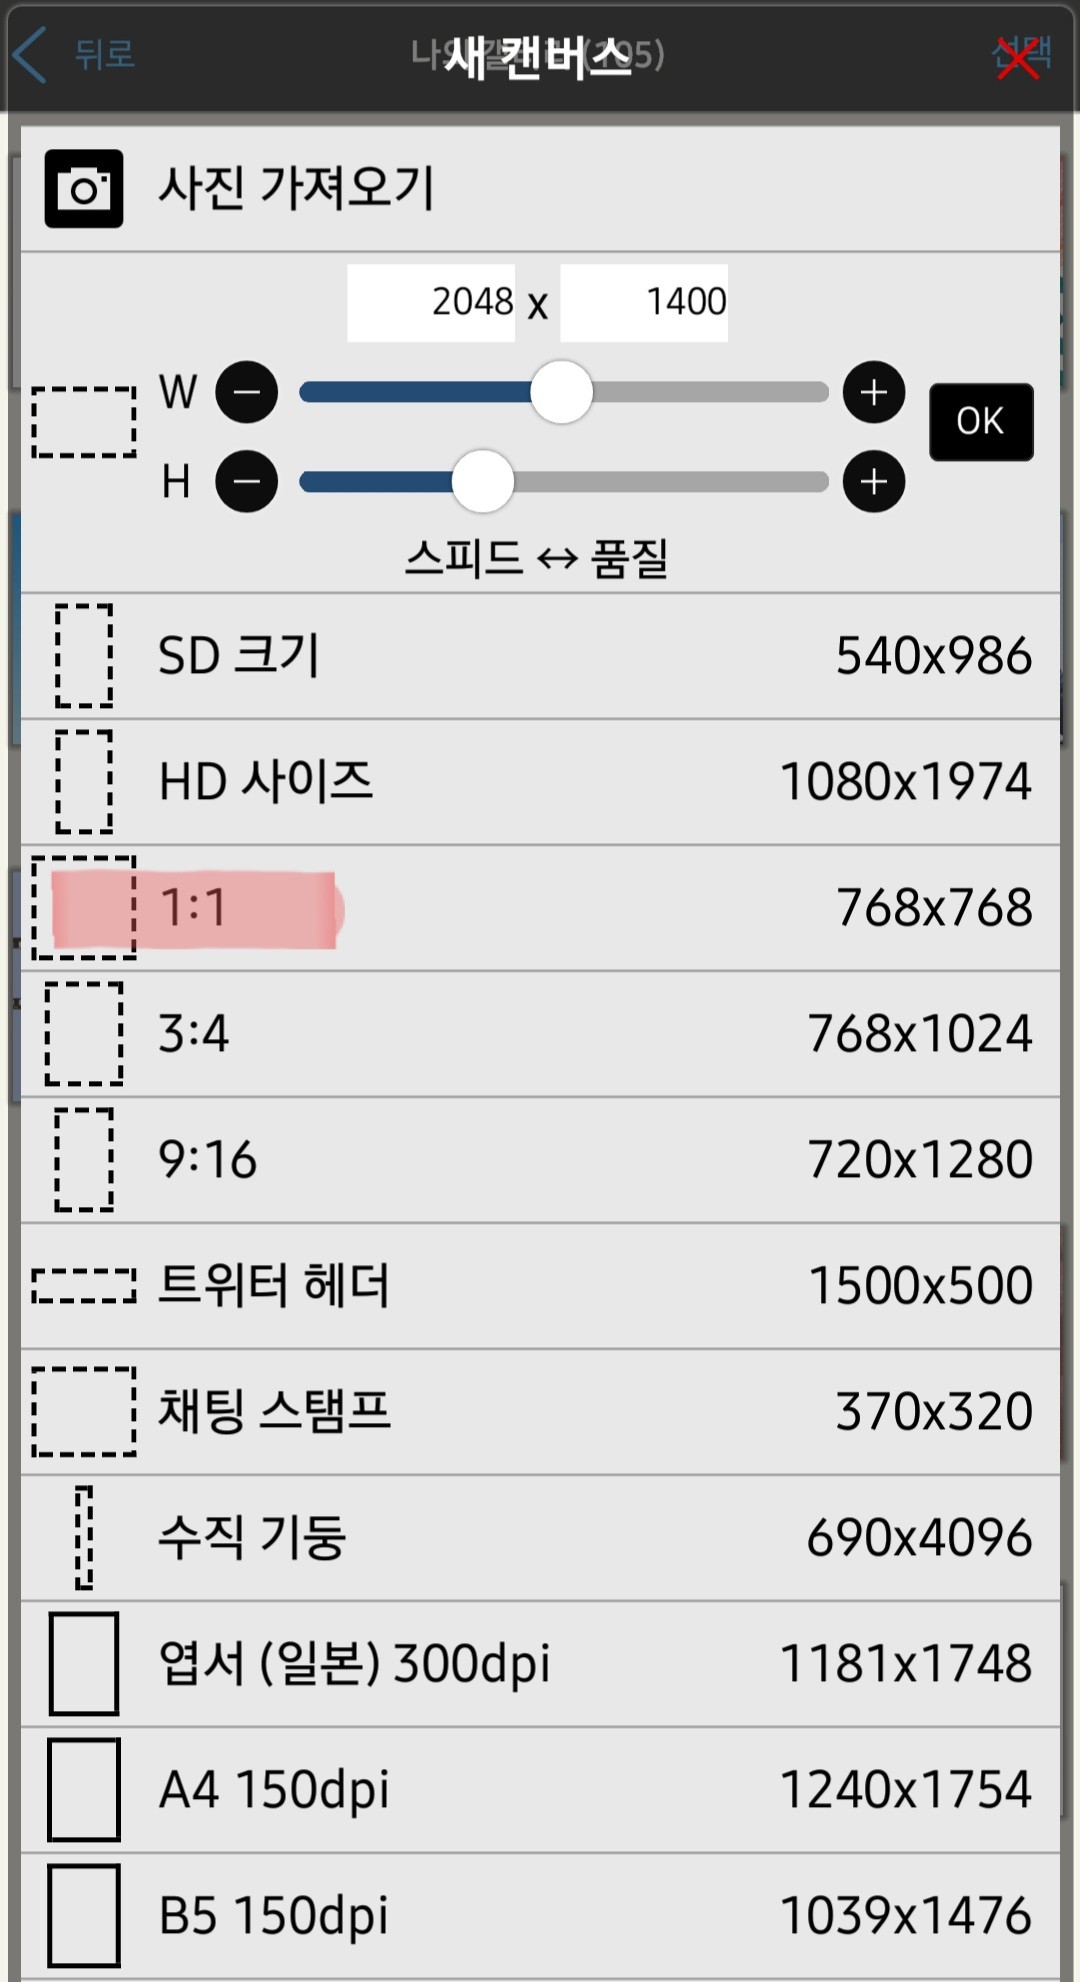
Then, a screen like this will appear again.
Today, I'm going to try one of them 1:1.
Let's click on that and go in.
2. Layers and Brushes
The most important and basic thing after canvas.
If you don't know this when making a cover, you're an idiot
Once you click on 1:1, a screen will pop up.
Like this
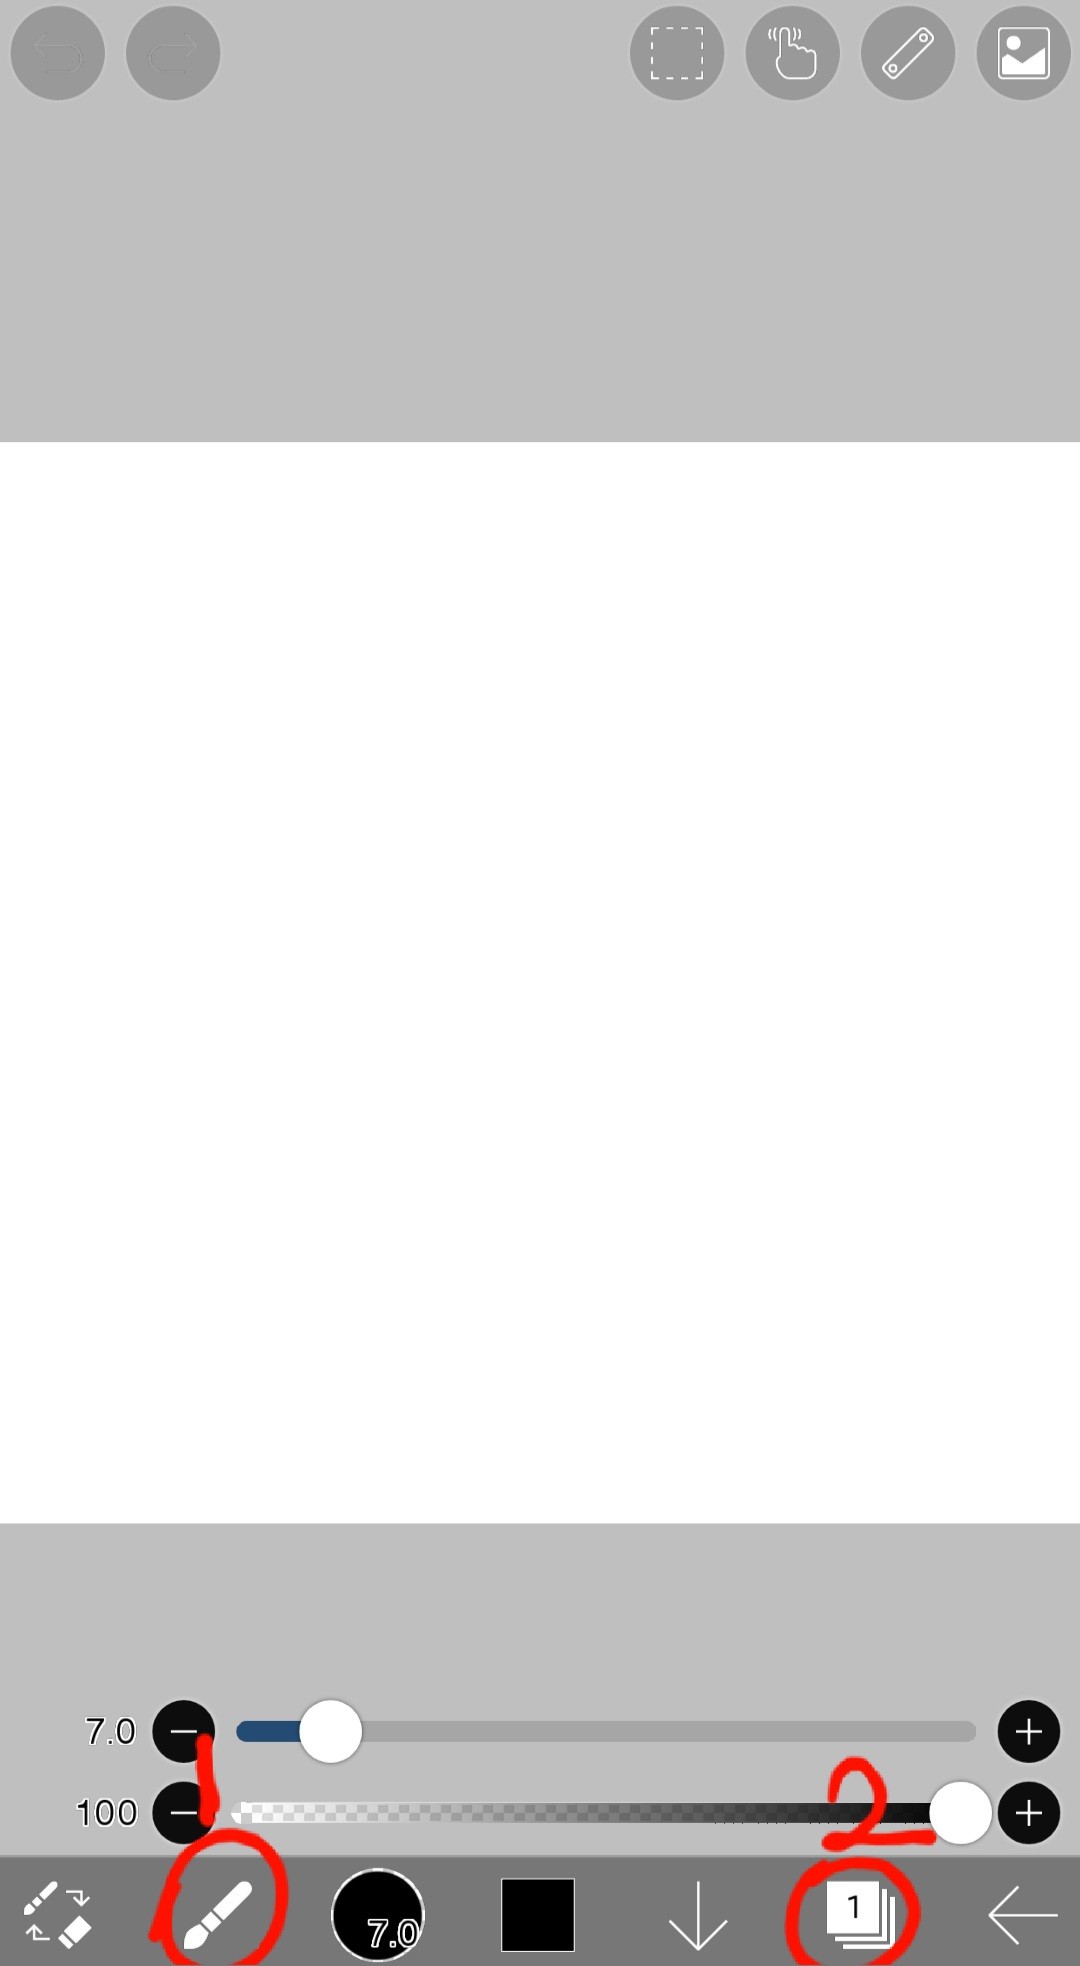
Red 1 is the brush window, and 2 is the layer window.
Let's finish by looking at what's in the brush and layer windows.

Well... the picture is a bit big, but let's take a closer look.
1. (FX) Filter
Um... Honestly, I don't really know what FX means.
That filter window is an essential tool when creating covers.
When adding shadow effects or text effects, etc.
It's very useful, so keep that in mind.
2. Brush
This is mainly used when painting backgrounds.
I'll tell you about the pen I use most often later!
3, 4. Finger, blur effect
They are similar but different.
I often use it when I want to do things like blurring!
5. Text
It makes sense if there is no title on the cover
A tool used to insert text such as titles and subtitles!
This is also important, so keep that in mind.

It's complicated, though...
1. Add a layer
Used when adding layers.
2. Duplicate layer
It's not something you'll use often when making covers, but it's still good to know.
3. Import photos
This is needed when importing cropped images.
4. Clipping
Explain later!
5. Clear Layer
Ability to delete a single layer
6. Layer adjustment
You can adjust the size of pictures or photos within the layer.
7. Sub-merge
It's similar to clipping, but it's different, so I'll explain this later.
8. Clear Layer
Literally erase it
9. Effect
Used a lot to give effects
That's all for today's lecture.
It was so easy that there was no content...?
There shouldn't be any difficult parts, but if there are any, please leave a comment!
Be sure to review!
※ This content is based on my own standards and may differ from others.