-Font used

Typo_Ssangmundong Gulim B

Manager Shin
DX Musical Light
DX Jongno 1beonjiRegular

DX Fairy Tale Land

DX Kyungpil Myeongjo Bold

DX movie subtitles

DX Star and You
 tvN Happy Story
Hoonjeombomambo
Typo_Dabanggu B

Passion itself

Nanum Barun Gothic

Two-letter mayo

KCC Muruk Murukche

Typo Storm B

Typo Papyrus M

Flower path

DX Sky Cloud Regular

Windsong

ylee memories never sleep
-Video cover
First, turn on PixArt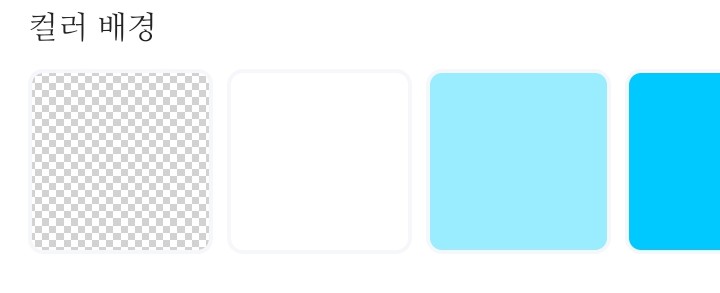
I'll pick out this graph paper friend.
And then just keep going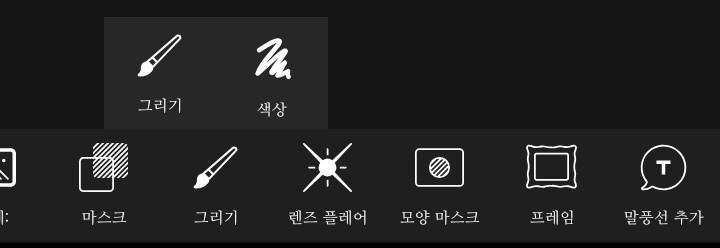
Draw - Select Draw
When you go in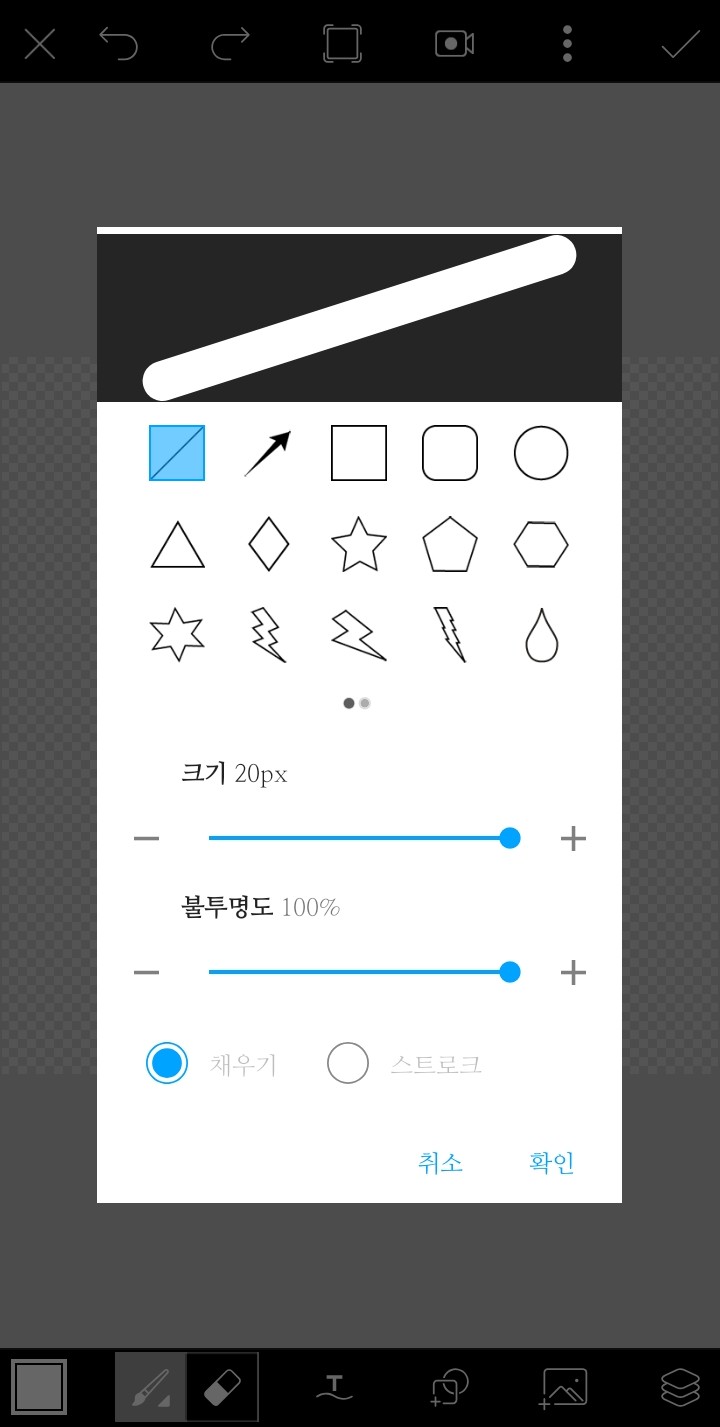
Click on the shape next to T, select the square with rounded ends, and place it so that it becomes a rectangle.
After that, press the triangle button to place it and save it!
(I also brought the process just in case!)
Turn on Ibis, create a canvas, and press the paint bucket to color the background!

Click on the camera to go to the gallery and load the materials you made earlier!
Please bring in the characters and place them by pressing the camera again!
After that
Click on clipping to fit a person inside the □.
Please repeat the process if there are other characters!
(You do not need to click the clipping button for other characters because the previously loaded characters have been clipped.)
After importing, use an airbrush to gently blur the boundaries between the two photos.
I wish you would tear it all down
Click to add a layer!
Then

Click on the shape of the ruler to load it, then adjust it vertically, reduce the brush size, and draw in a straight line.
Then, add another layer, clip it, choose a slightly lighter gray or magenta (?) than the color you just drew, and color it over the dark gray straight line.
Once you've finished coloring, merge the two layers and add the male and female lead layers.
After setting the opacity, copy the straight line layer and erase the previous layer.
After that

Unlock opacity with auto-selected friends!
After that, bring in the triangle friends you made, place them, and add letters!
If you could give me all the letters

←Please click on a friend to save it
It will be saved as a gift
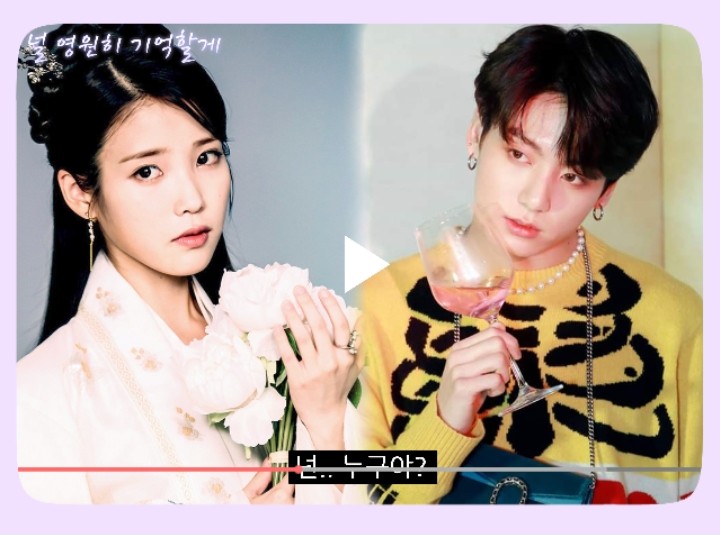
(This is an example work, not a request received from the press room!)
Thank you for watching!