※I don't think there's a standard for what's good or bad. It's just my method, so please use it as a reference only.
This explanation may be long. There are some things I can't explain, and I'll have to rely on photos and text. If you don't understand, please feel free to leave a comment.
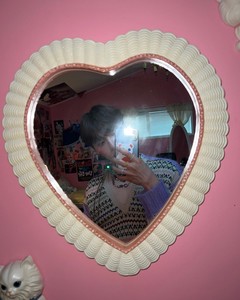
If you look at the Brightness cover, you'll probably notice that most of the photos are cropped images!

For example like this?
So, for the first hour, I'm going to teach you how to crop a photo!
First, I use an app! There might be a better app out there, but I've been using it for years... and I'm sticking with it!
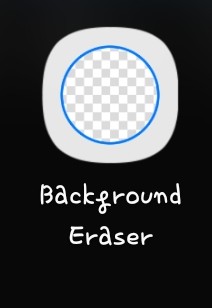
After installing this app, please run it!
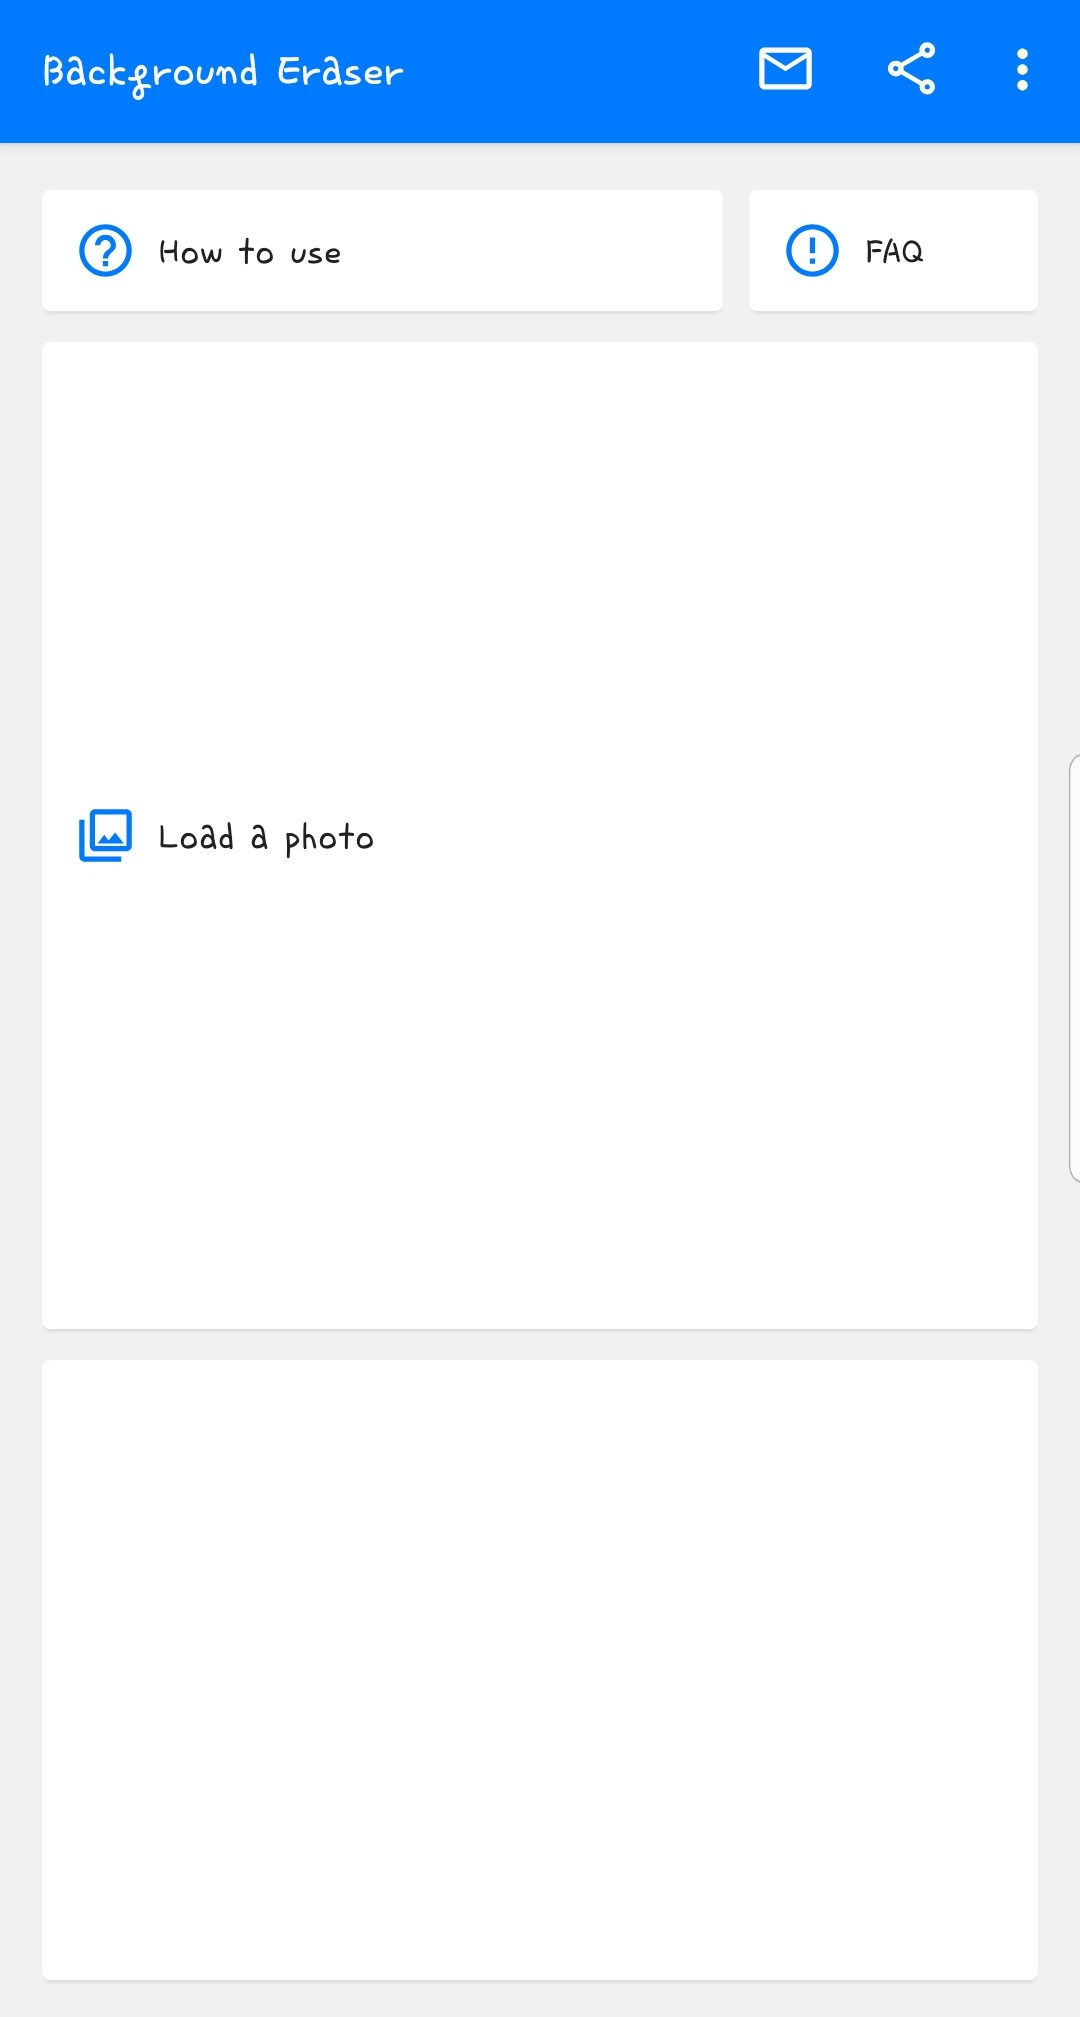
Then, a screen like this will appear!
Click on the largest square, "Load a photo"

Select the photo you want here!
I mostly crop after editing, so I'll upload the cover editing separately later!
But if you have trouble finding photos here!
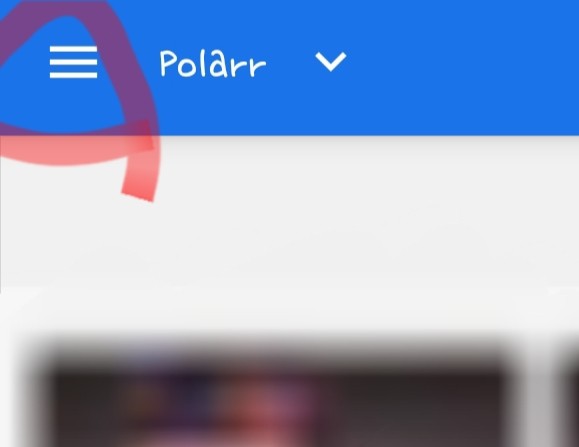
If you click on the three lines here
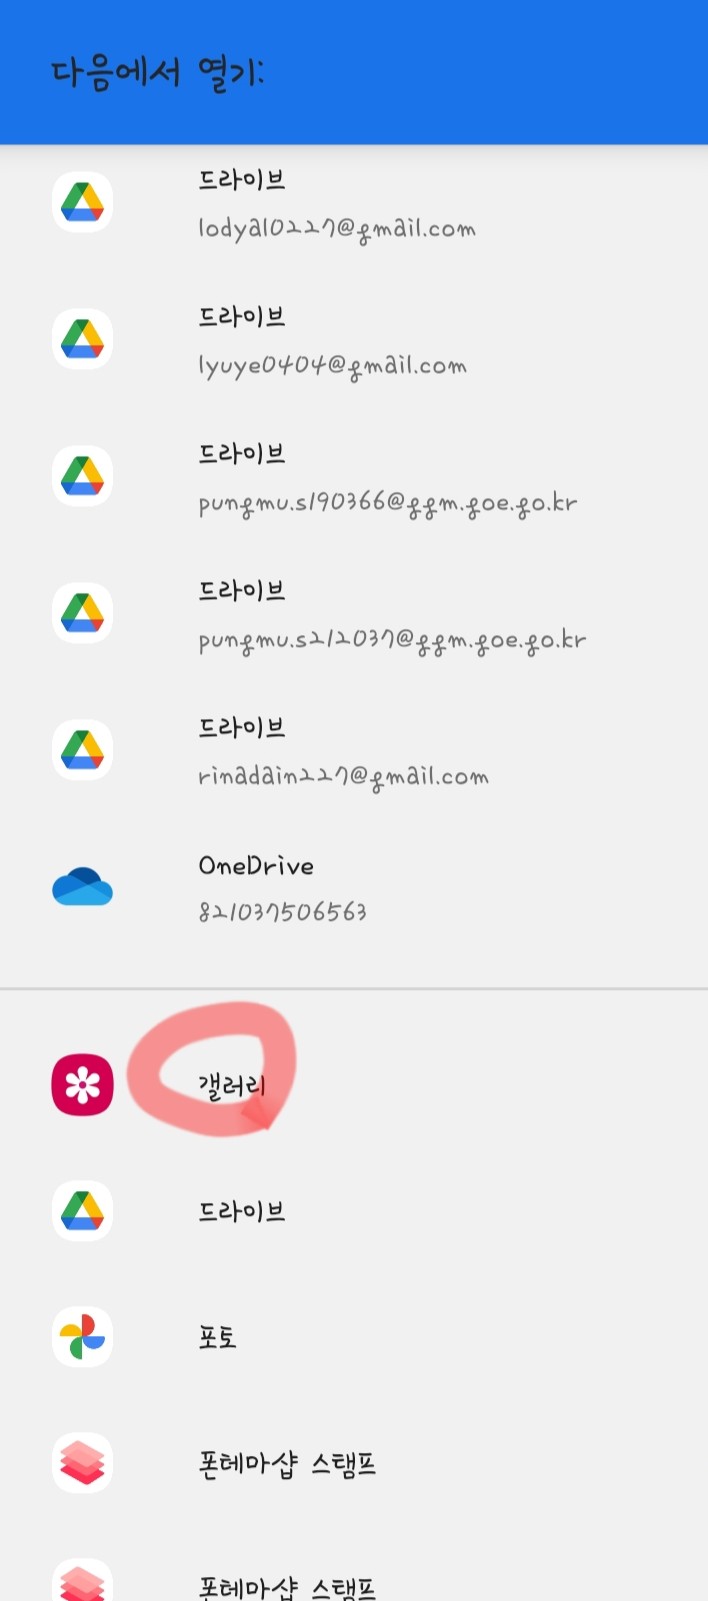
And the gallery appears!
Anyway, if you choose a photo
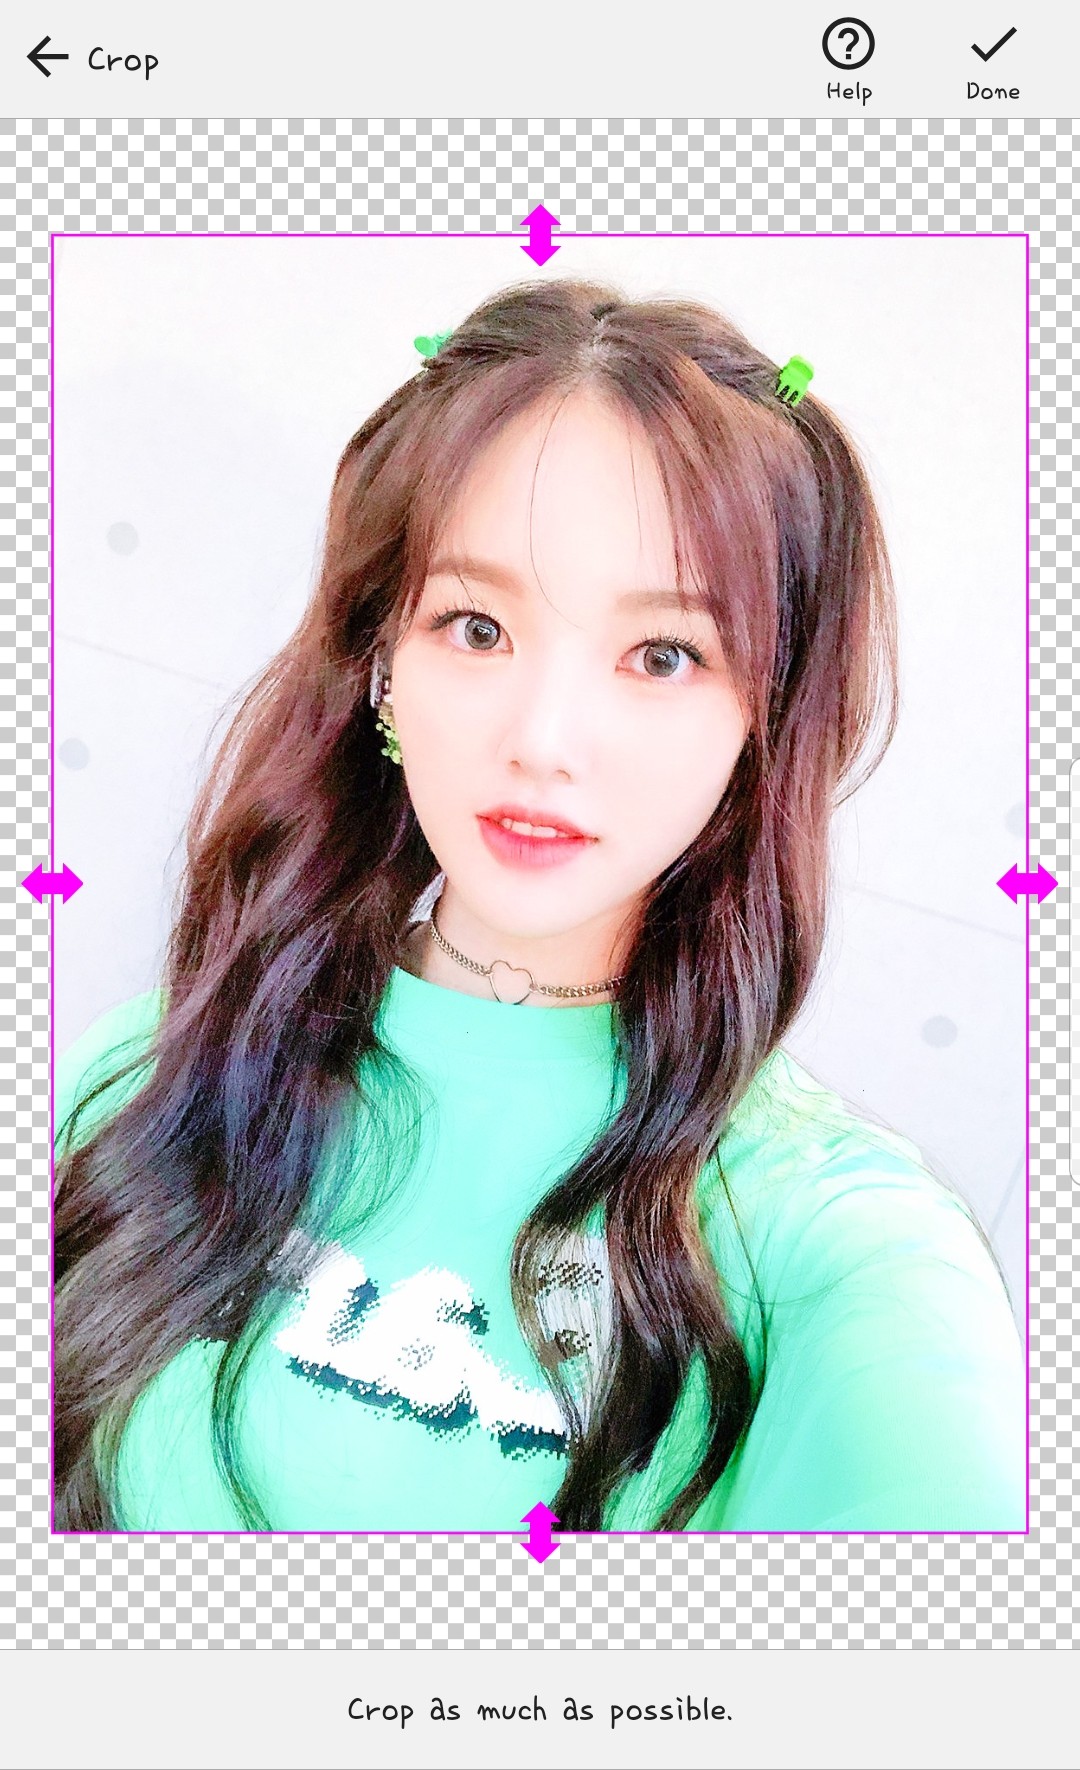
A screen like this will appear!
I usually try to avoid background photos as much as possible.

Crop it like this!
When you're done, click the check mark in the upper right corner.
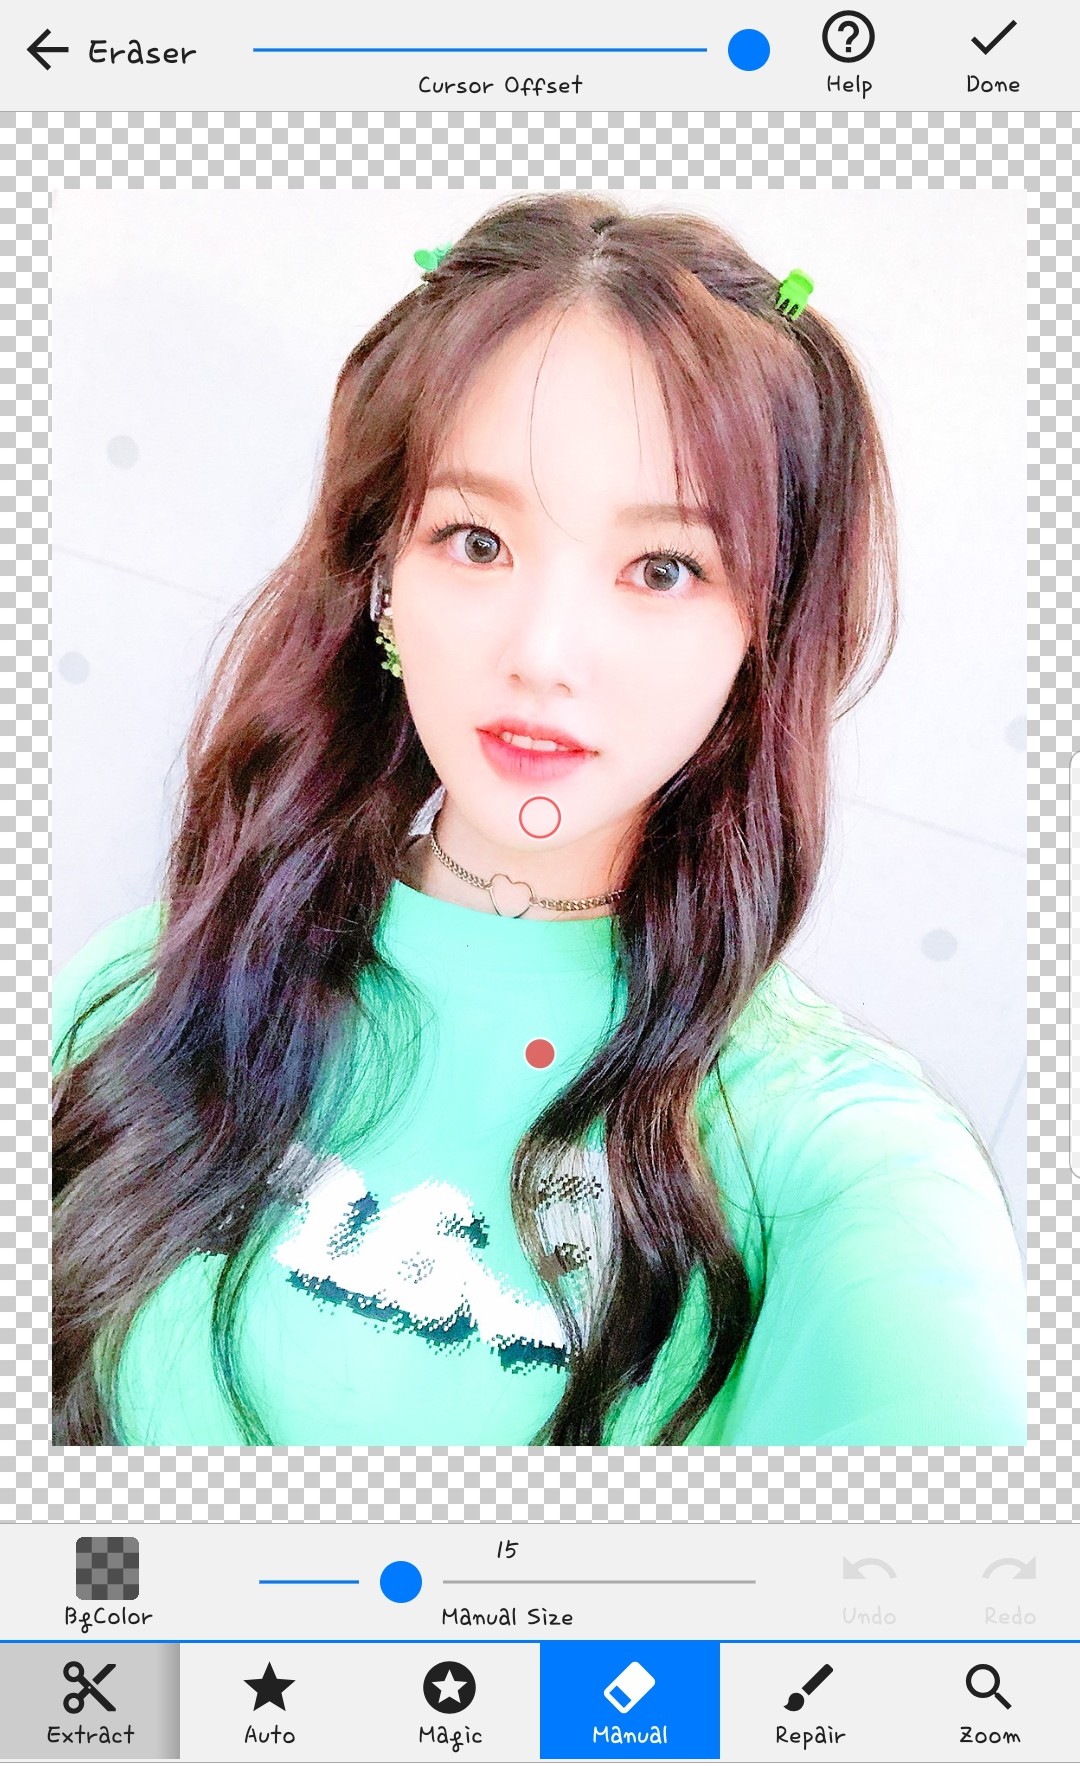
Then this is the default screen!
There are so many things to do here, but among them, I often use magic.
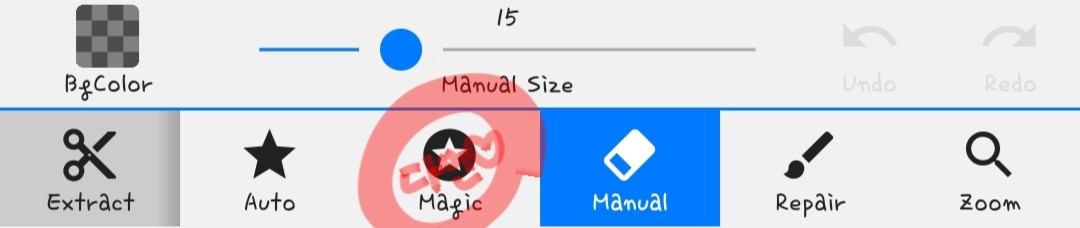
Then, it will do it automatically by following the boundary line like this(?)
It's hard to explain...
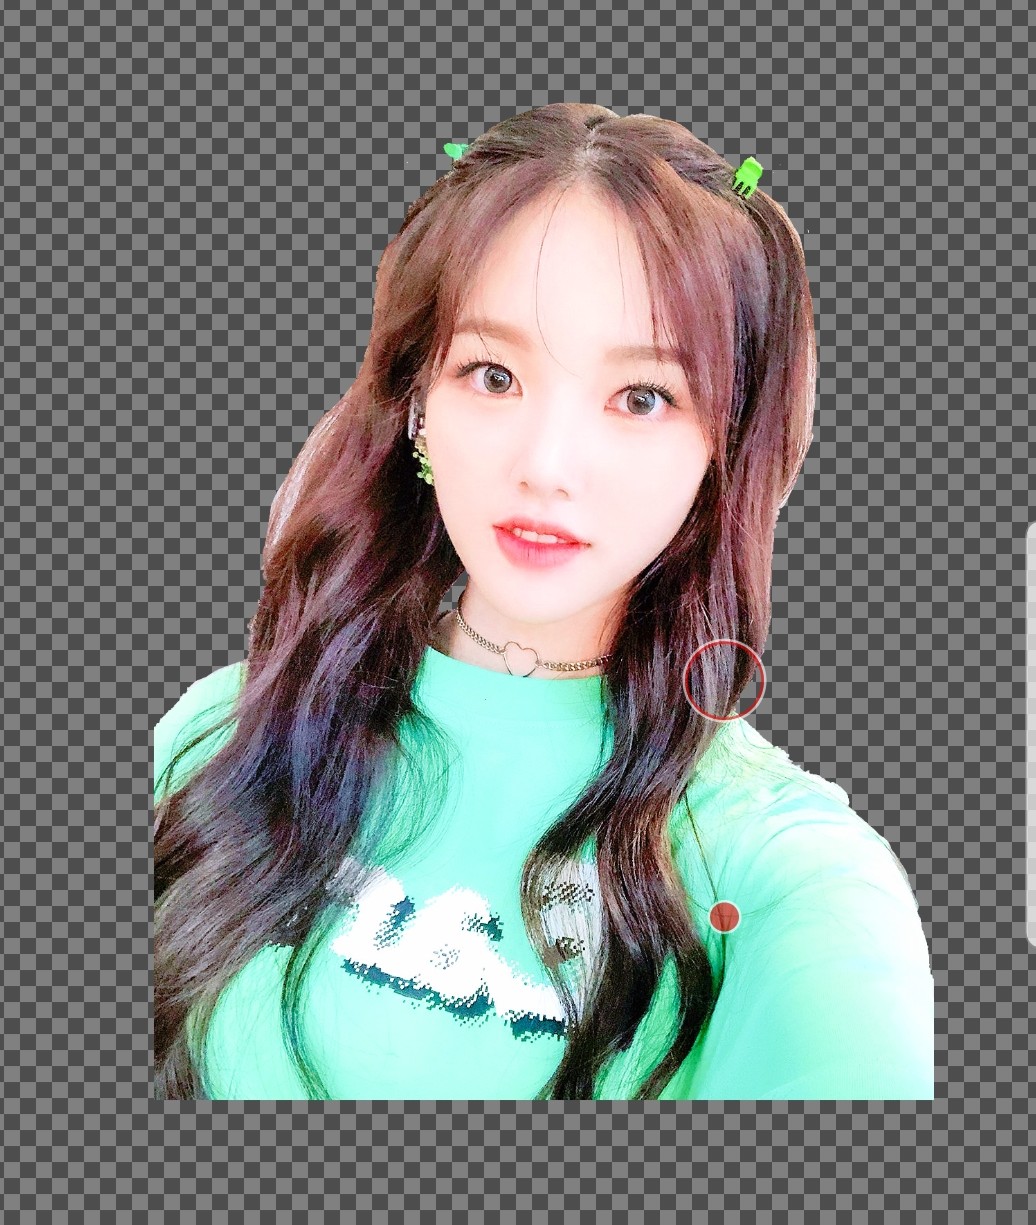
But if you look there, both the photo background and the erased background are white, so it's confusing, right?

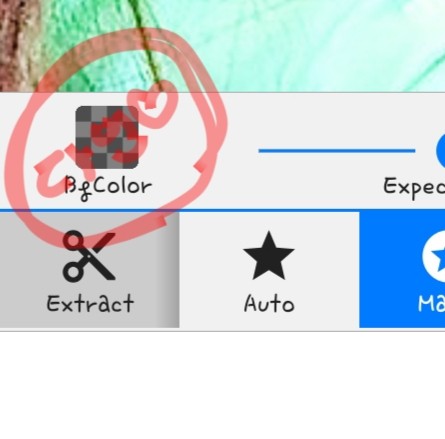
Click this!
braided!
Change it
Anyway, this is just a tip. Use the magic I mentioned earlier to cut out the character's border.

Something like this
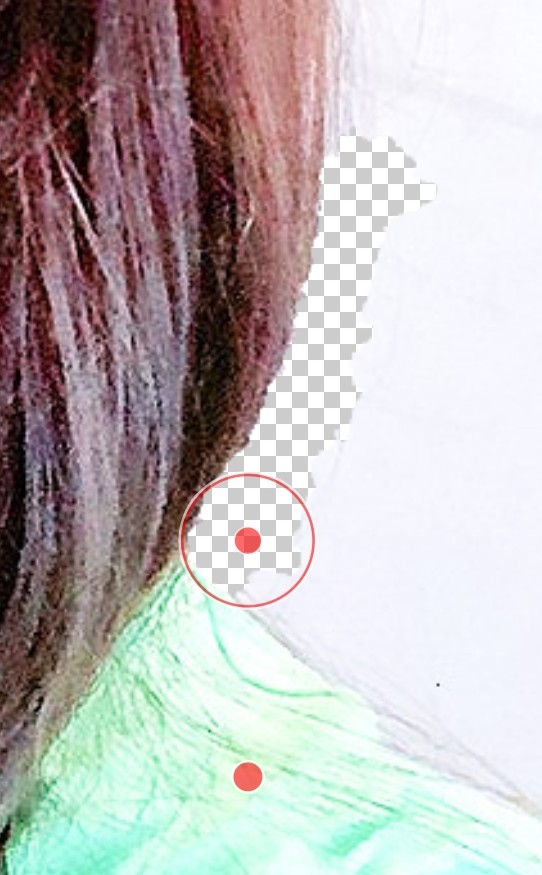
But if you cut it, it's clear,
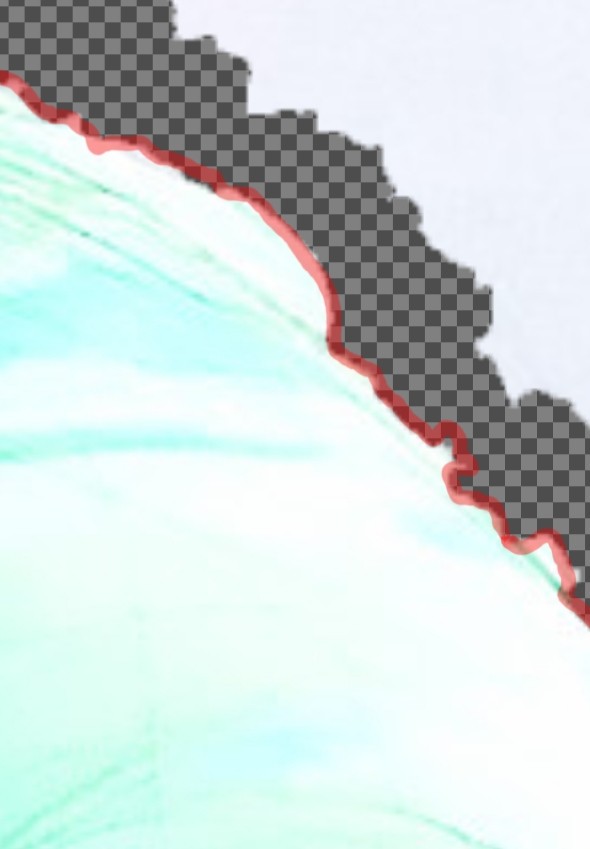
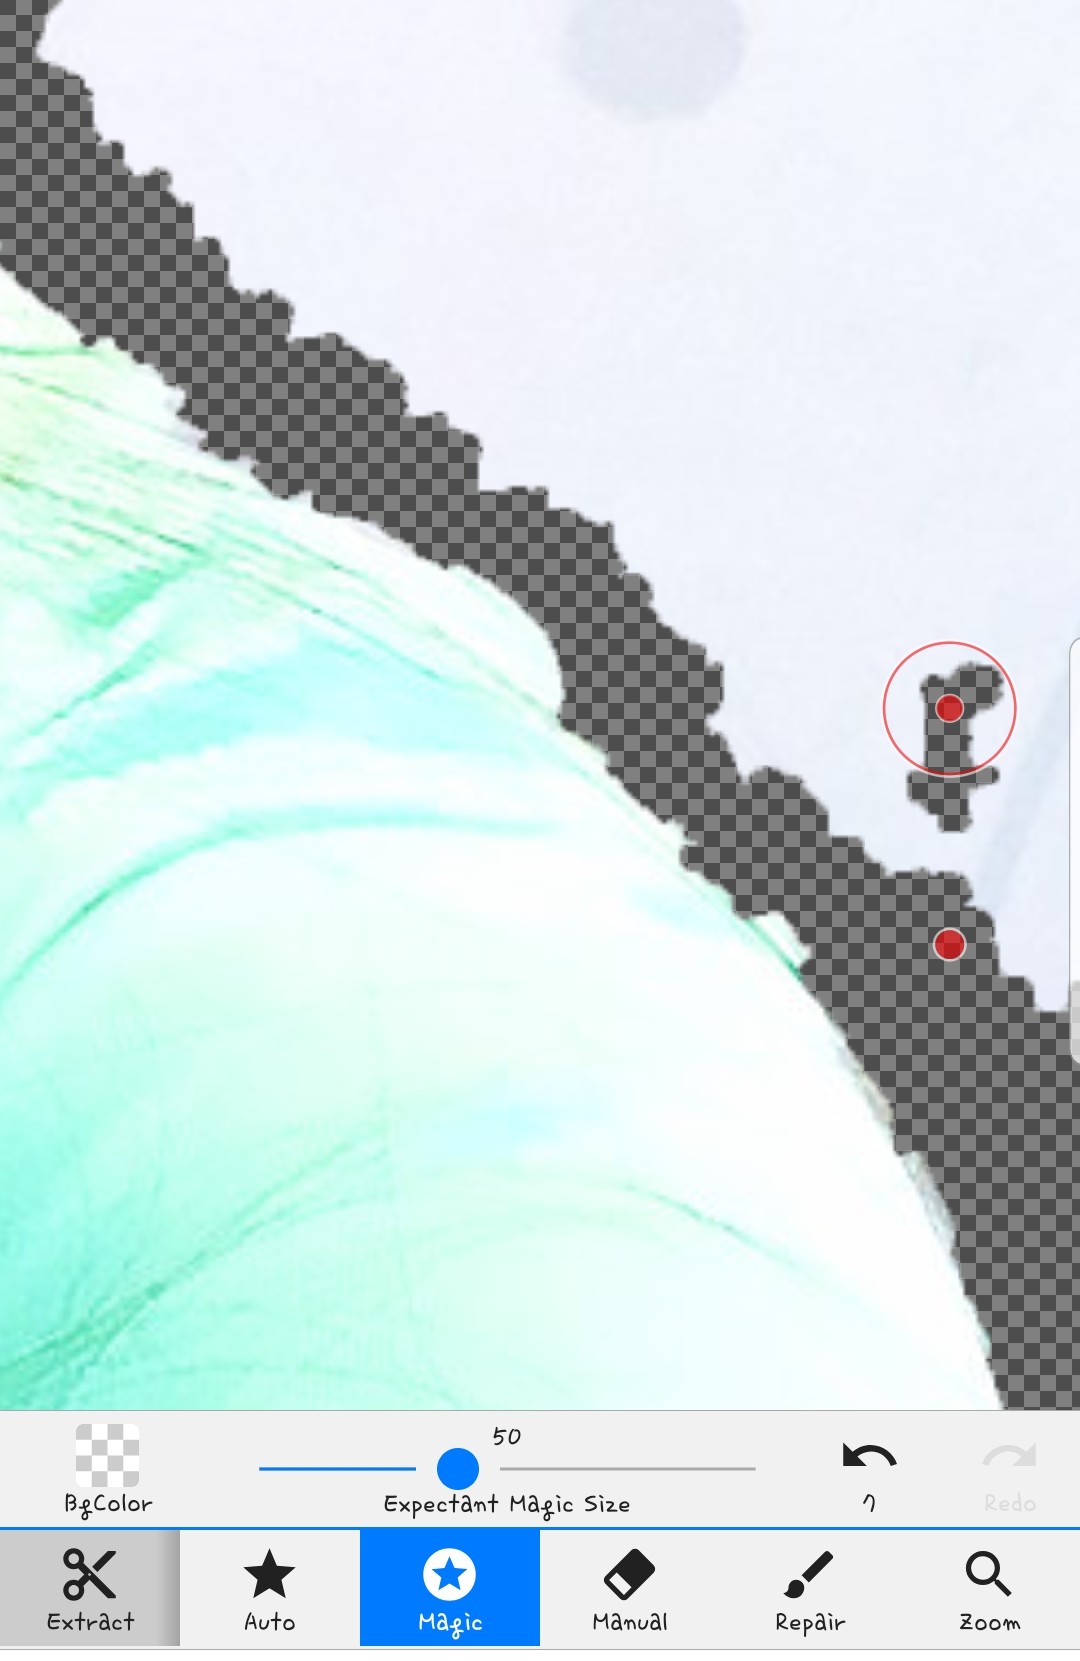
It's inevitable that a bumpy cross-section like this will occur...ㅜㅜ If it's magic...
At that time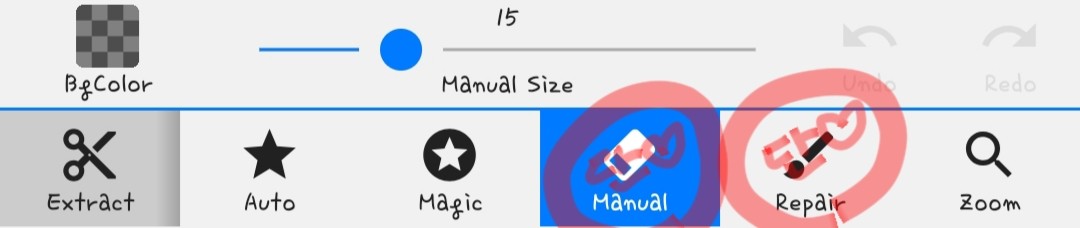
You can use these two to refine it!
The left side is just erased as you erase it.
The right side is to revive what was erased!
Anyway, you can organize it like that😍
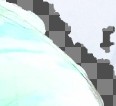
It would also be good to cut the space between the hair and the neck!

Please trim your hair as I told you earlier!
Then erase all the background and you're done!
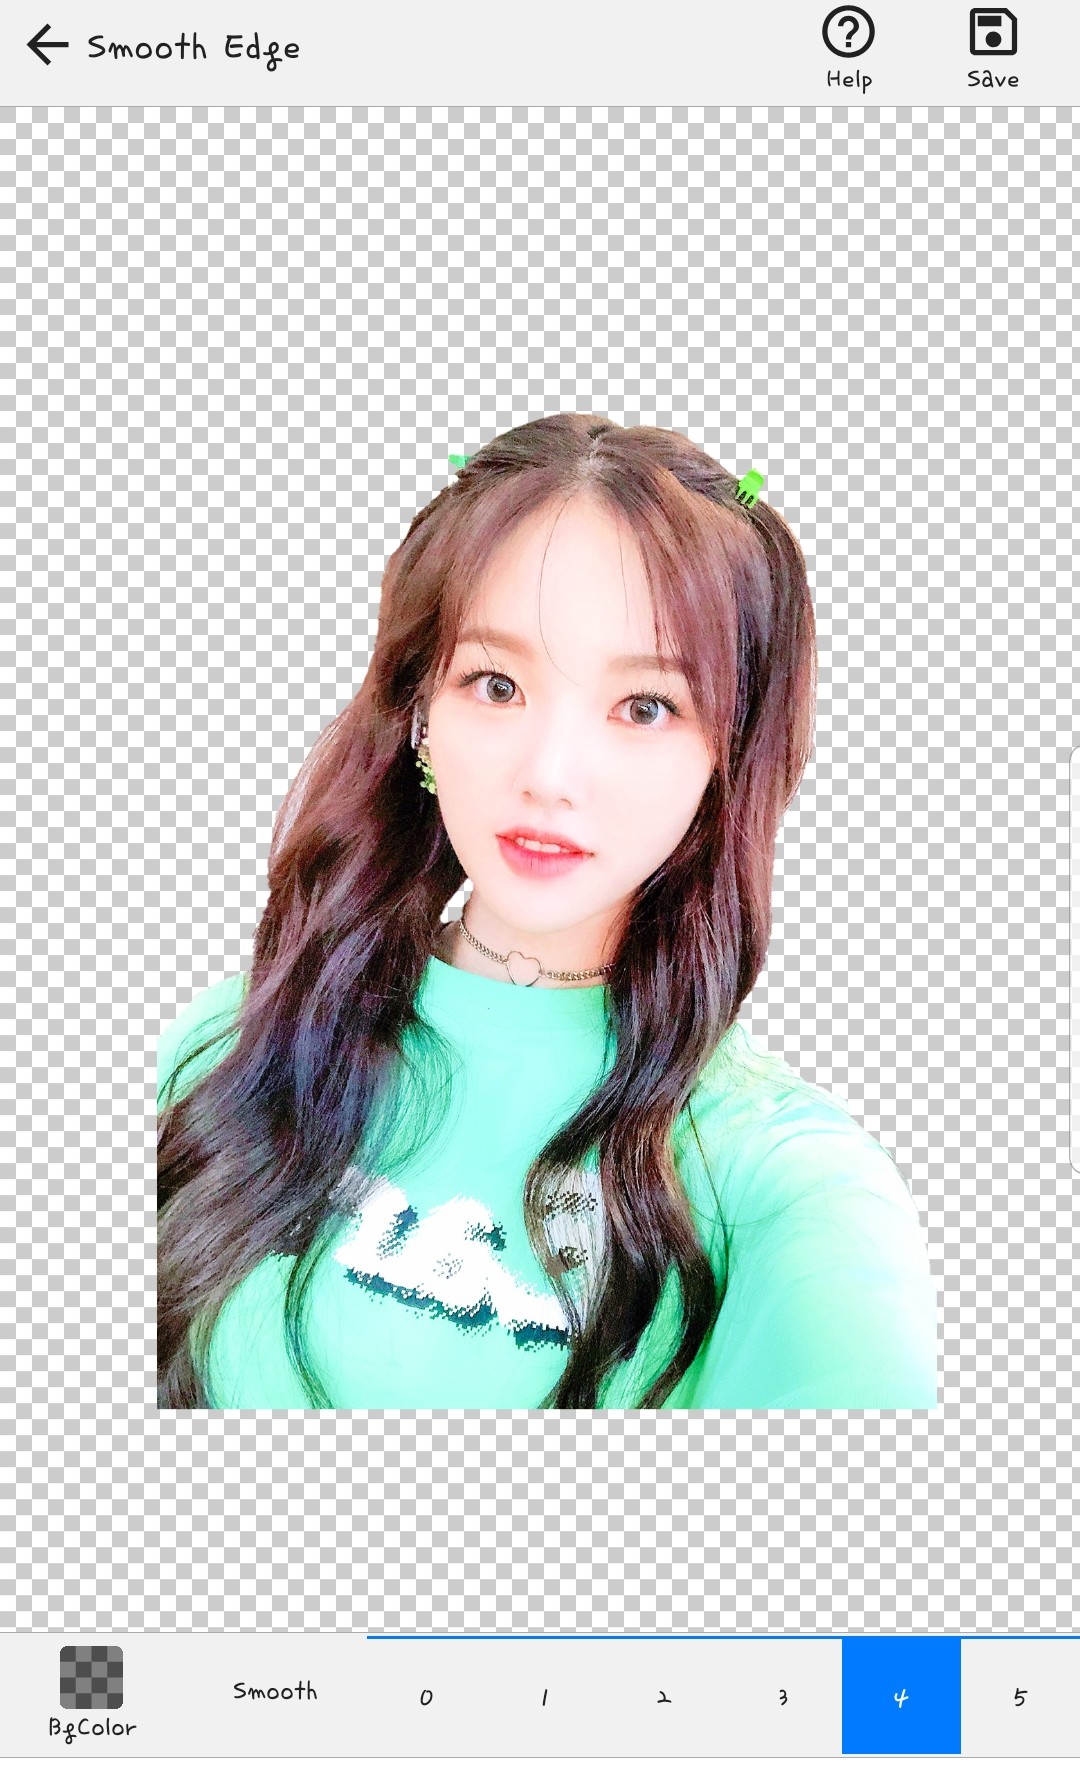
When you're done, you'll see a screen like this!
Is this just a cut border? Think of it as trimming!
I usually use 1~2!
But today it was extremely... about 4...
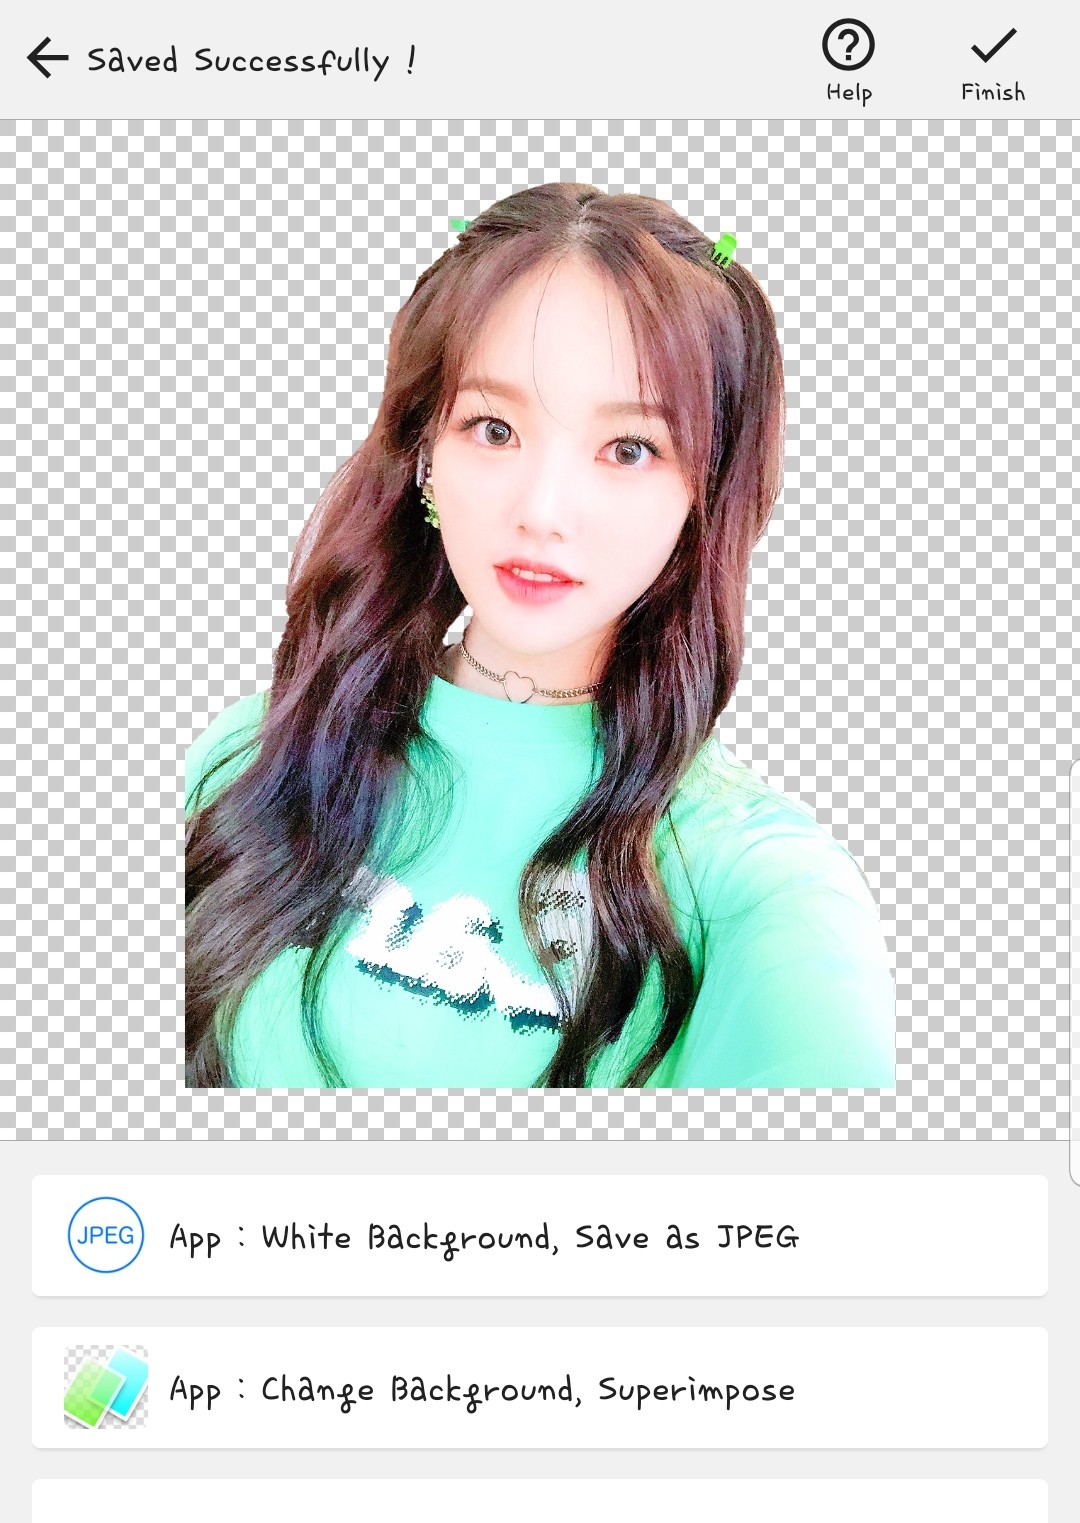
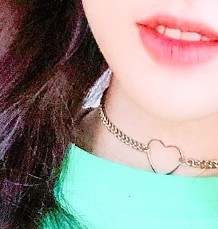
Ta-da! It's really over!!
Cropping photos... takes more time and is more complicated than you think...
So I'm sorry for the long explanation...ㅜㅜ
I'll finish the first period.
Photo source: Weekly Gongt