
The first lecture is
This is the process of creating a logo that was a basic option!
 First, please go to Ibis Paint.
(Click on My Gallery)
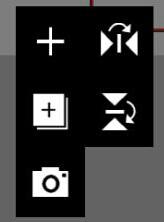
 If you click this button at the bottom left
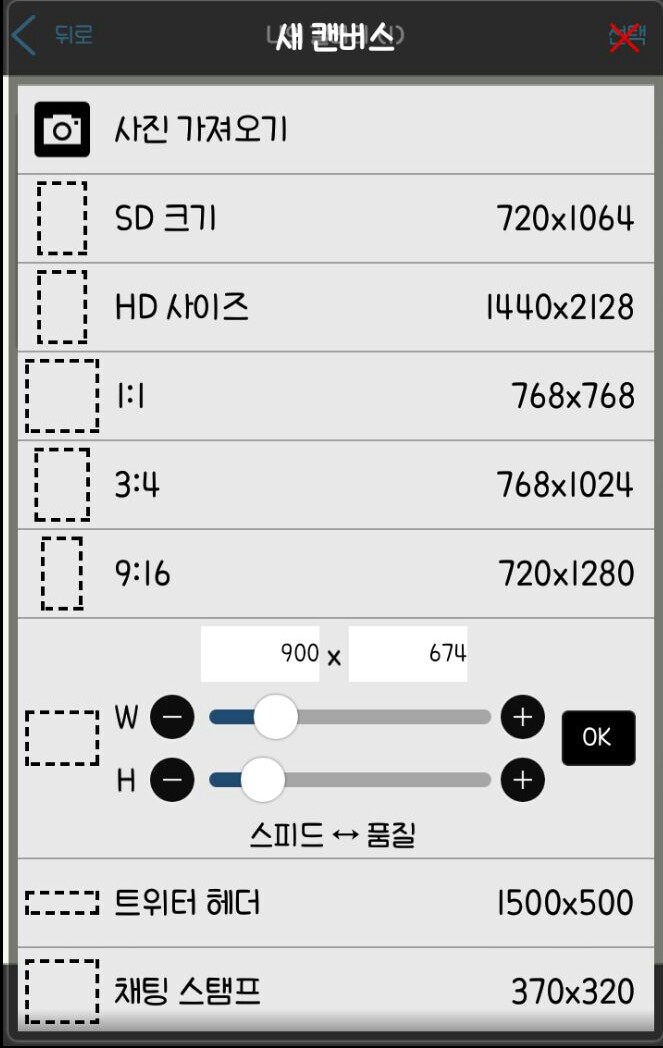 The theory screen appears!
Then set the size
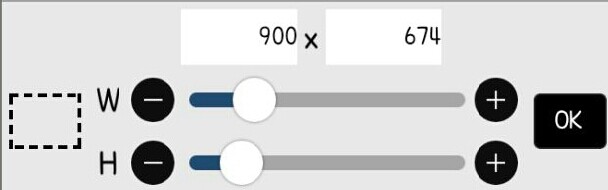 This is for the FanPlus cover
This is the size for the logo I'm making!
(You can set it to the size you want)

Once you're in, click the brush button at the bottom
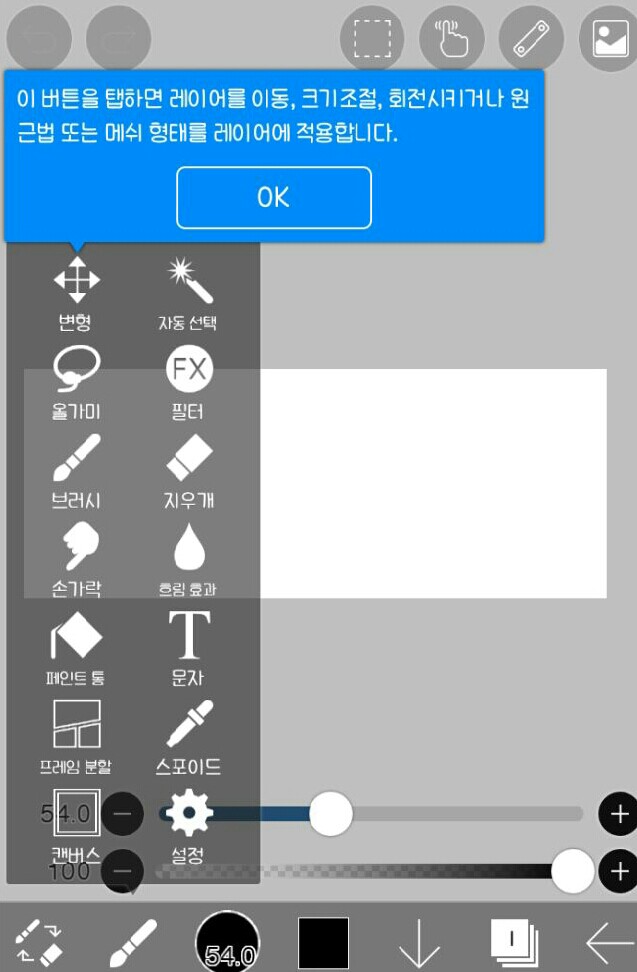
It creates a screen like this
So among the many options
 I'll click on this
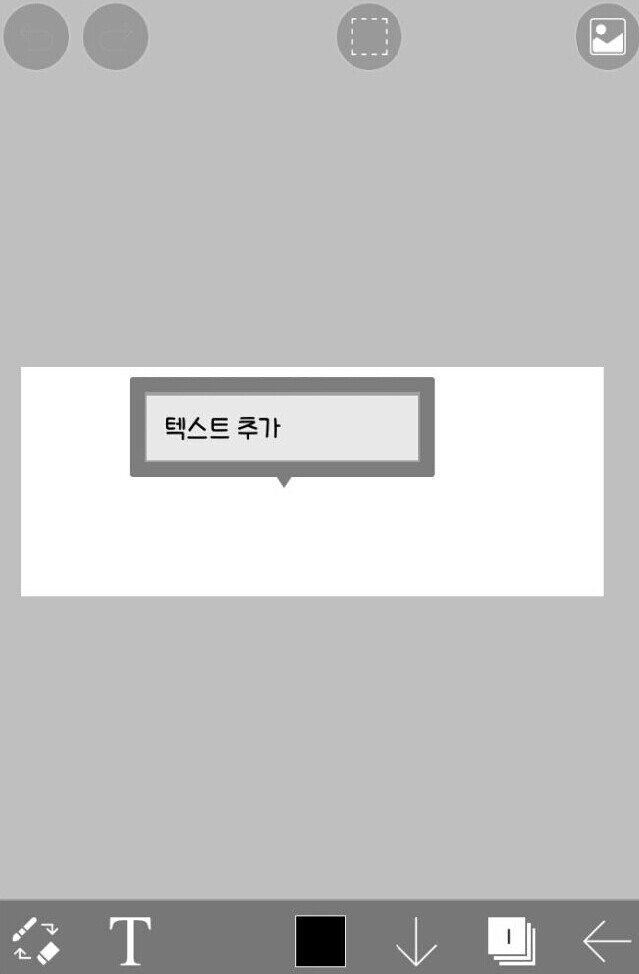 After clicking on the blank space to add text,
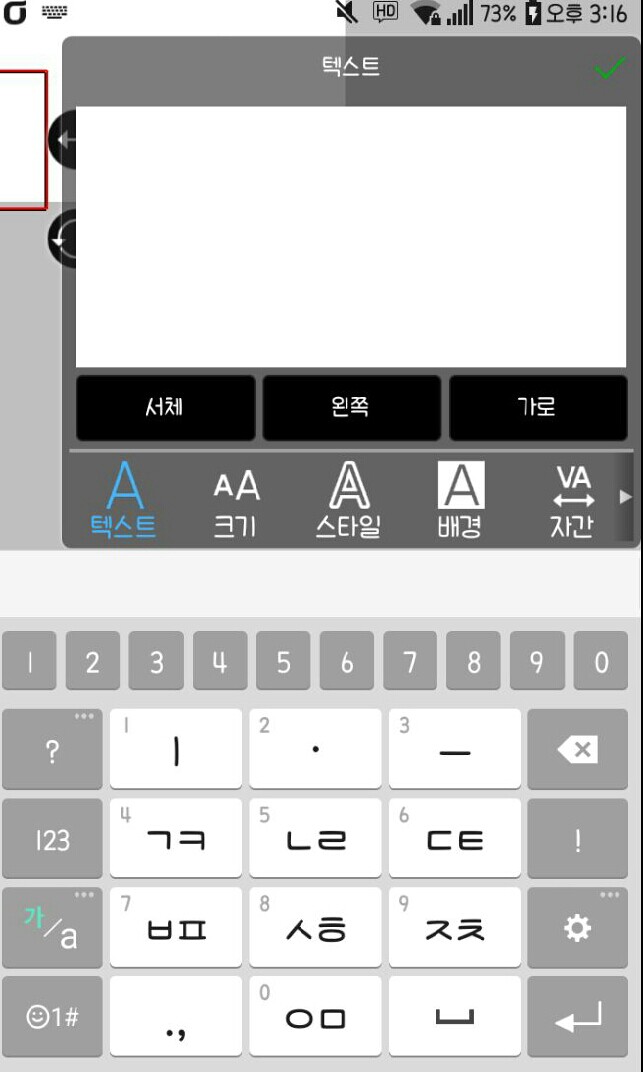
I'll type in the logo name you want.
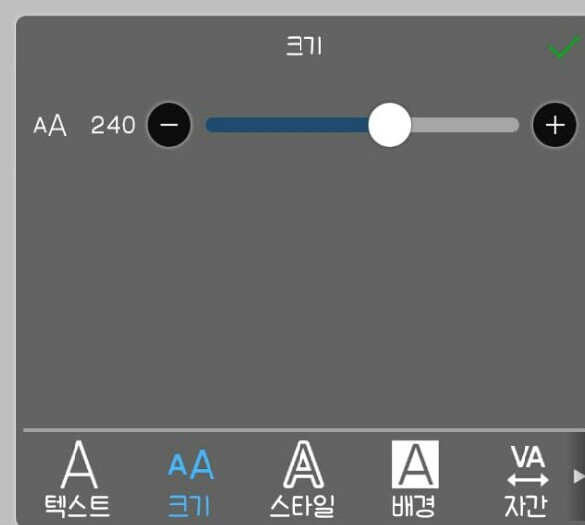
Please set the size

Reposition it to the desired location
And then
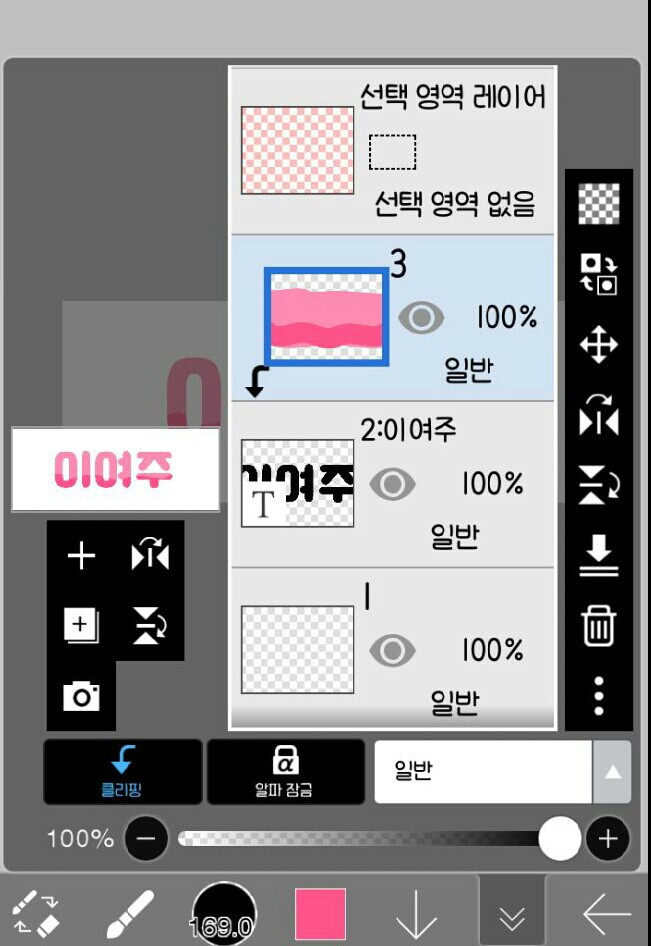
 Click the layer button at the bottom
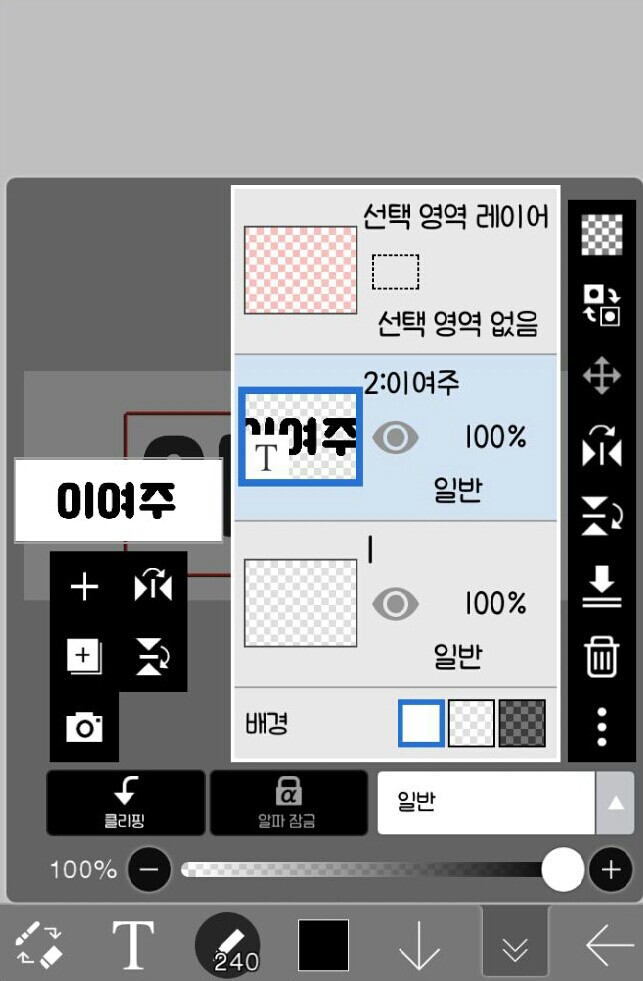
If a screen like this appears
 After pressing the plus button here
 Click Clipping
If you did that, close the layer window
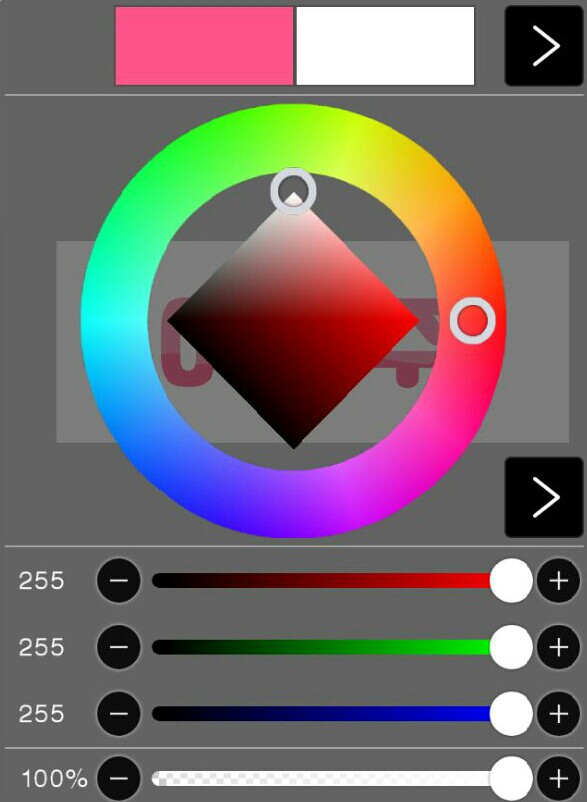
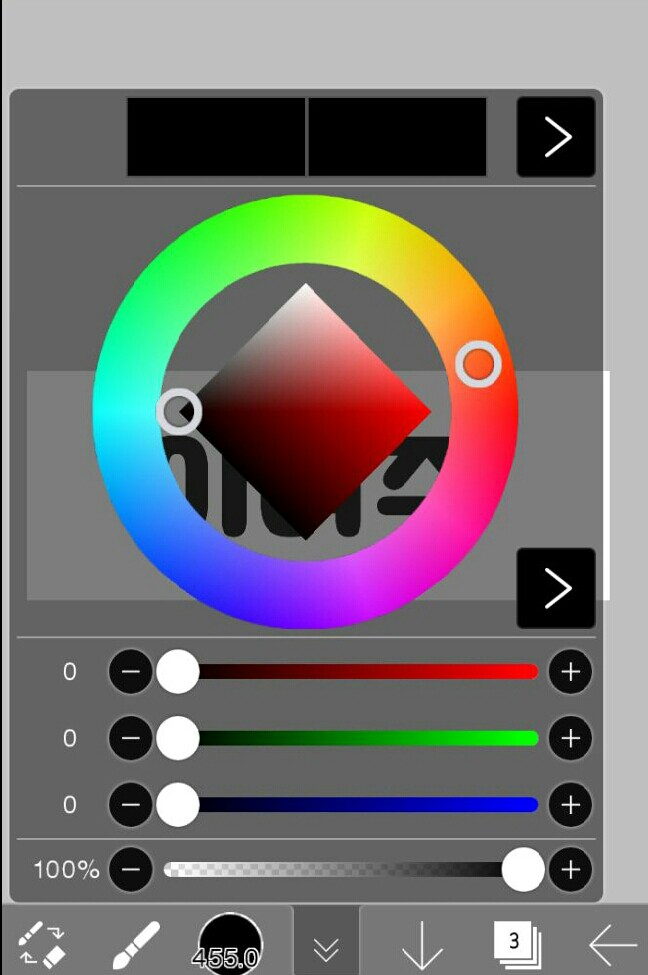 After setting the desired color

Please paint it!
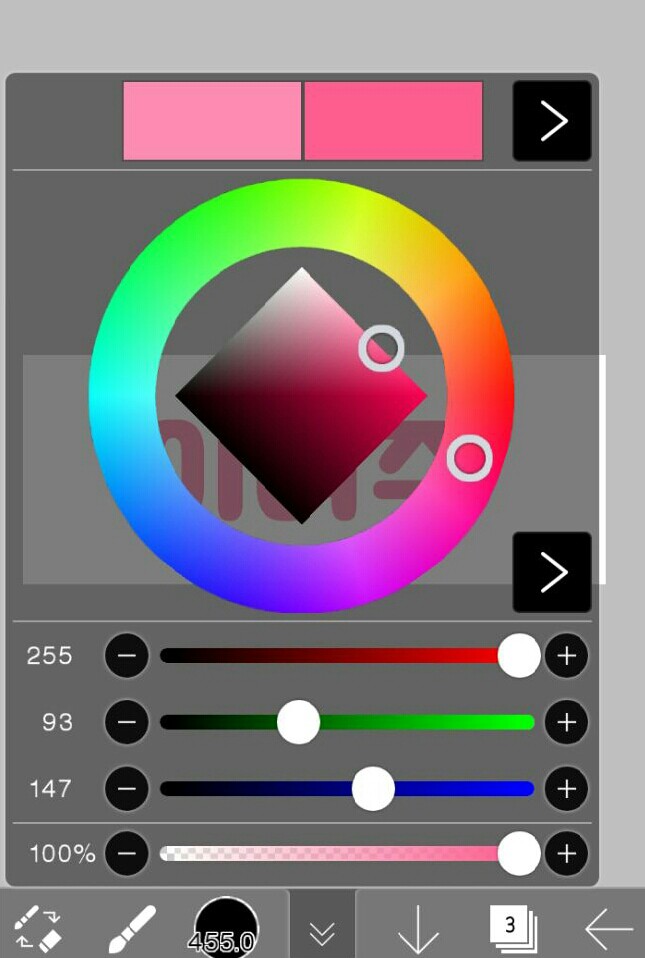
If you did that, please set a darker color than before.

Please paint it like this
If you've painted everything
After pressing the layer button!
 Among the options on the right
 Click on this friend to merge subordinates!
 If you did, it should be like this!!
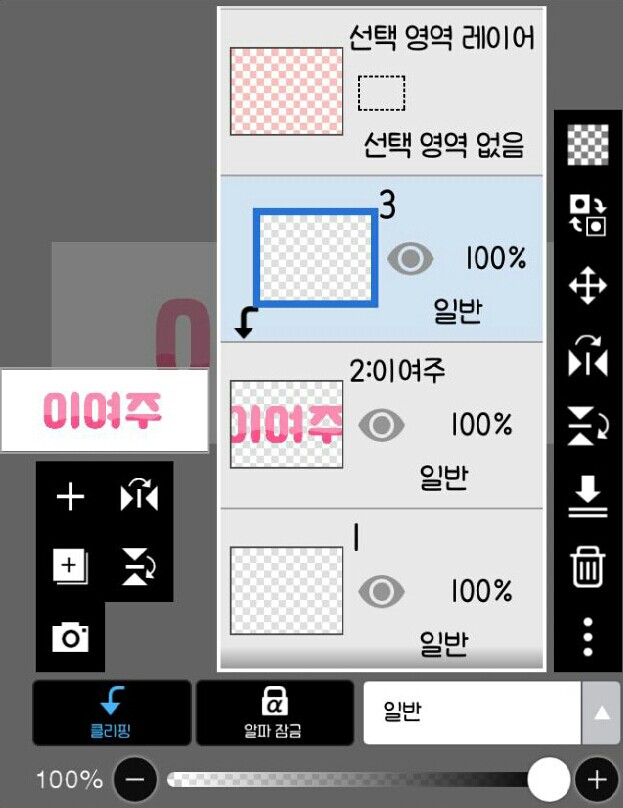
Now, press plus to add one more layer.
Click Clipping
And set the color to white

After setting the brush size to 4.0

Draw it one by one at the end!


Then this kind of child is born!


Please do another sub-merge!
 Then I'll press the brush and press the filter option, which is one of the options that comes up.
 After clicking on Style, click on Stroke (outside) to set the color and thickness.
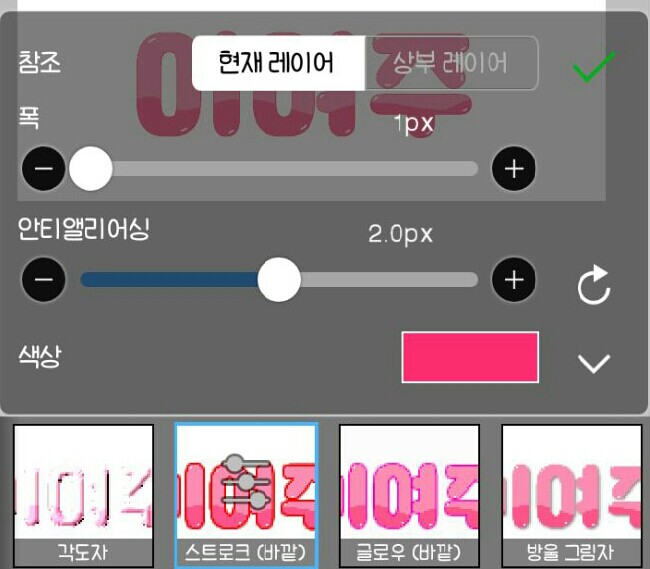
Like this
 Now I'll press the colored glass.
(When working with colored glass and outside of strokes, the strokes must be thin!)
The reason for using colored glass at this time is


This is because even the things I drew myself are covered!
 Now I'll press the drop shadow
 After setting the radius to 1px and the distance to 15px,
If possible, please set it to the same color as the outside of the colored glass or stroke!

Now, press General in the layer

Paint the background with the color you want and decorate it

It's complete!!
I hope you succeed🙏


![I'll be your bodyguard [all year round] thumbnail](https://cdnetphoto.appphotocard.com/fanfic/1945746/197212/thumbnail_img_20220620220406.png)