


First, like last time, turn on Ibis Paint.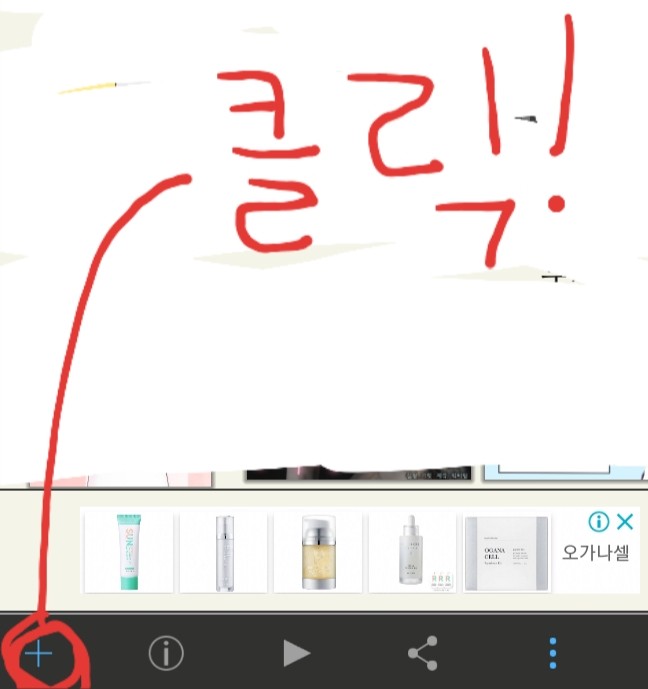
Press this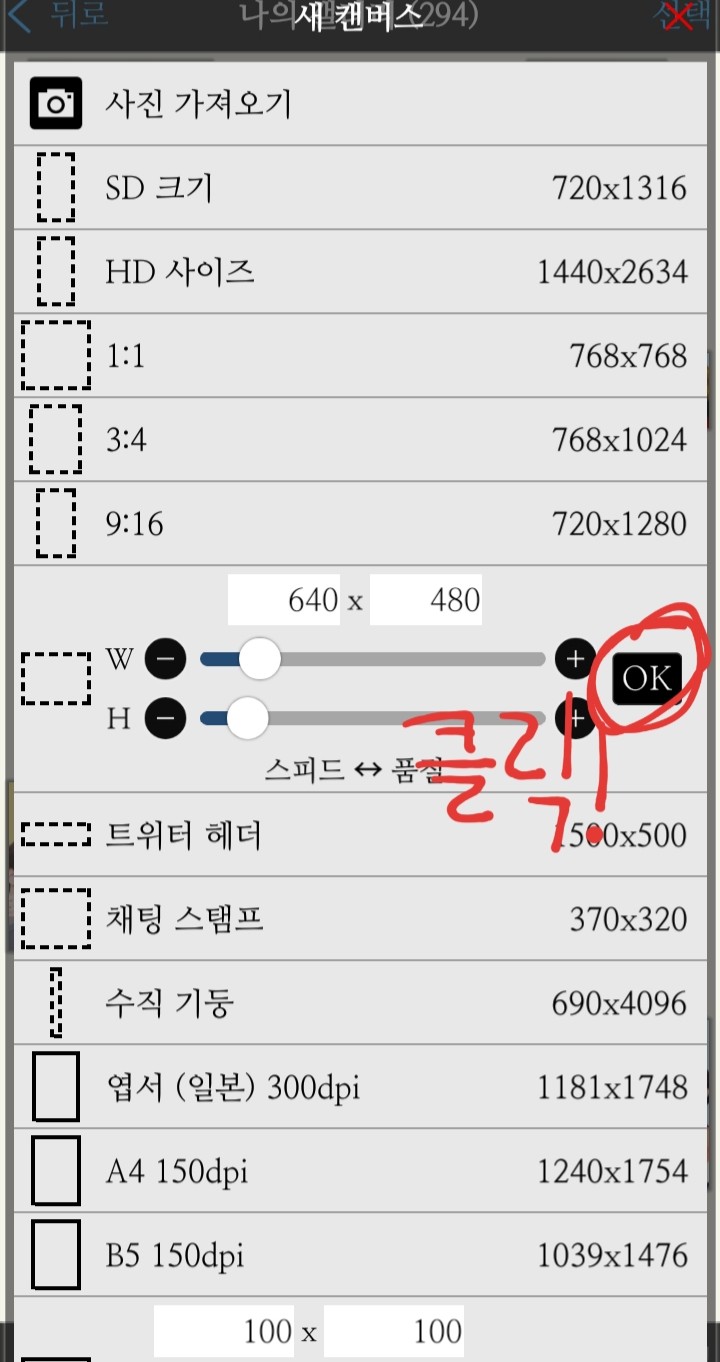
After specifying the size, click OK!
When the screen appears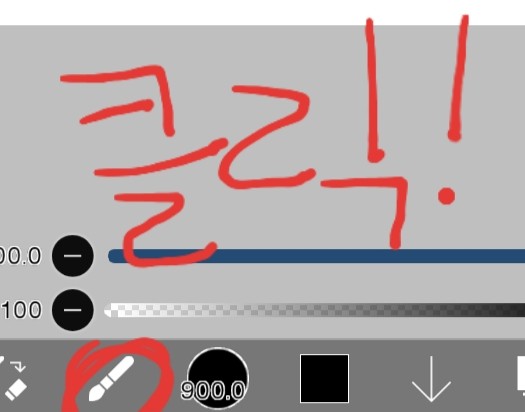
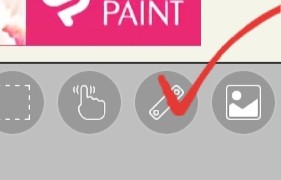
Press the brush shape
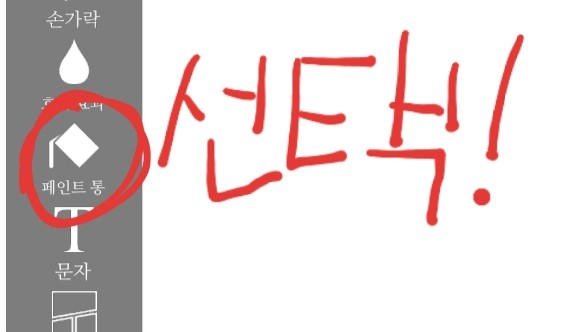
Choose a paint can!
After specifying the color, click on the screen to color it!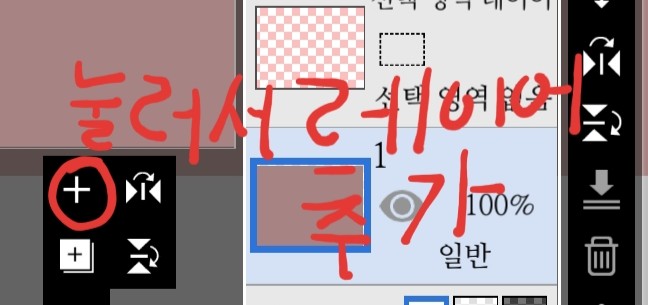
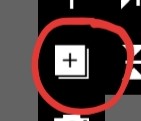
Please press to add a layer
If you add
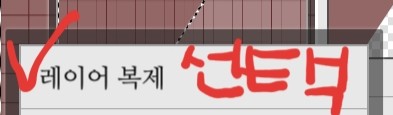
✔Please click on the highlighted child(?)
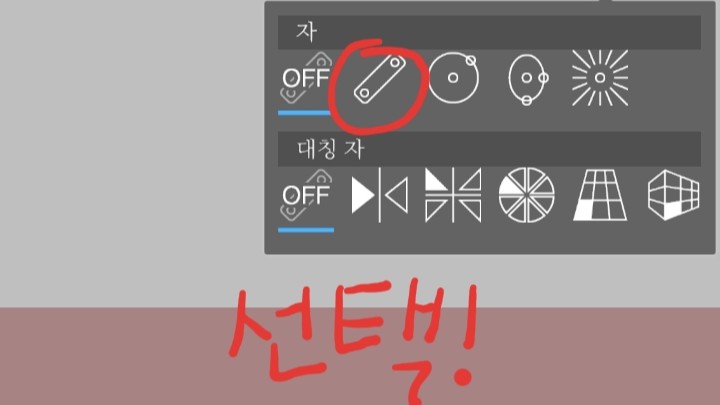
Click to select the shape you want! I'll use a straight line.
Please call and move around to select a seat.
If you are placed in a Yorokorom position
Bring in a color that is slightly darker than the background color and color it as much as you want.
After coloring
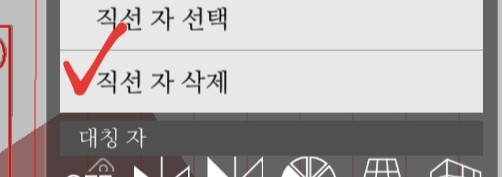
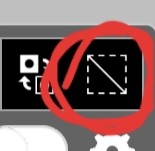
✔ Click the mark to delete!
After adding the layer again
Press the brush shape below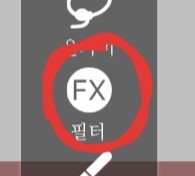
Select a filter
If you go into the filter and scroll all the way down, you will see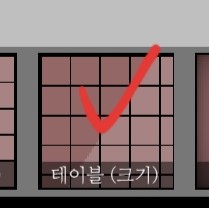
Select the table (size) and then specify the color and press the blue(?)✔
Back to the layers again
Please press
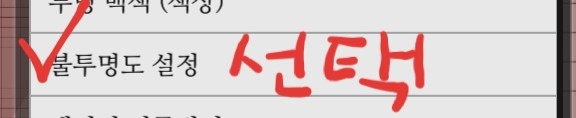
Choose your opacity setting!
Go back to the grid layer
Please press !
Please select Duplicate Layer and delete the original grid layer.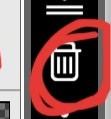
Click on this trash can(?) to get rid of it
Click on the brush shape and at the top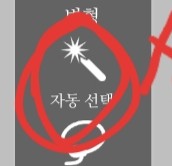
After clicking Auto Select
Please remove the red circle!
Then
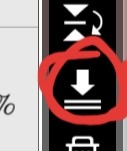
=Merge all 3 layers you've created so far by clicking on the ↓ button above!
After that
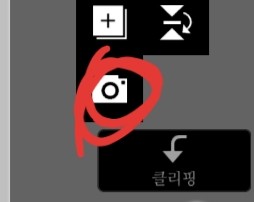
Please press the camera to load the image.
When you call, after placing it appropriately, press the blue ✔ sign to sit down.
If so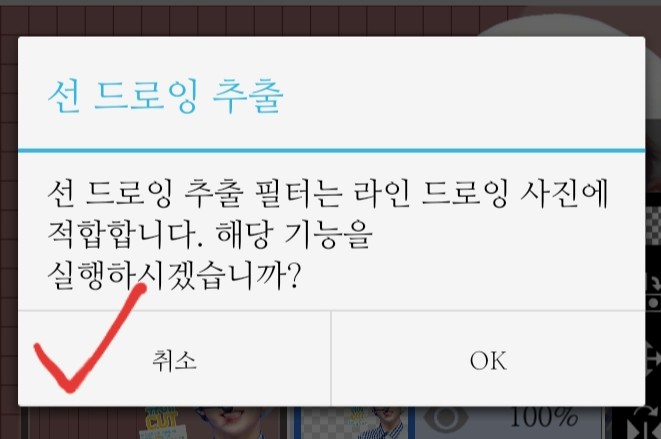
A message like this will appear, just click Cancel.
Press the brush again
Please click on the filter!
If you bring up the grid earlier and push it forward, the angle behind the angle ruler will be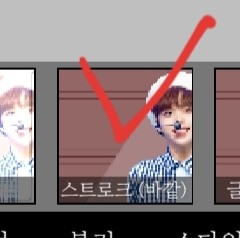
Click on the stroke (outside) and set the color, thickness, and number you want ((I wrote it as if it was connected, but you have to do it all separately..
Click the blue ✔ again
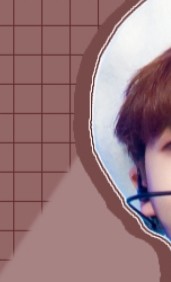
If you do that, the person you were with will be nearby
It's Yorokorom
Then go back to the layers again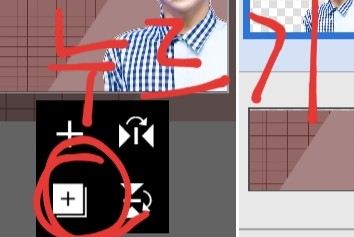
Again, press the box inside the □ and copy the layer! After adding the layer
Click on this child called clipping, move the copied figure to the side or up, come back to the clipping layer, and copy the stroke color and color it.
That's right, Yorokorom
If you color all the shadows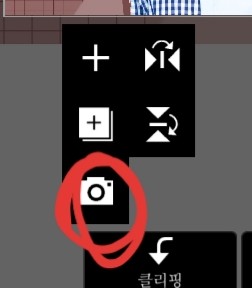
Press the camera again to bring up the matching stickers
If you call that child, a message will pop up asking you to extract the line drawing. Please press Cancel on that too.
--------------------------------------------------------------------------------
Now it's time for the title. From here on out, we'll be using an app called "Geulssi Pangpang", but please note that iPhone users don't have it •ᴗ•
Press the camera above again

Press this three-line button
If so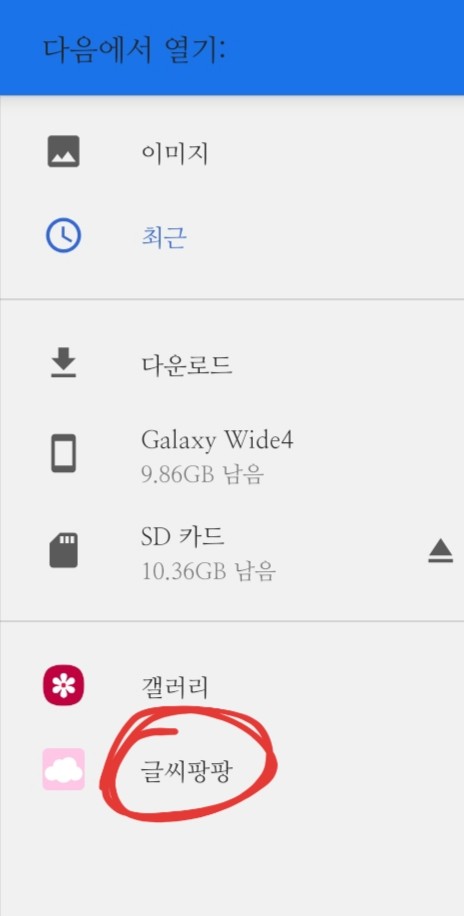
A screen like this will appear. Please enter the pre-installed font.
When you go in
A screen like this will appear. Click Create Message.

Click on New Task, enter a title, select the desired font, and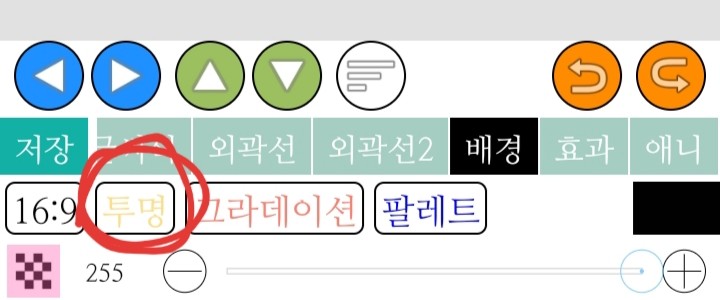
Click on Background-Transparent and then click on Save and Send!
If you do so and place a title, an annoying message about extracting line drawings will pop up again. Again, please press Cancel.
(I've separated the title into two lines!)
Please write the remaining titles and place them after calling them. If you receive annoying messages, please press cancel.
Combine the titles that were called separately
After adding the high layer, please clip the added layer.
Color it with the color you want and merge it with the clipping layer.
Then, stroke the title, copy and move it, then add another layer and clip it.
Merge the clipping layer with the copied title, and then merge it with the original title! Please stroke it again.
The cover of Yorokorom appears
The back button on your phone

Press the '←' arrow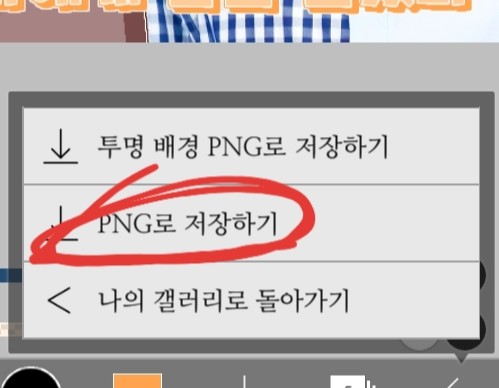
Just click Save as PNG to save it!
Thank you for watching!