
I'm going to make this logo!!

Let's make this logo with a pretty gradient~~
Required Materials: Ibis Painter X, Calligraphy Pangpang
I'm using two apps today

First, I'll go into the writing section.
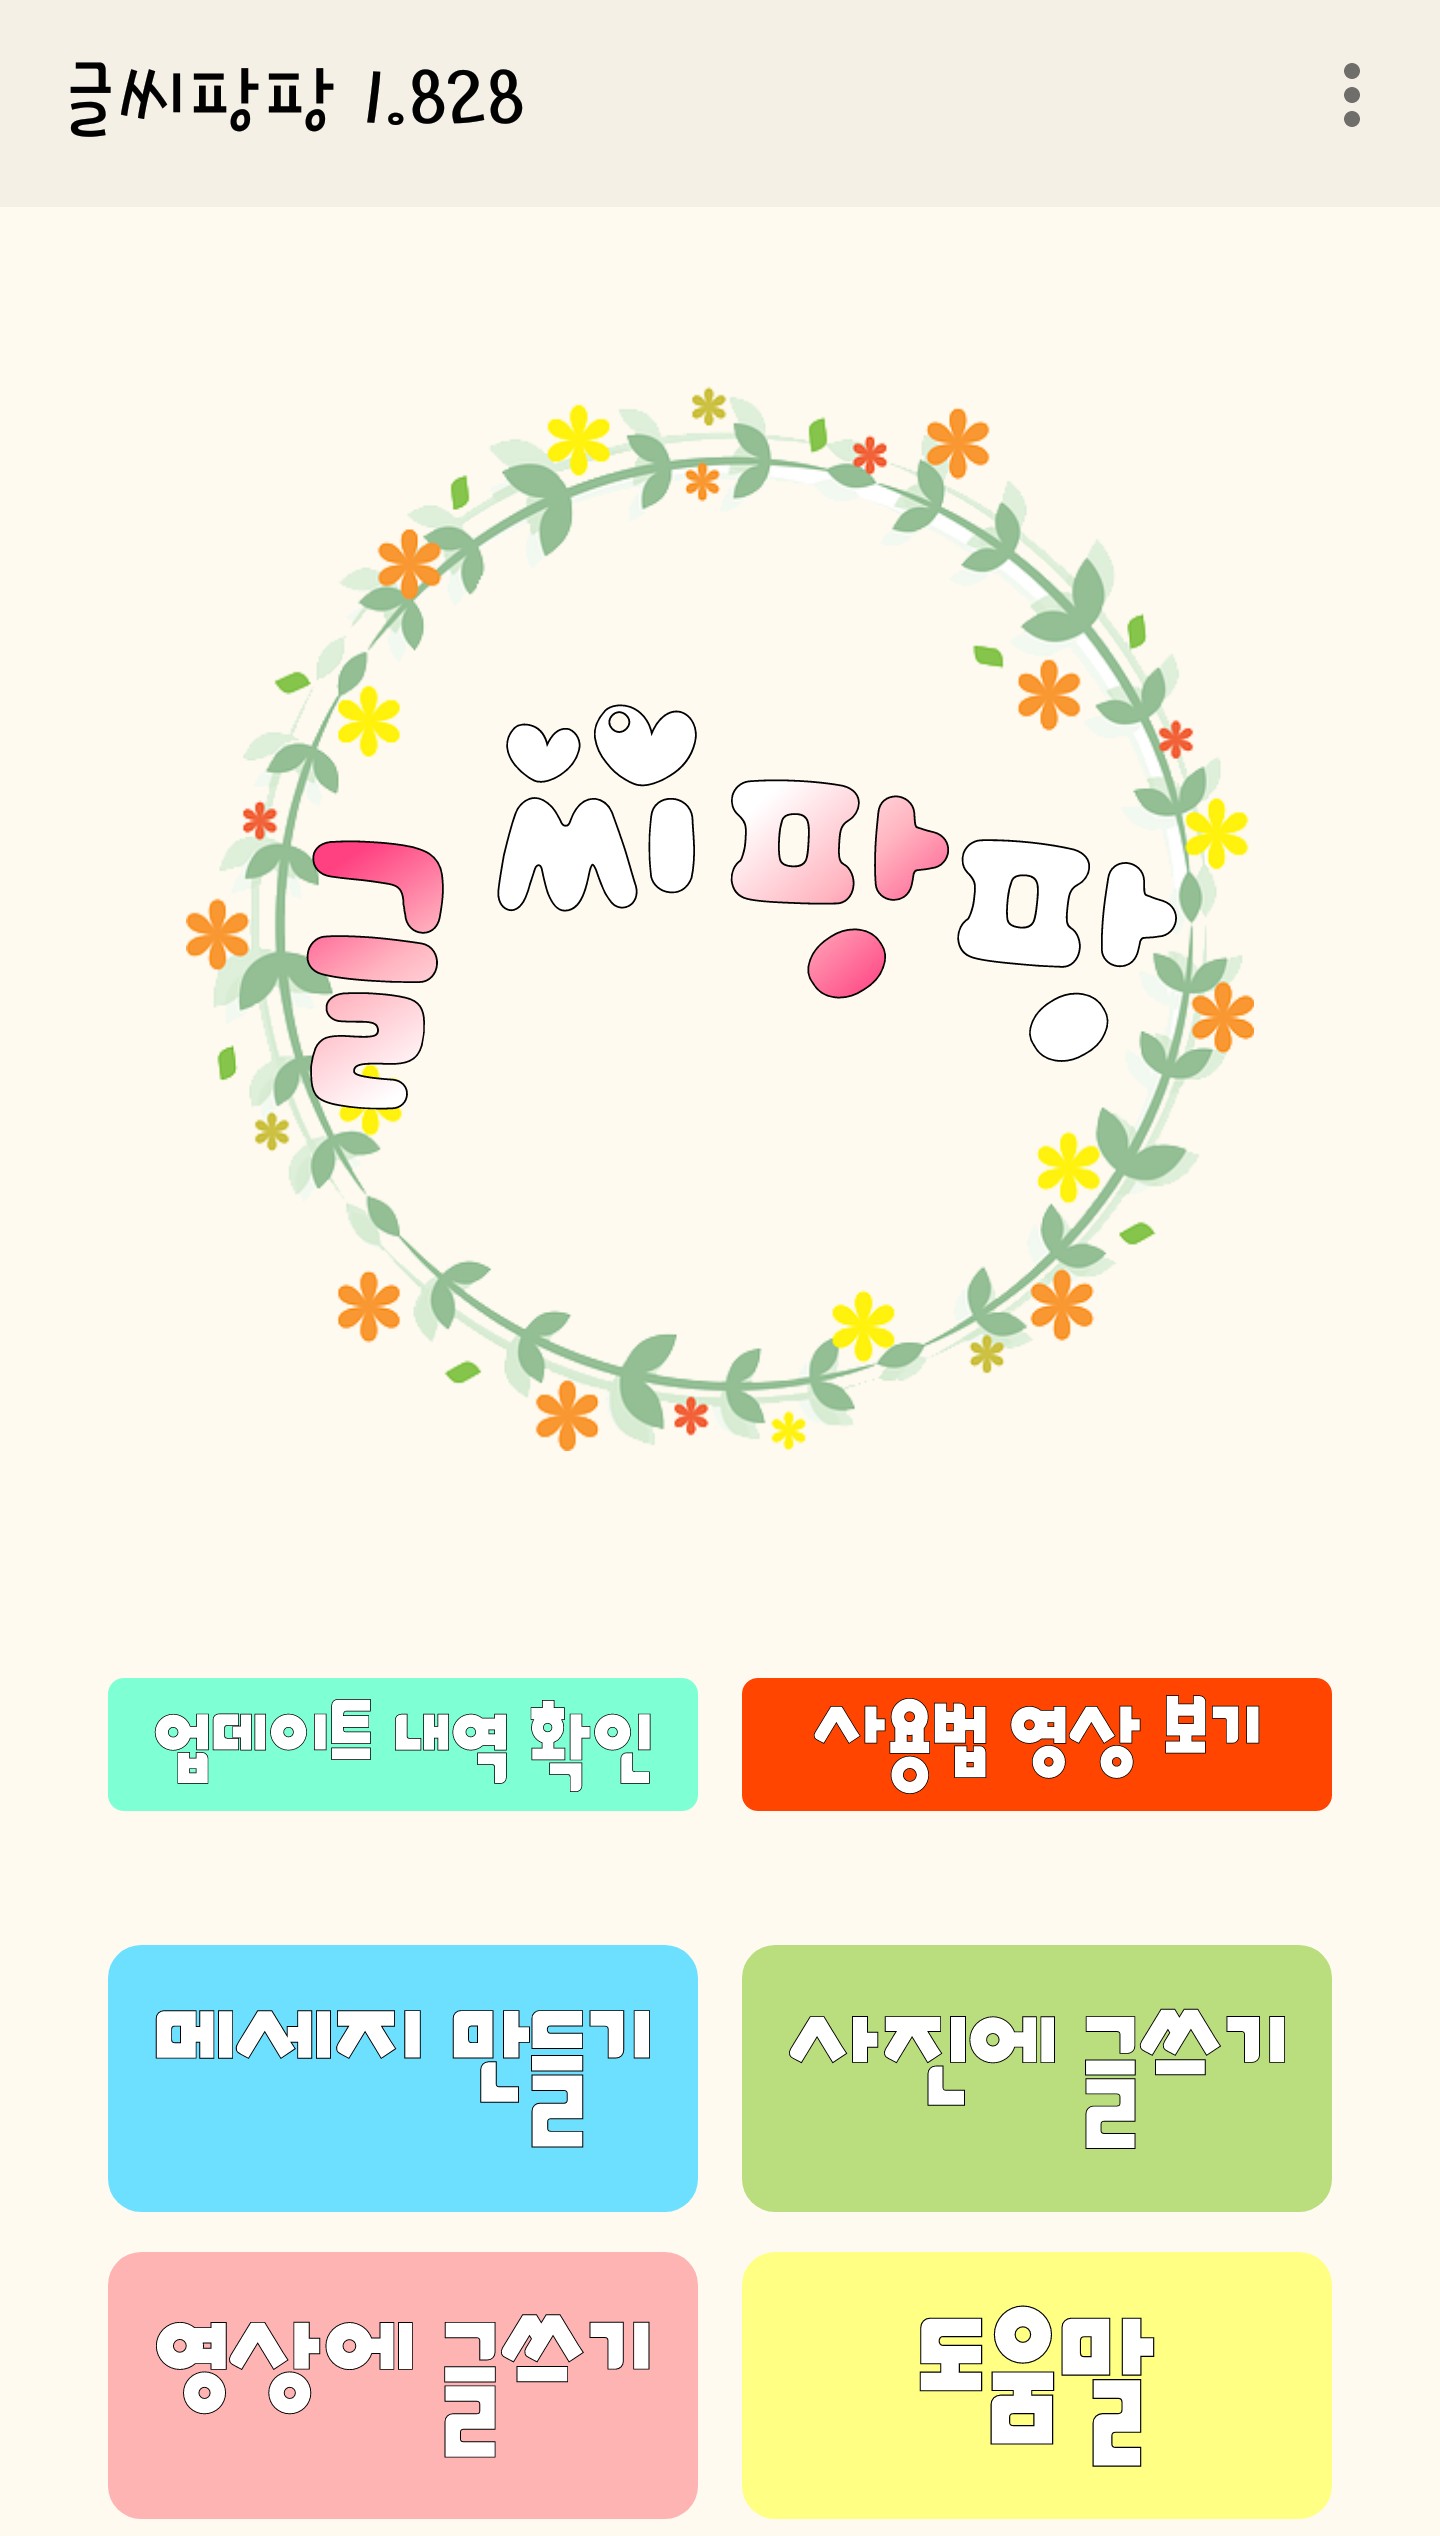
When you enter, it will appear like this. Create a message here.
Please press

Please write anything in the new task and the screen will appear.
Please click
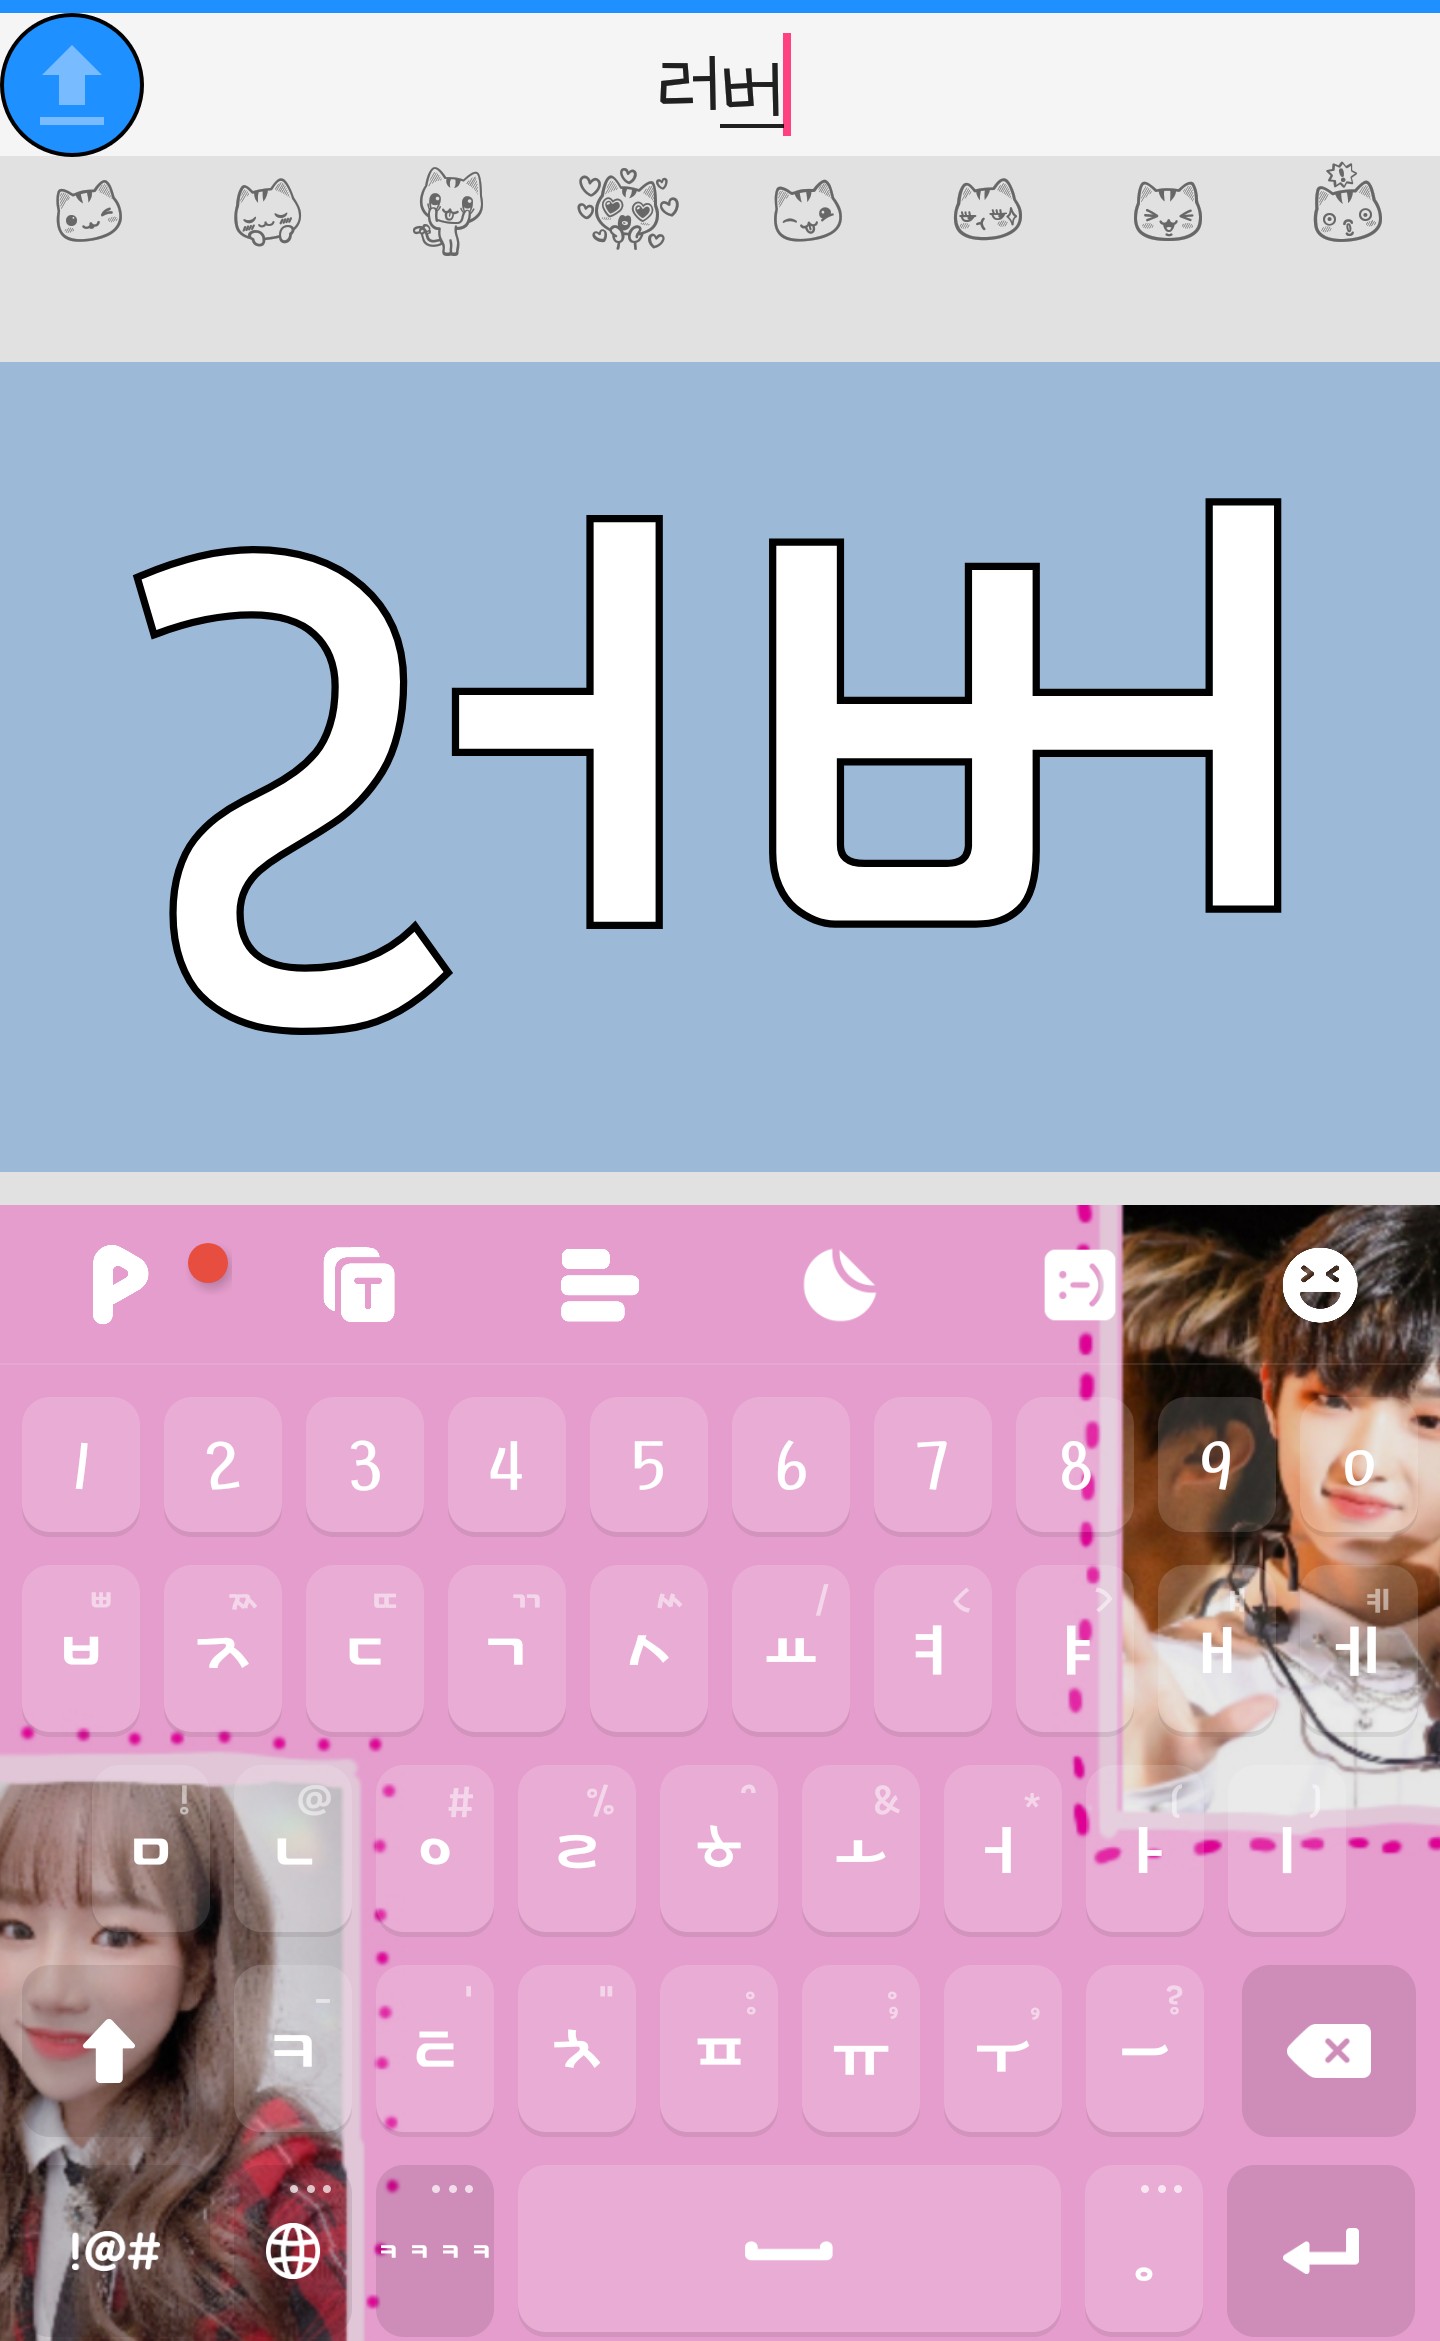
Then it will go in like this. Here is what you want
Please write the phrase. I wrote "lover".

And go into the text color and make sure it's black.
Please do it and this time go into the background
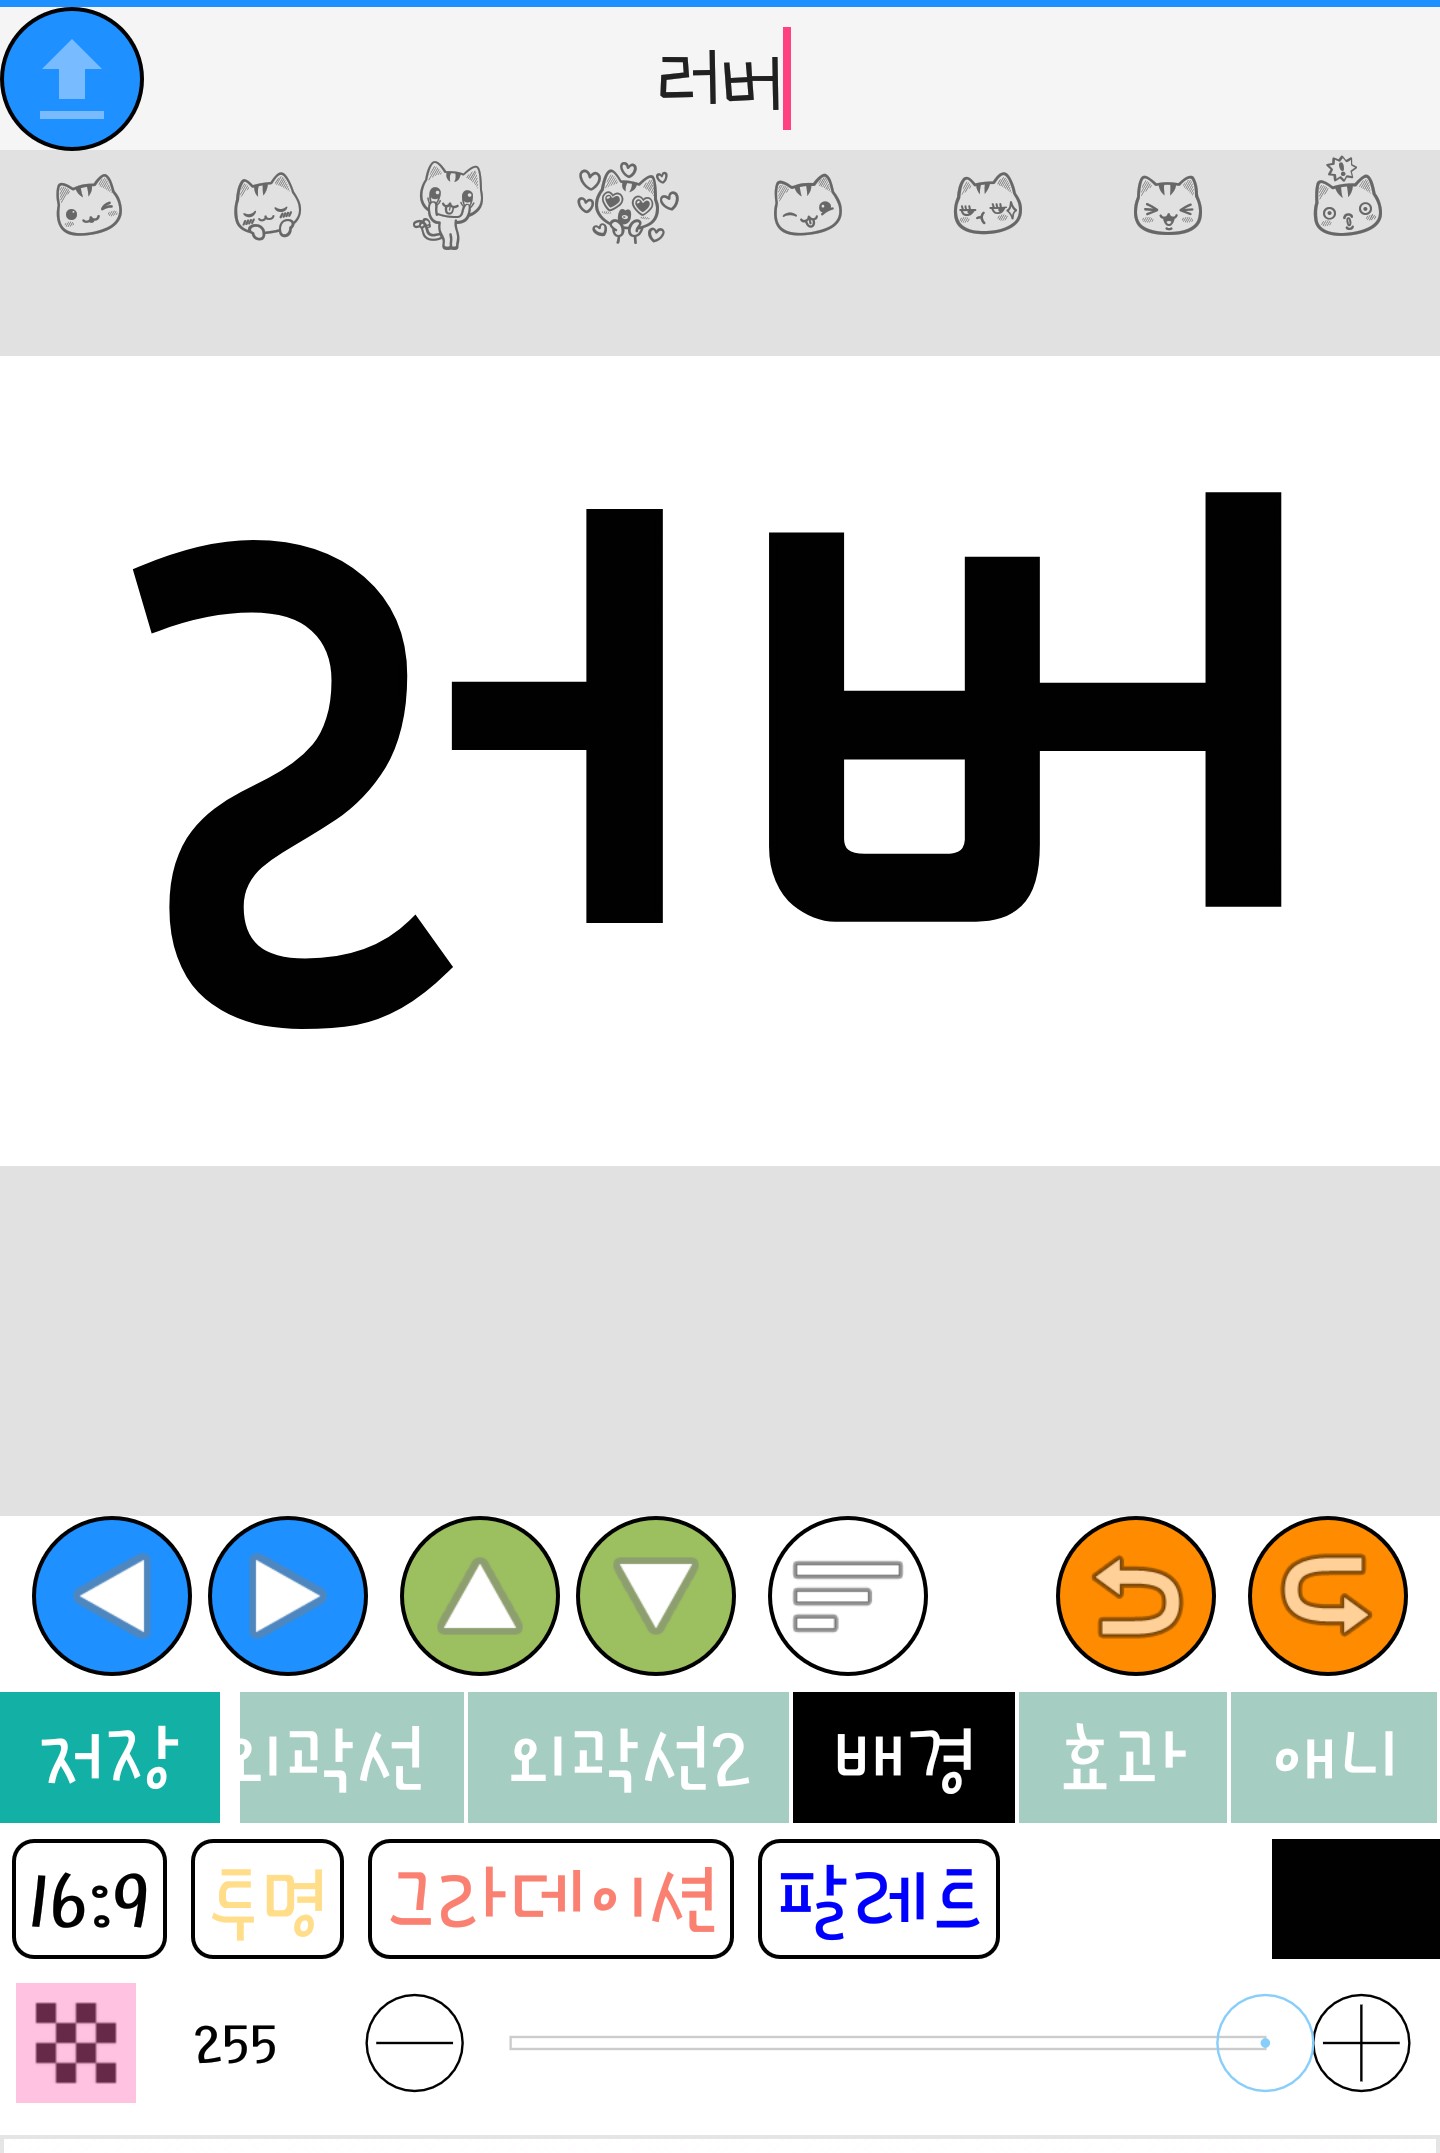
Please select transparent
And finally, select the font.
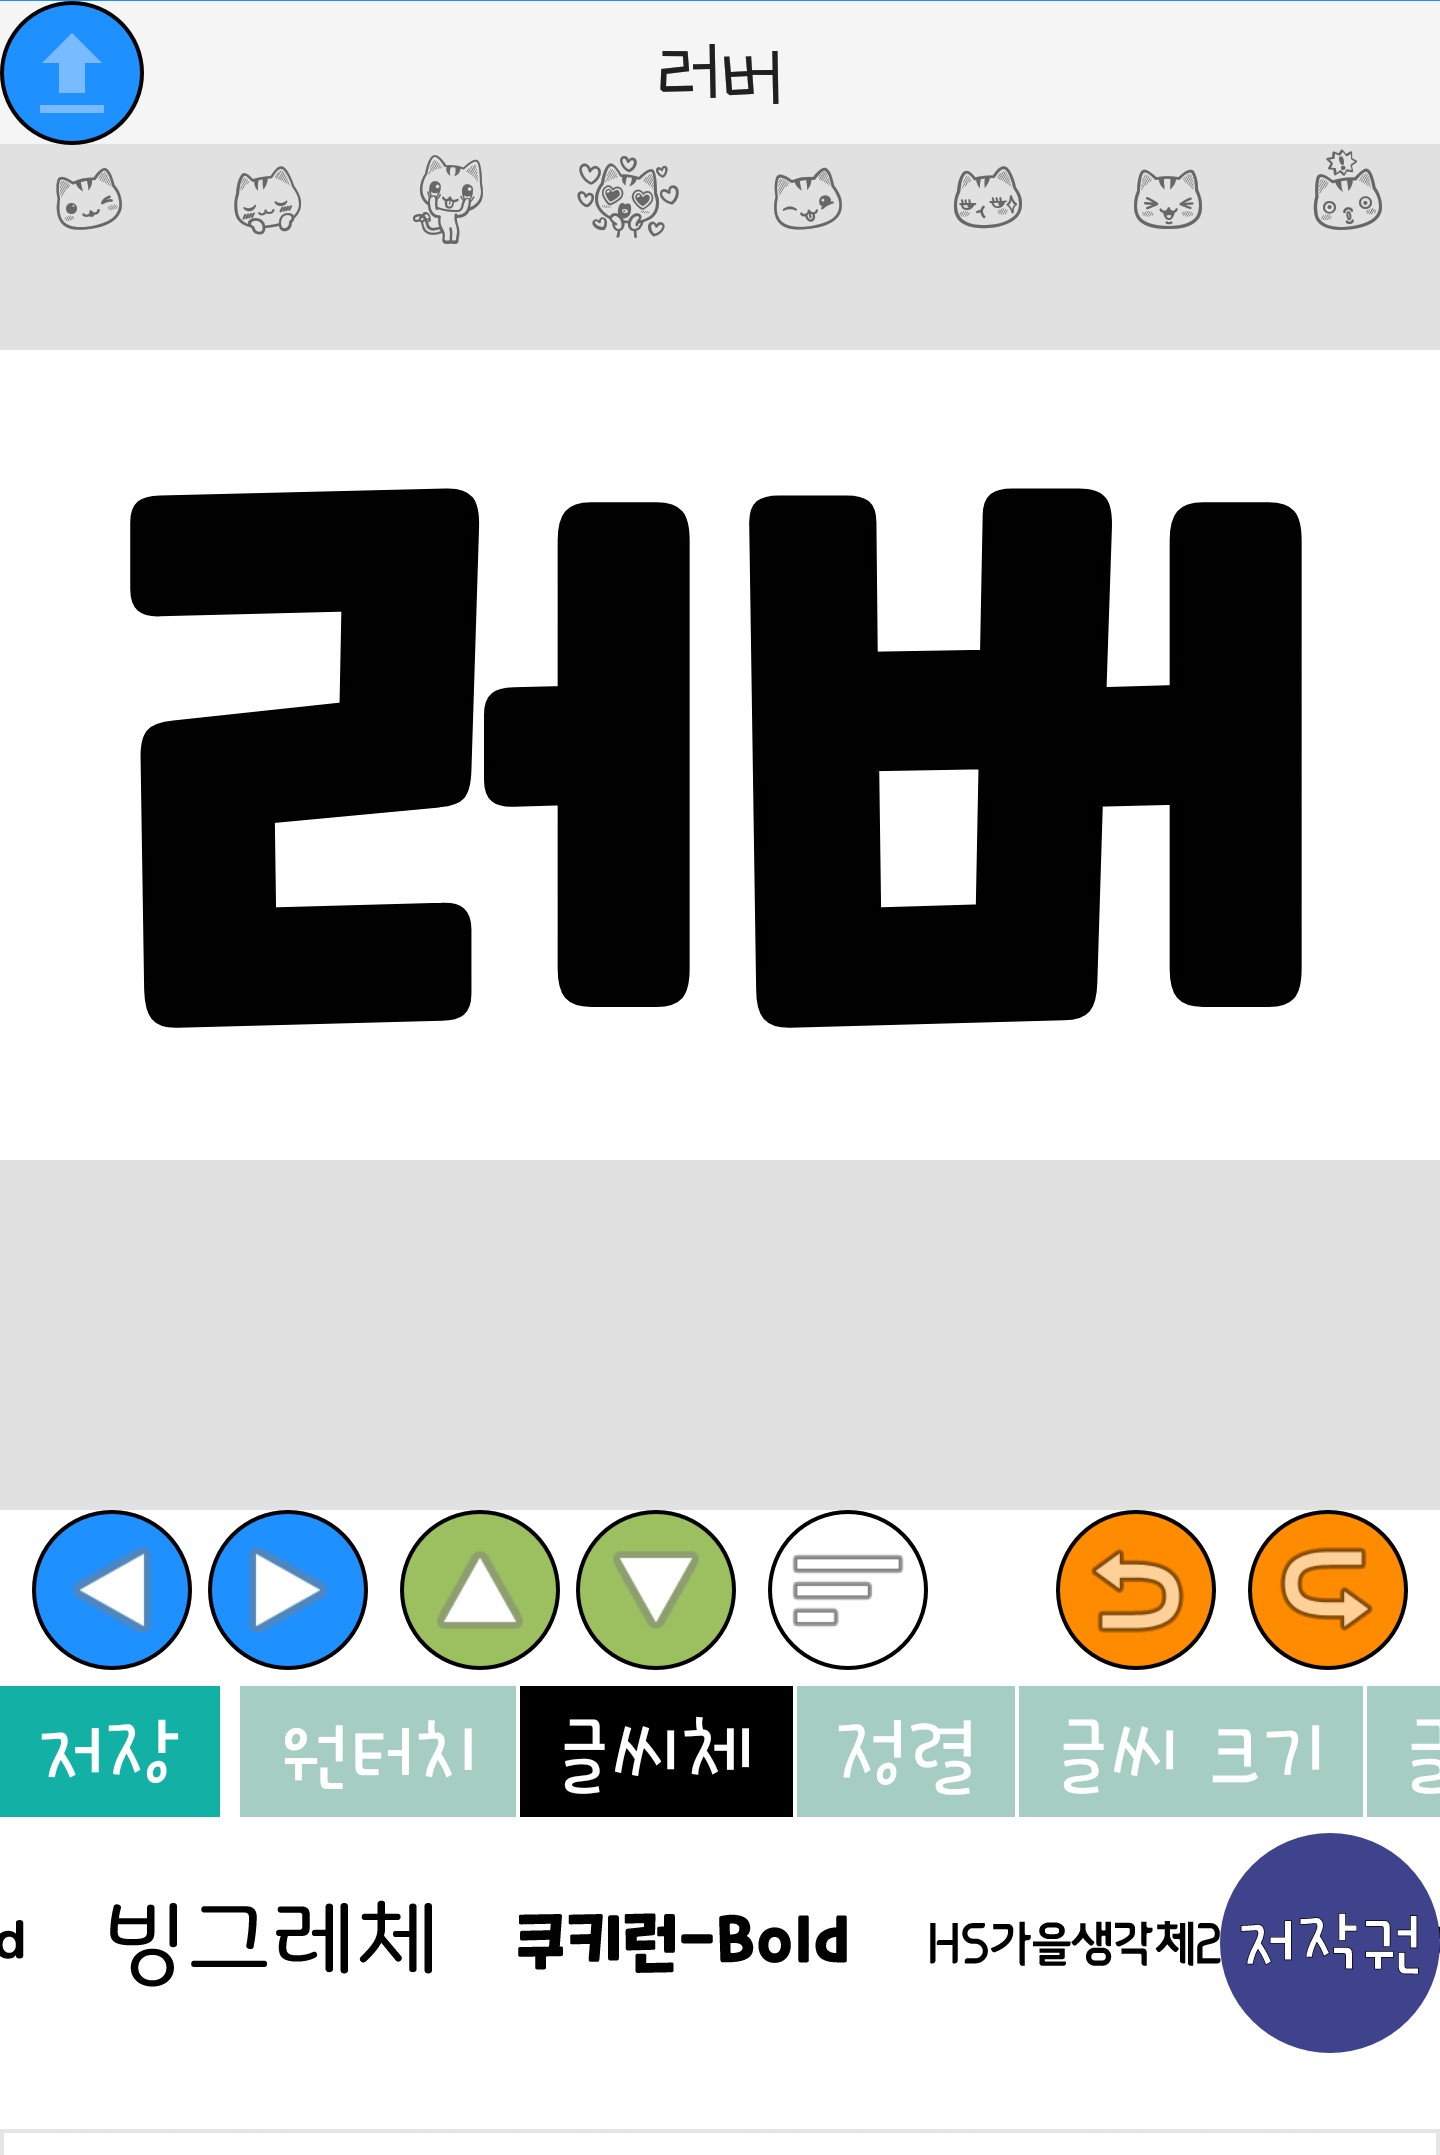
I did it with 'Cookie Run-Bold'. Now save it.
Let's meet
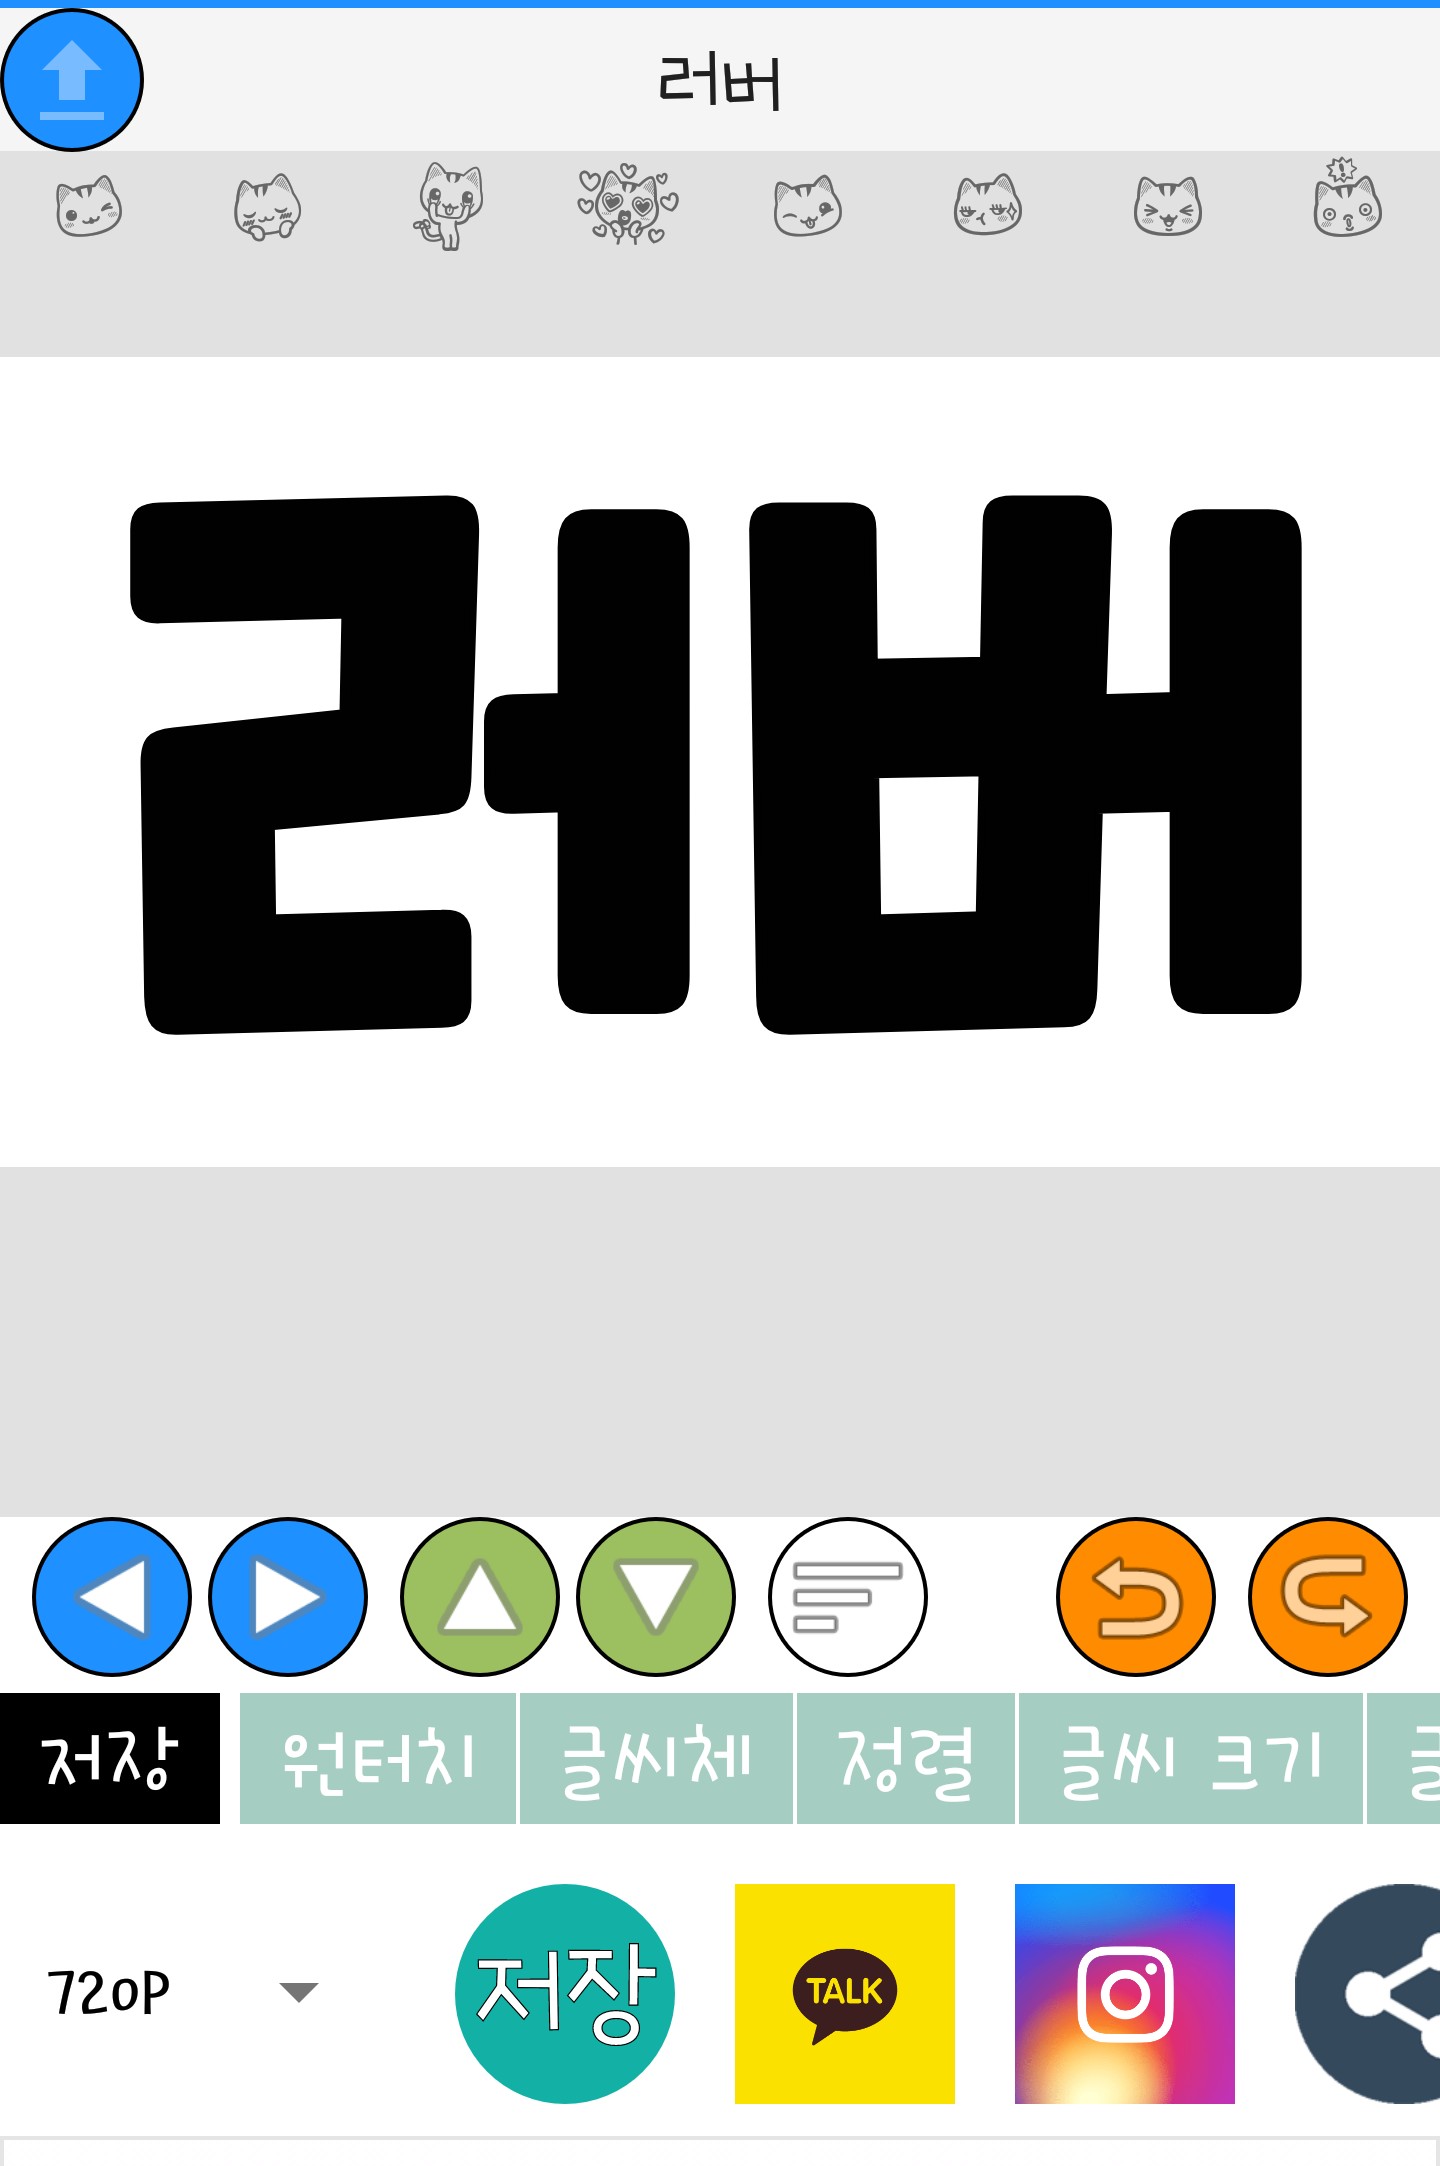
Click save to complete saving!!👏👏👏
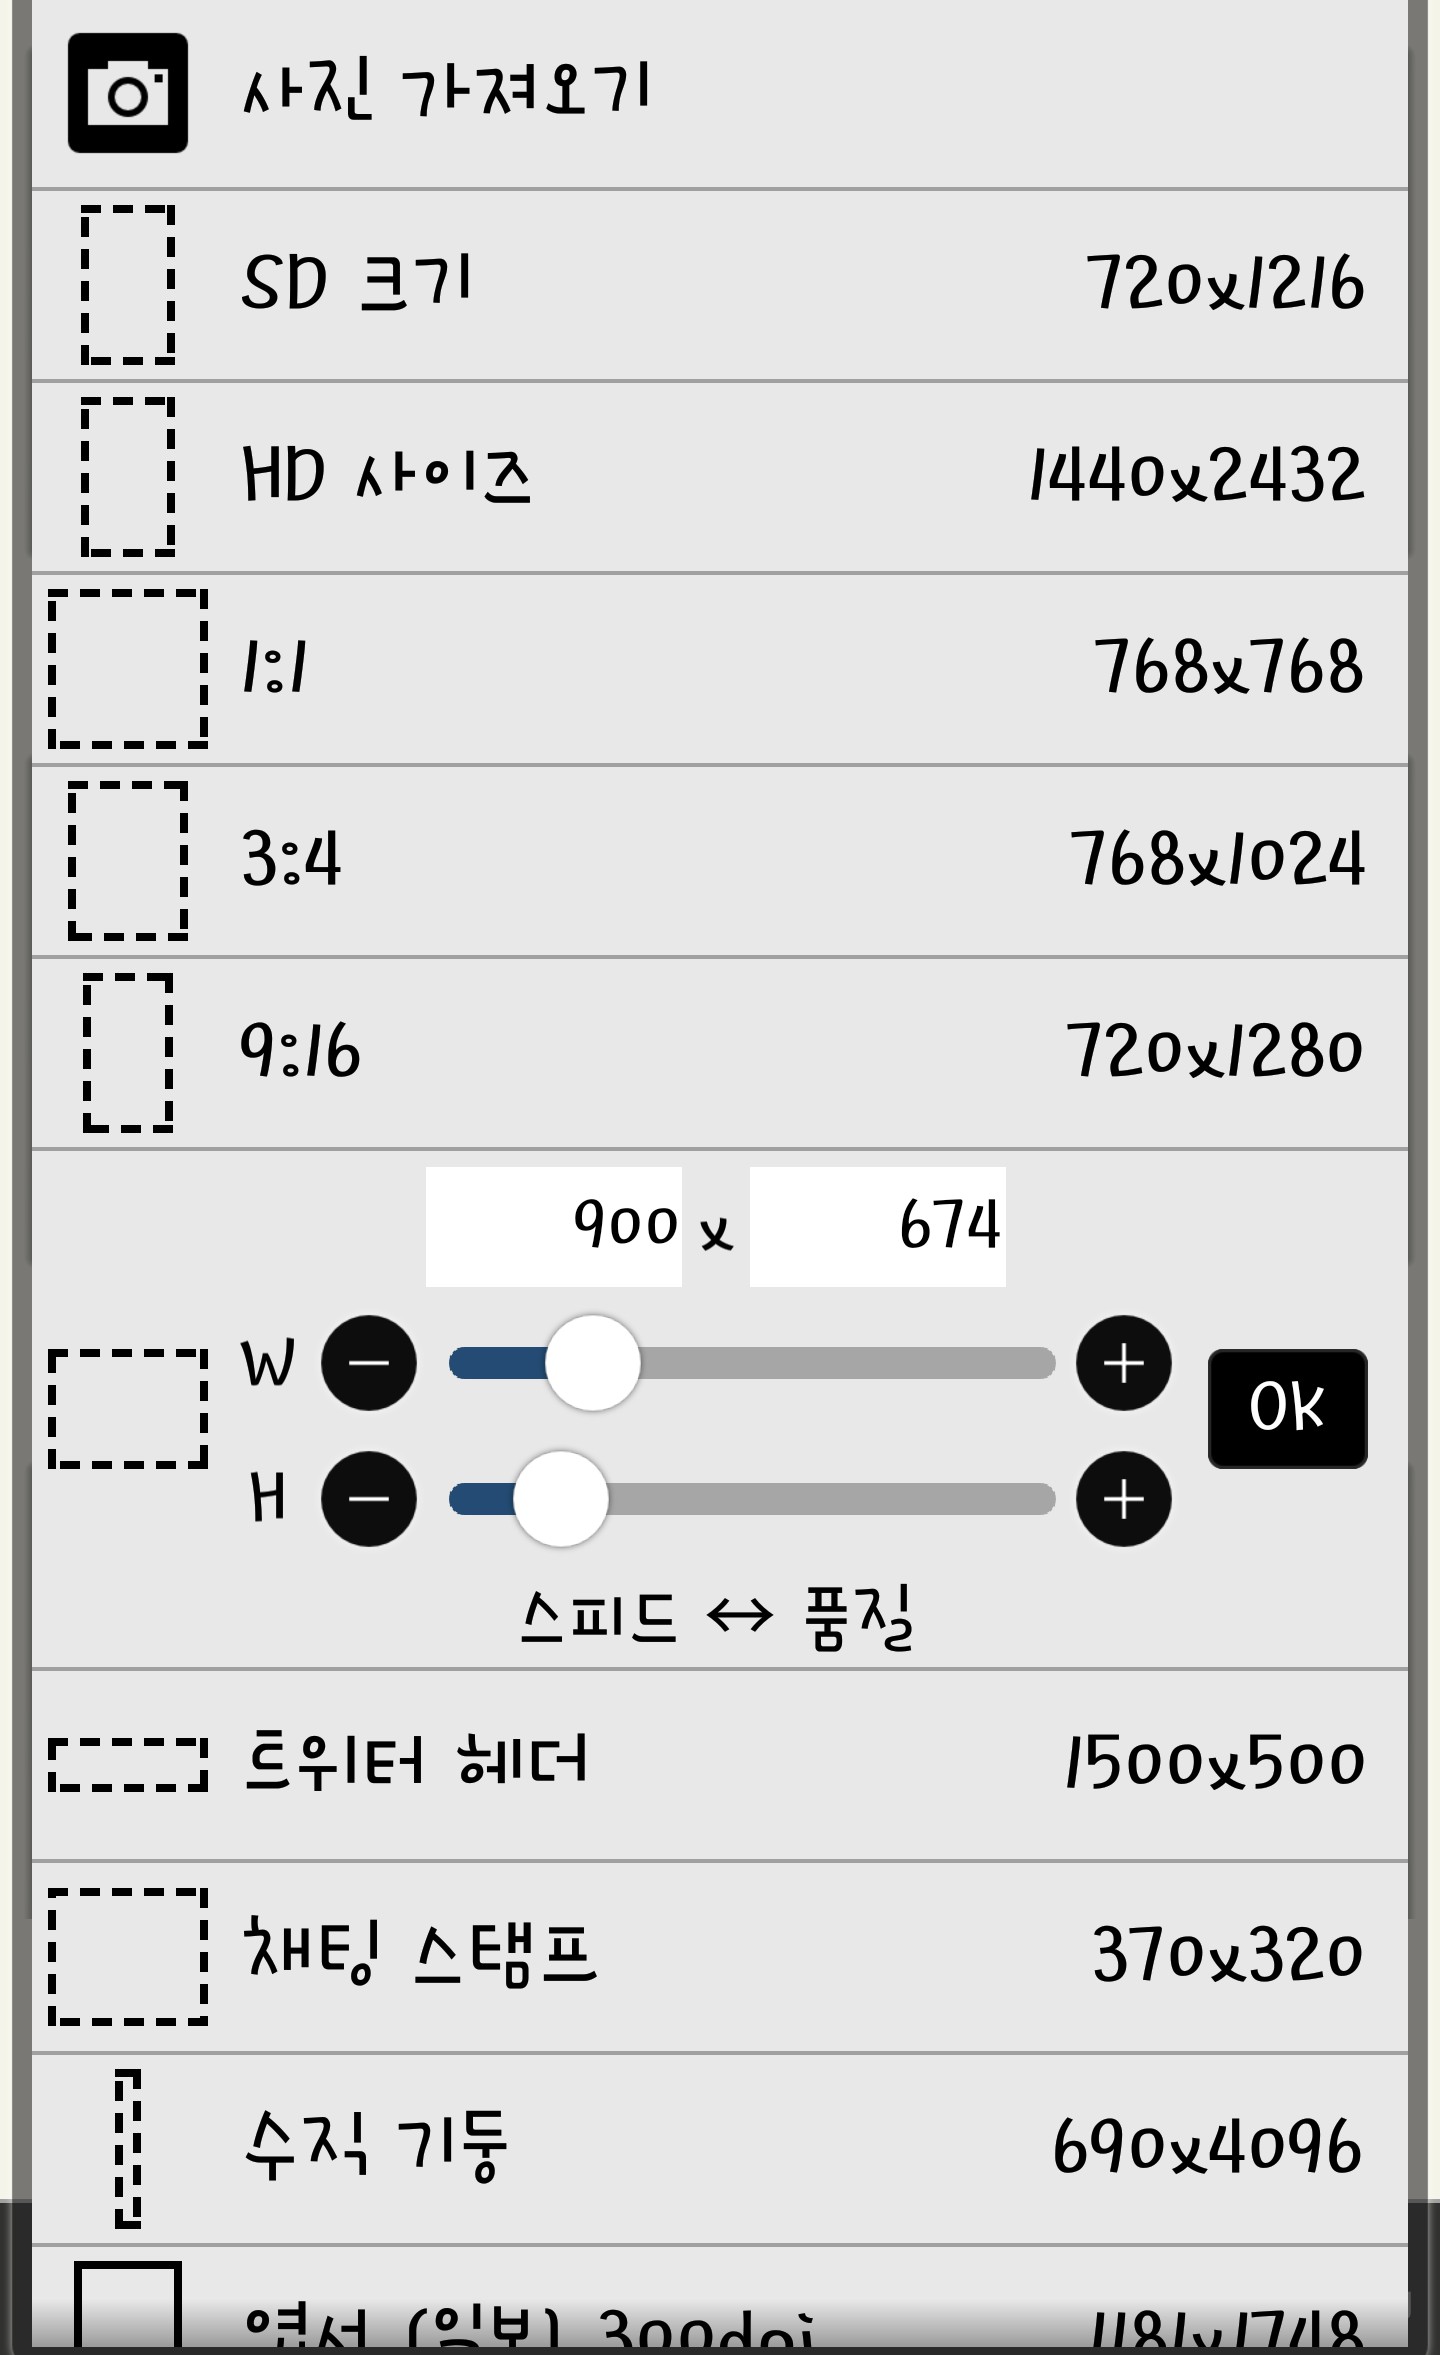
Now let's go to Ibis. The size doesn't matter, but I just made it the cover size.
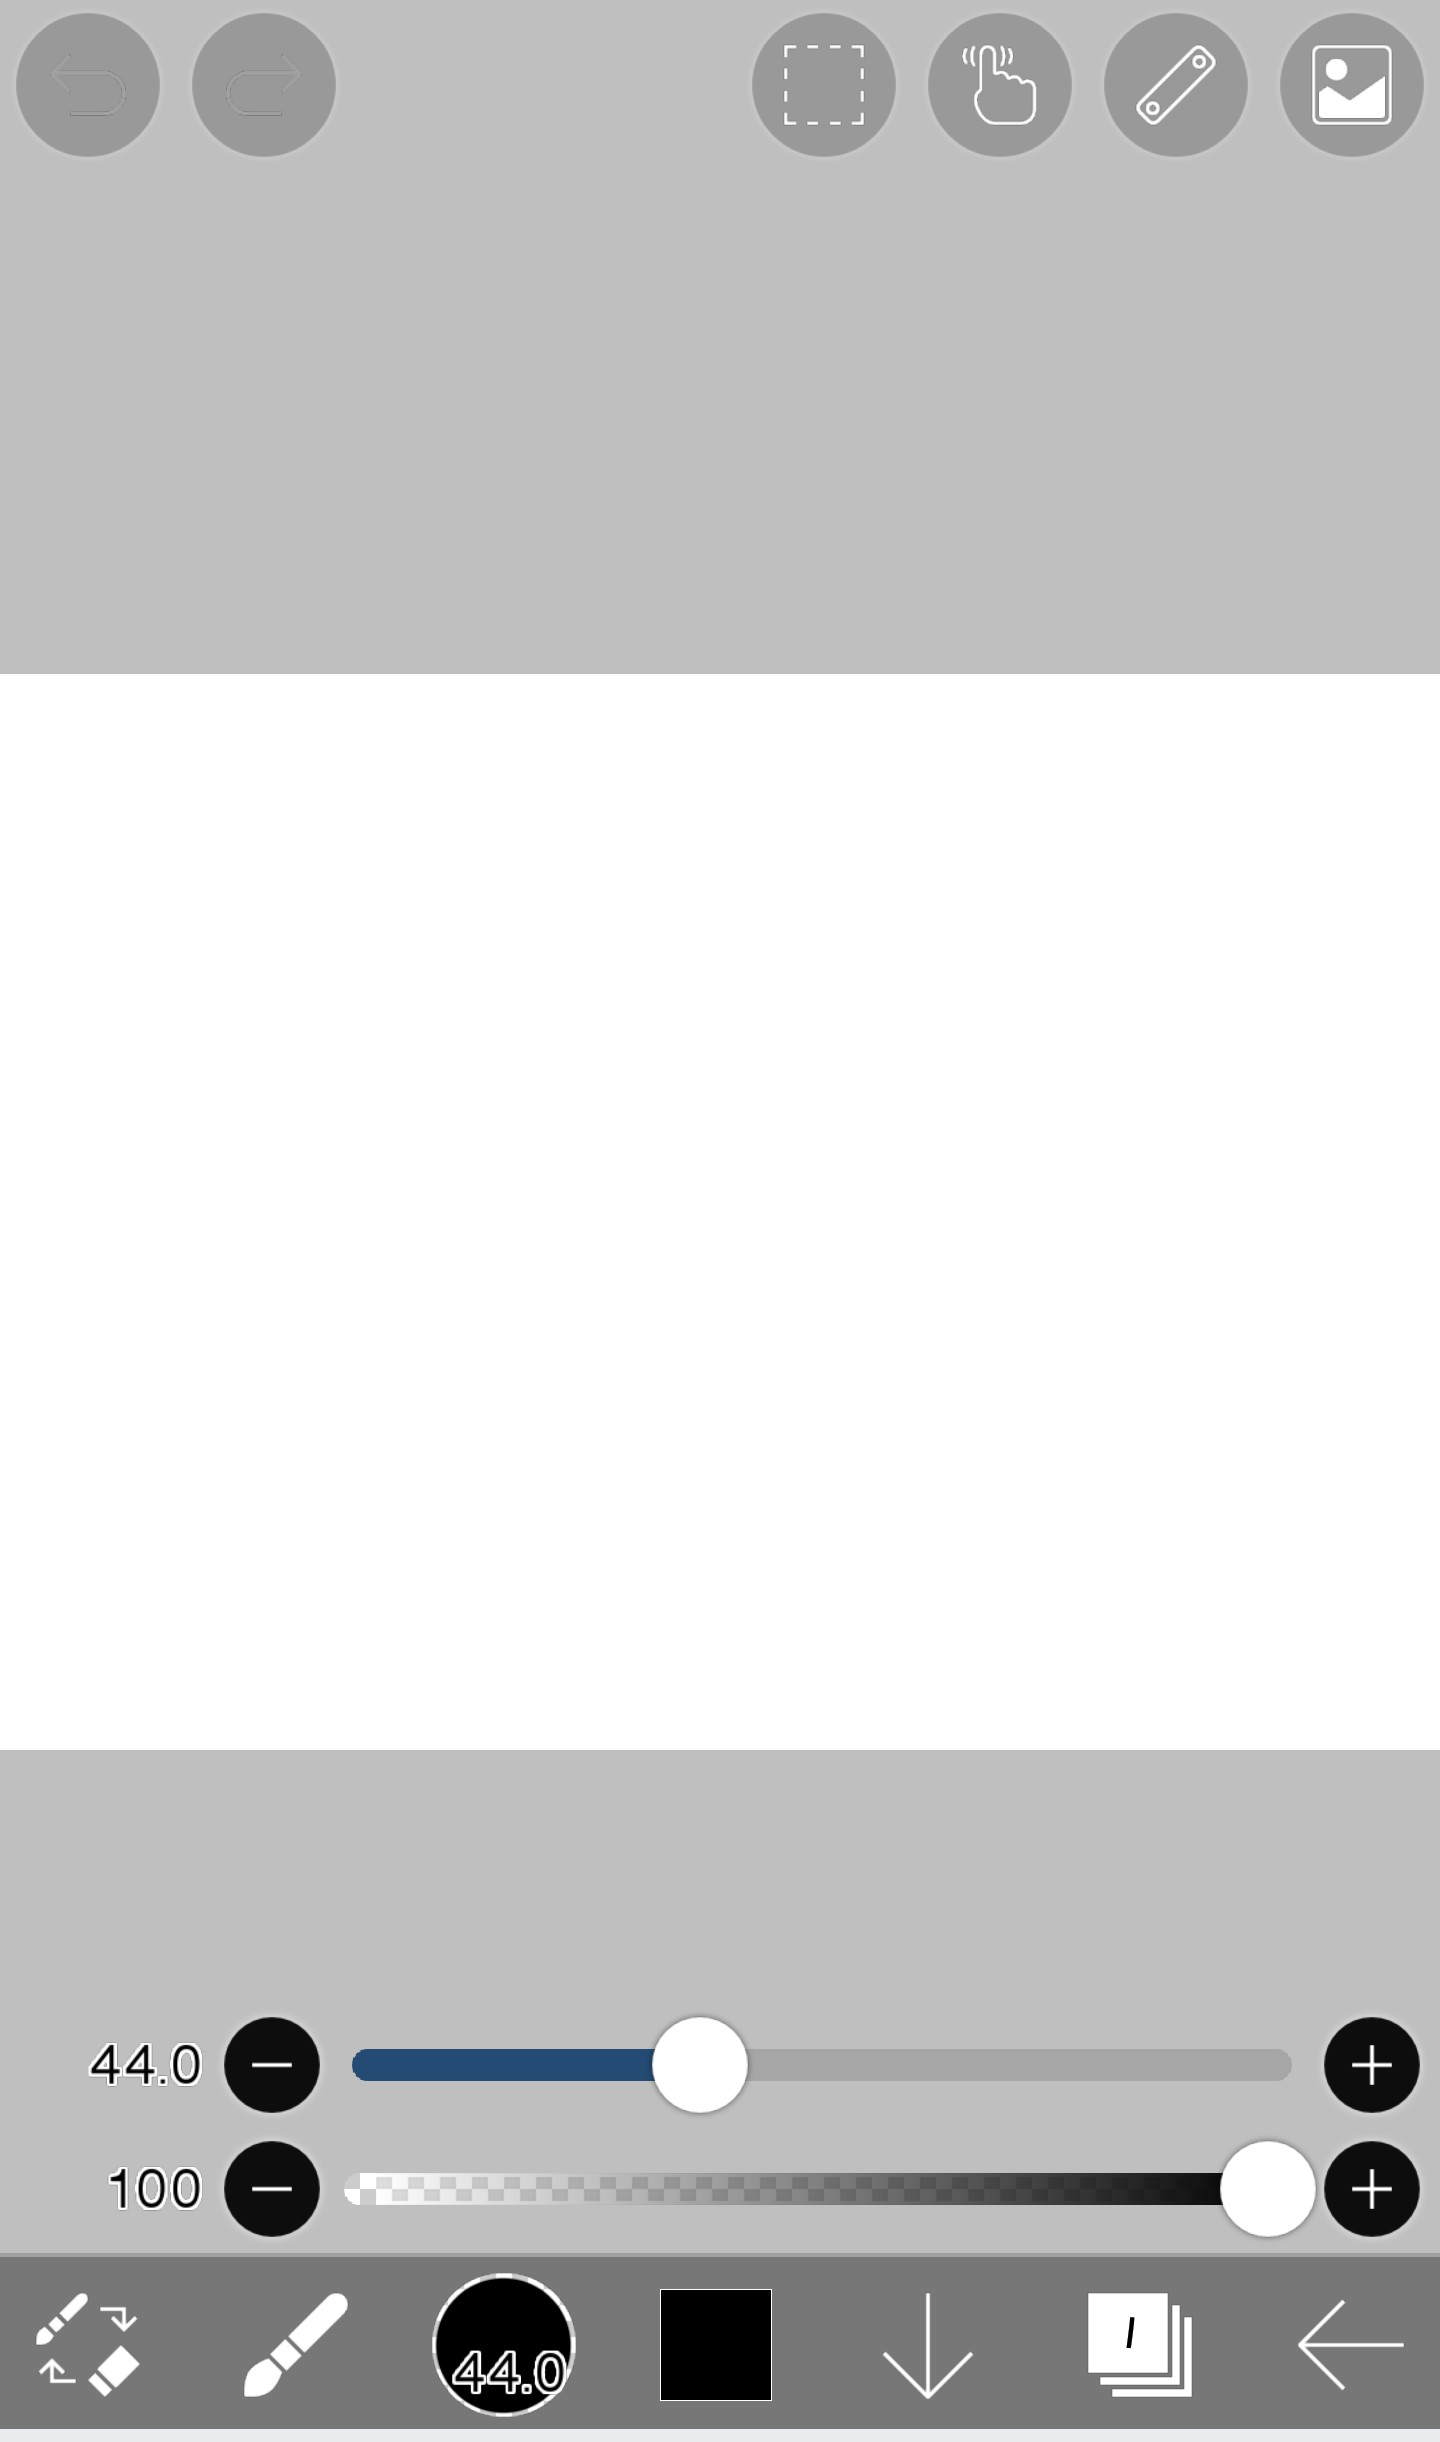
If you go in, it will come out like this.
And then click on the 'layer' that looks like this. If you don't know, please watch part 1 again :)
If you click on this layer, it will appear like this.

If you click on the camera-like thing here, you can take photos and other things.

Then, let's take the text we just created and make a background.
Because it was saved as transparent, it looks like this in the gallery
It will look black, don't worry, it's normal
Please press the stop button

If you call it like this, please adjust the position and press the ✅ symbol.
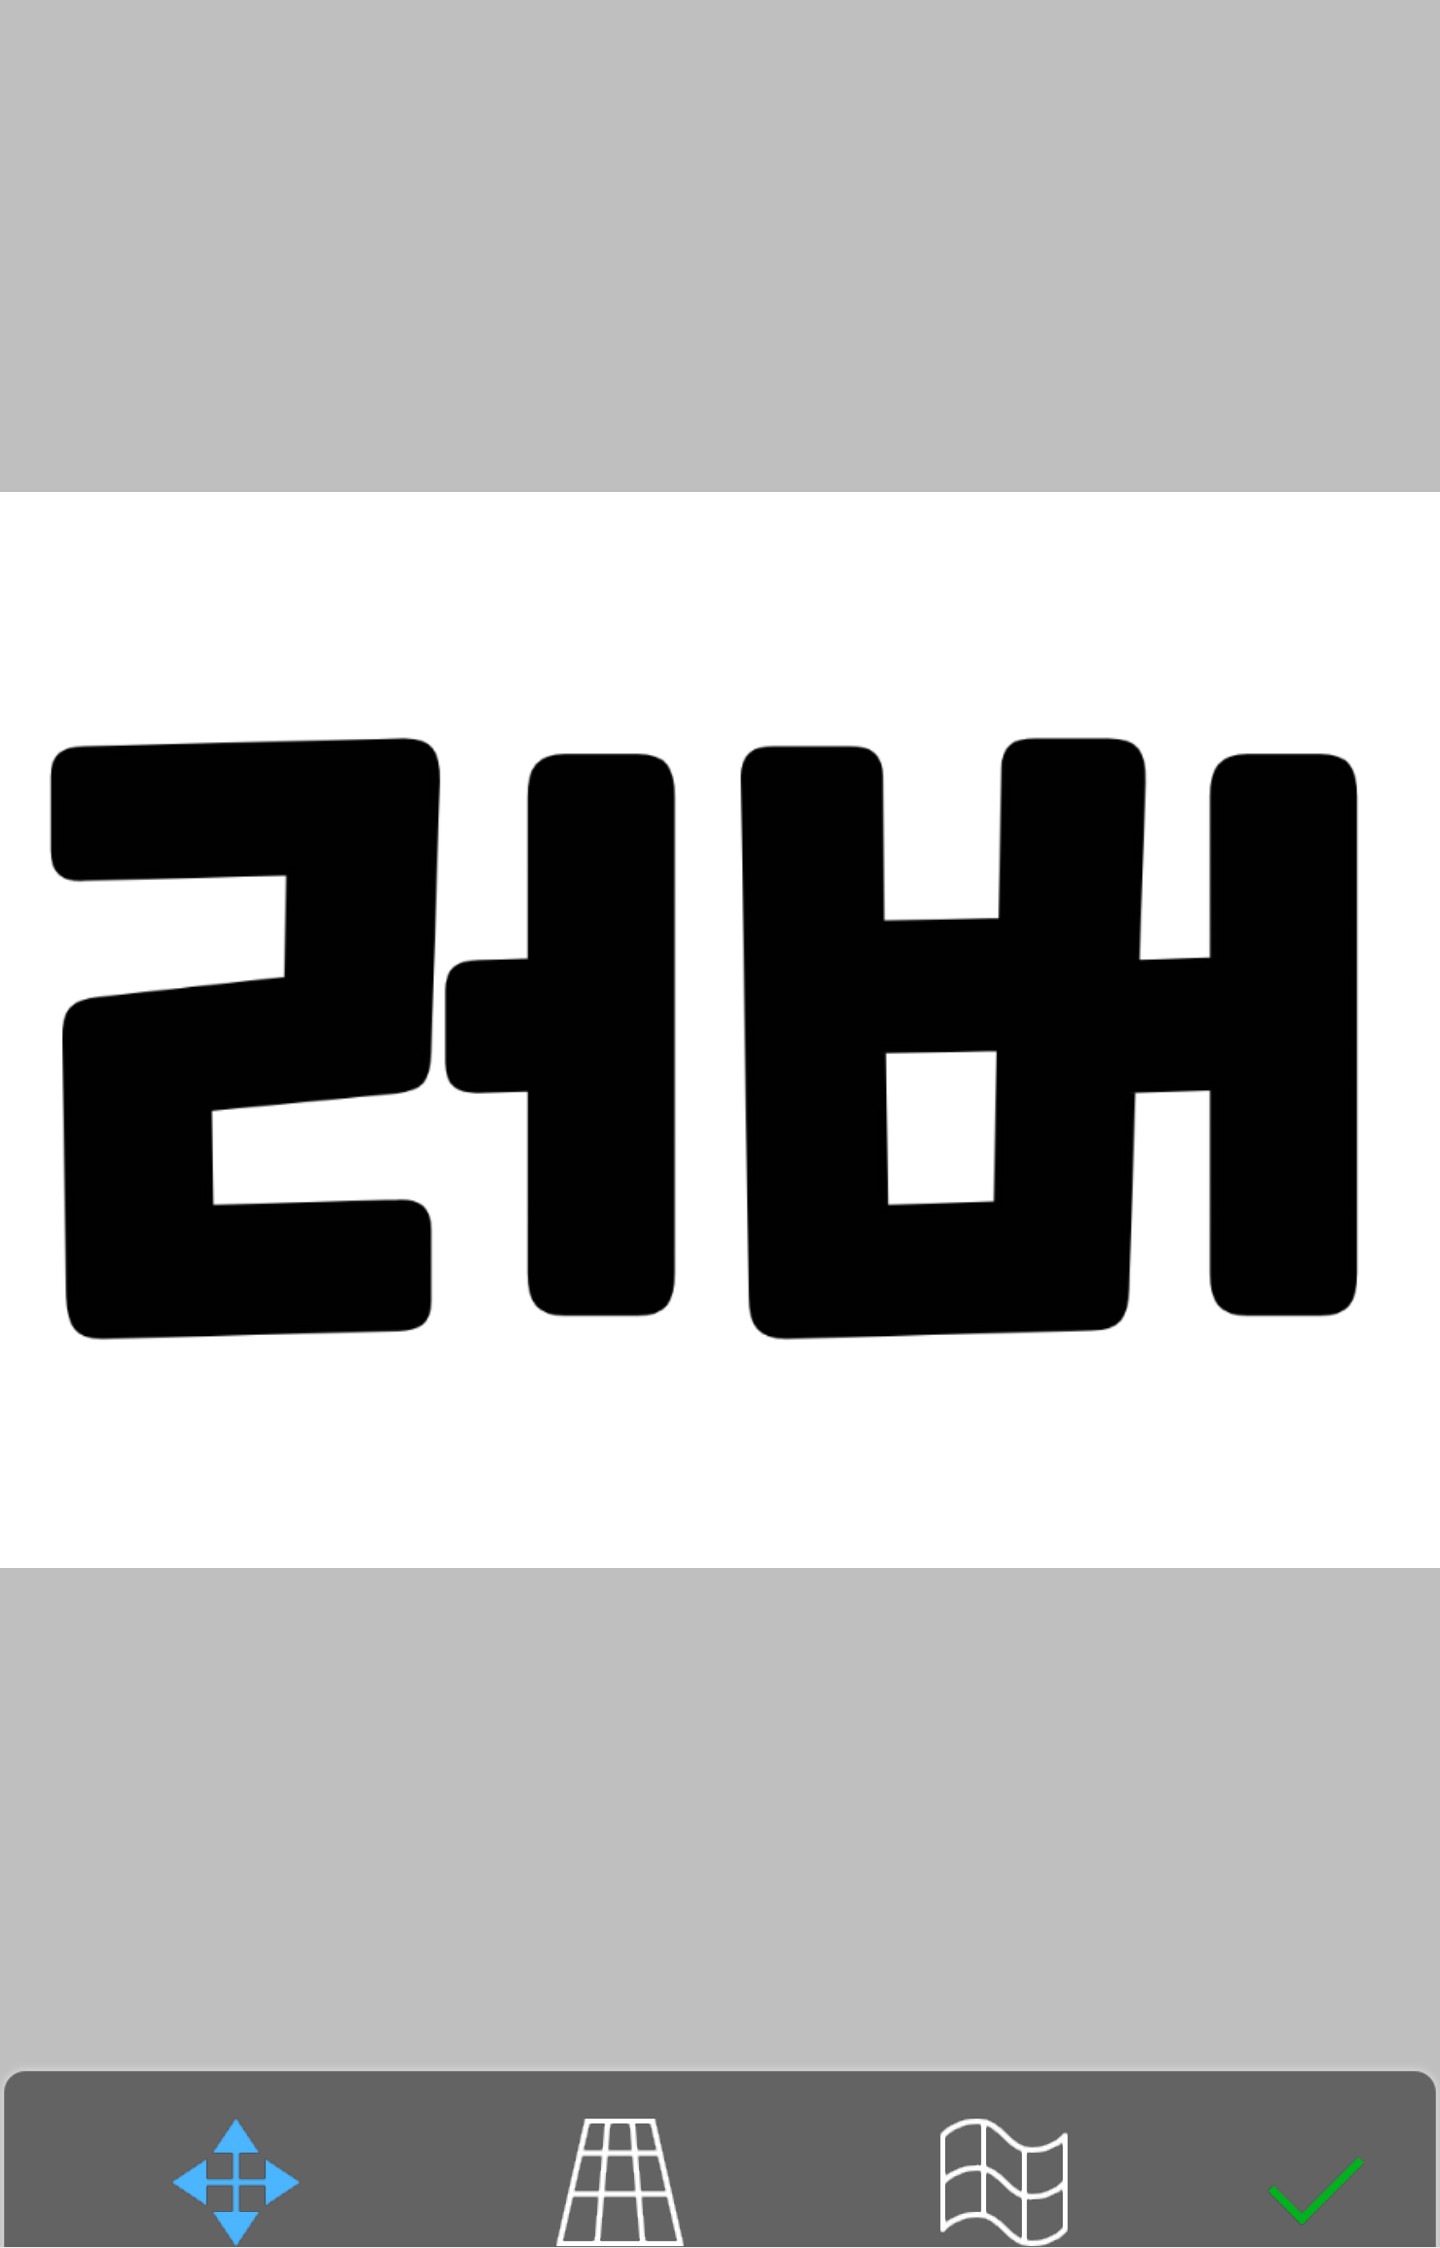
After adjusting the position like this,
Enter the layer
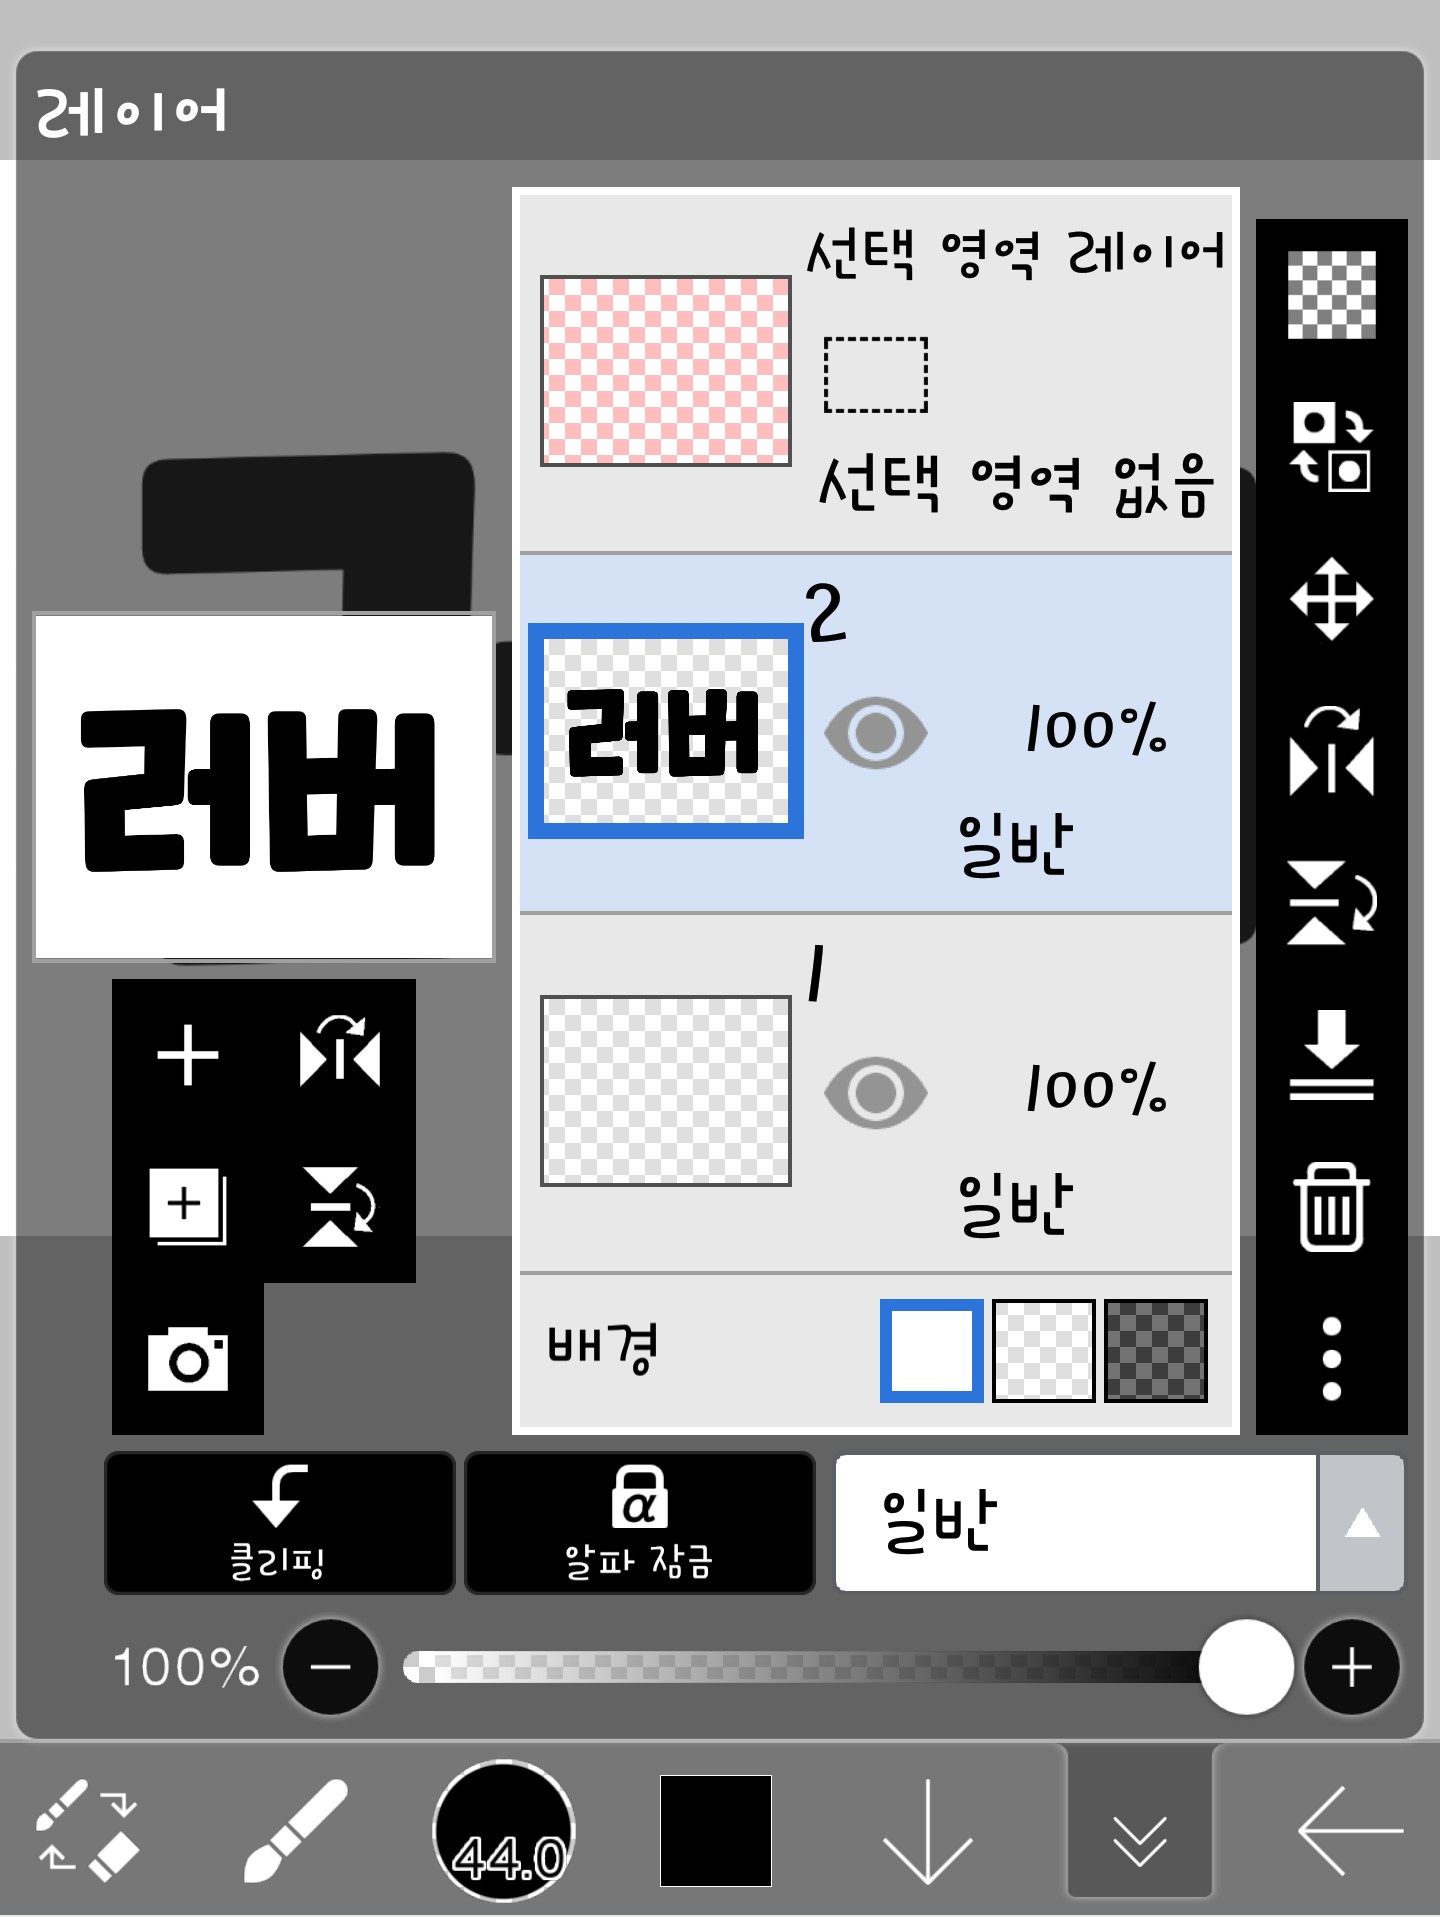
And if you press this button with three dots,
It will appear like this, so click on the opacity setting here (same as part 1)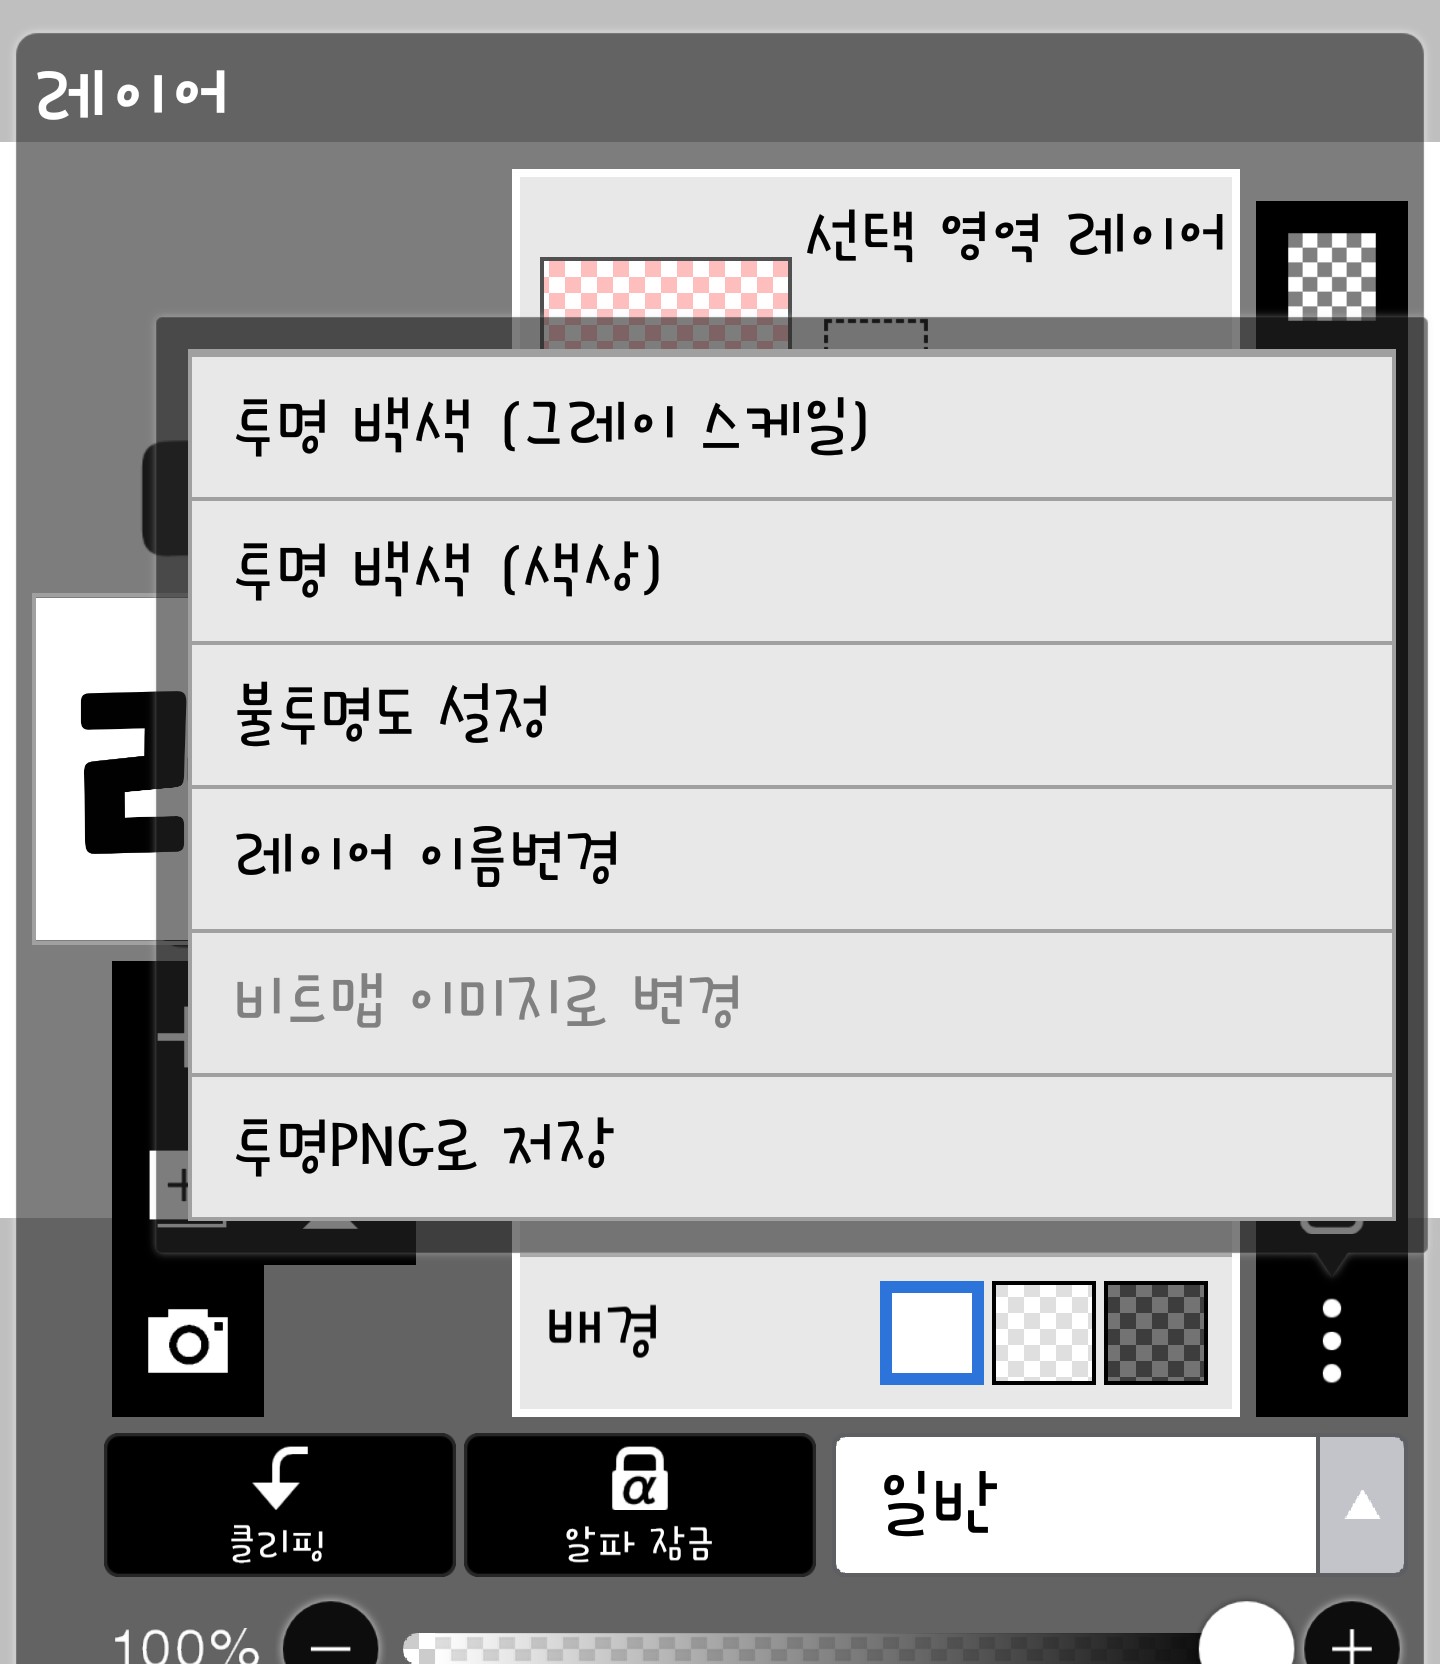
If you click on the opacity setting, it changes like this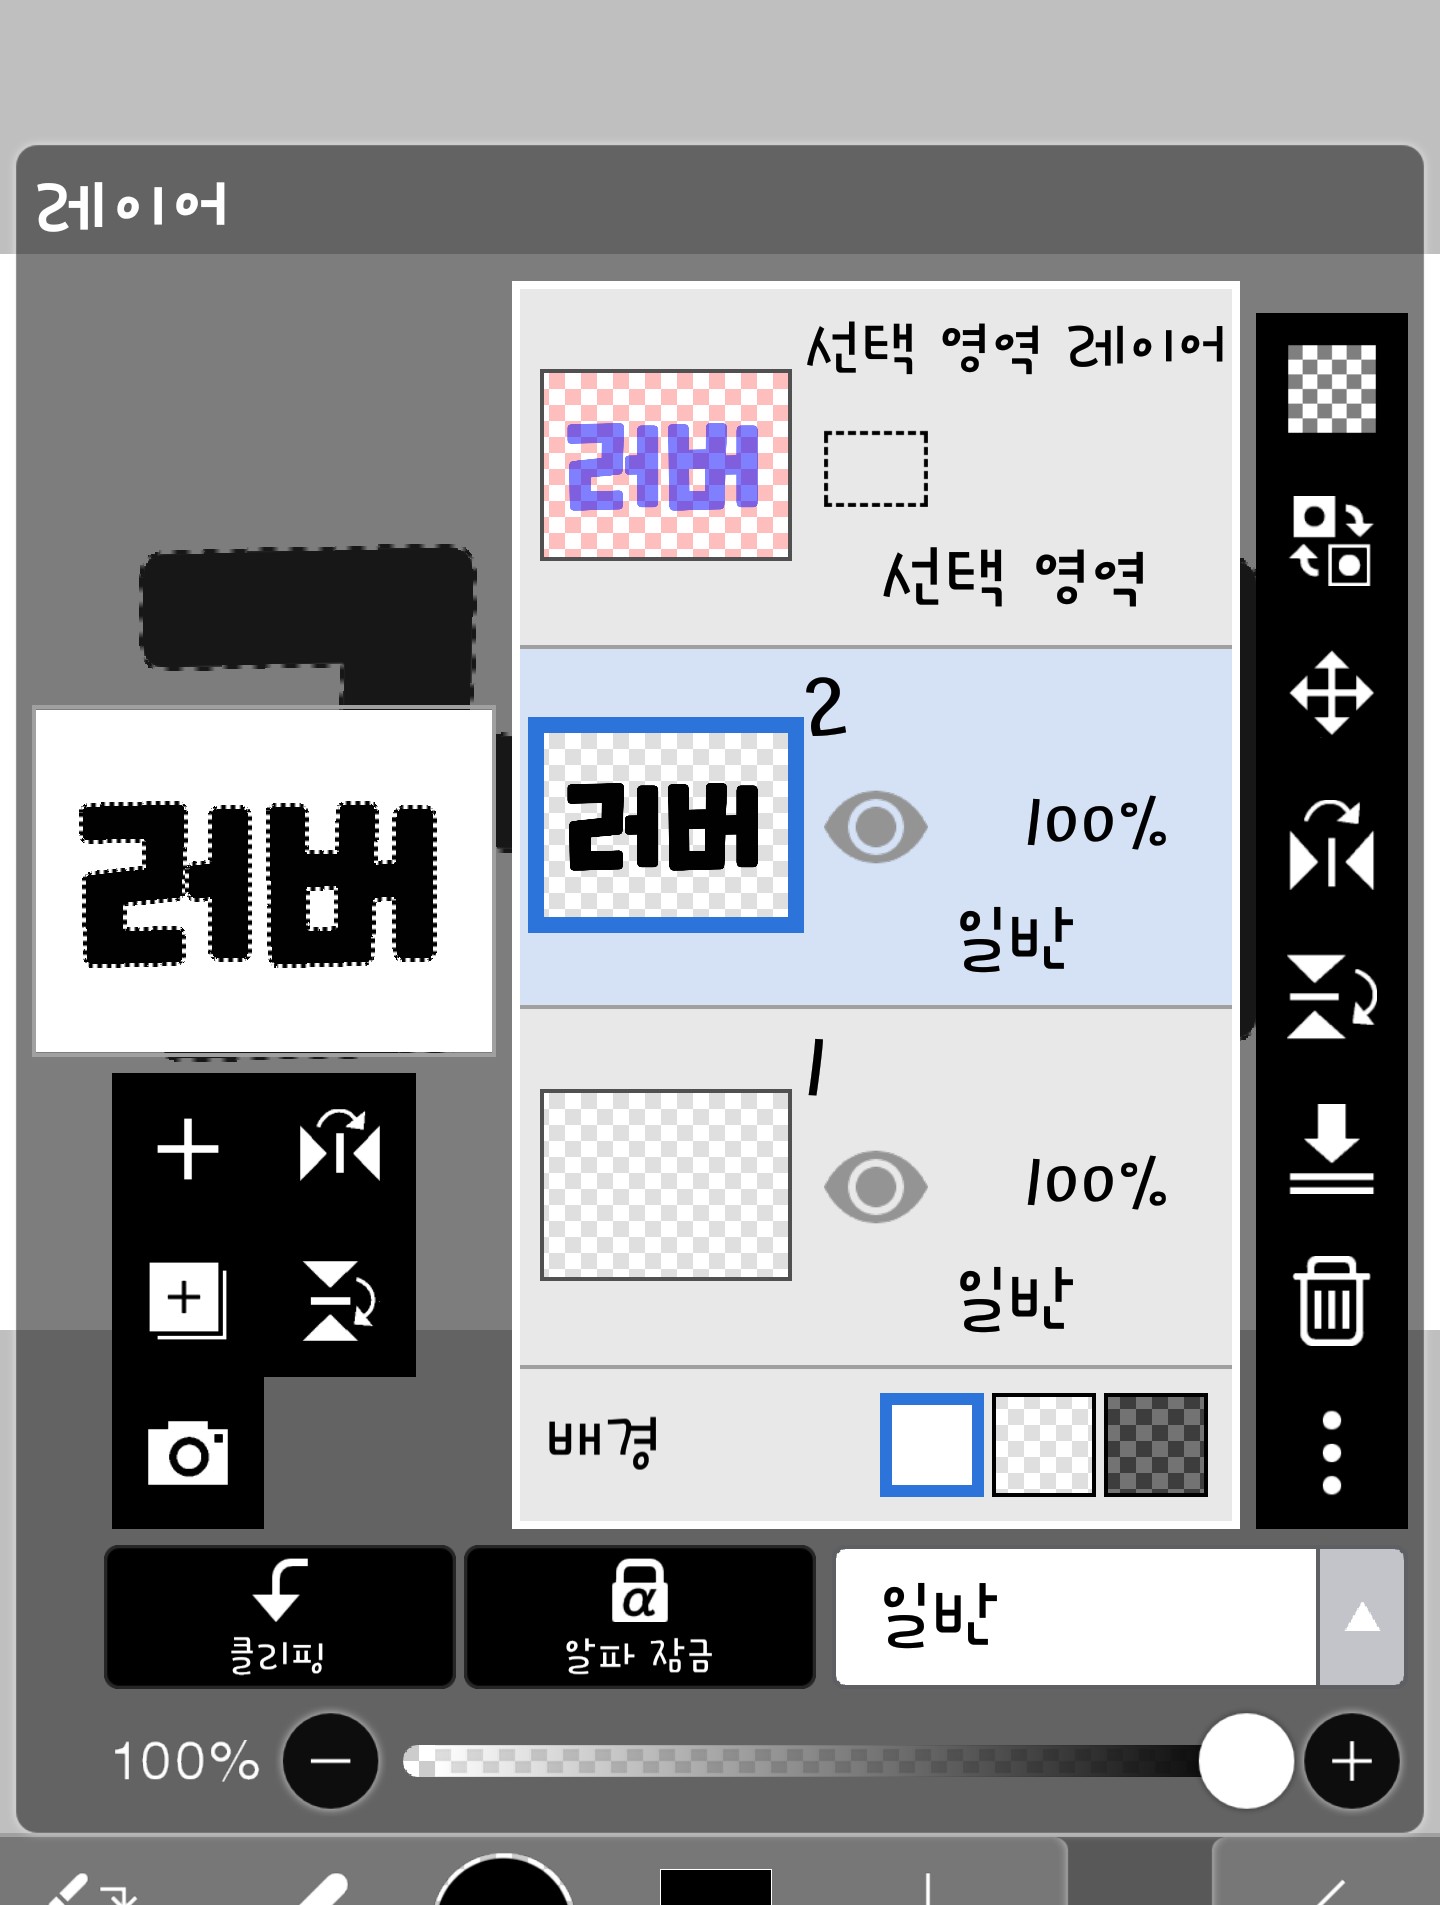
A dotted line appears!!
Just like in Part 1, paint it like this here too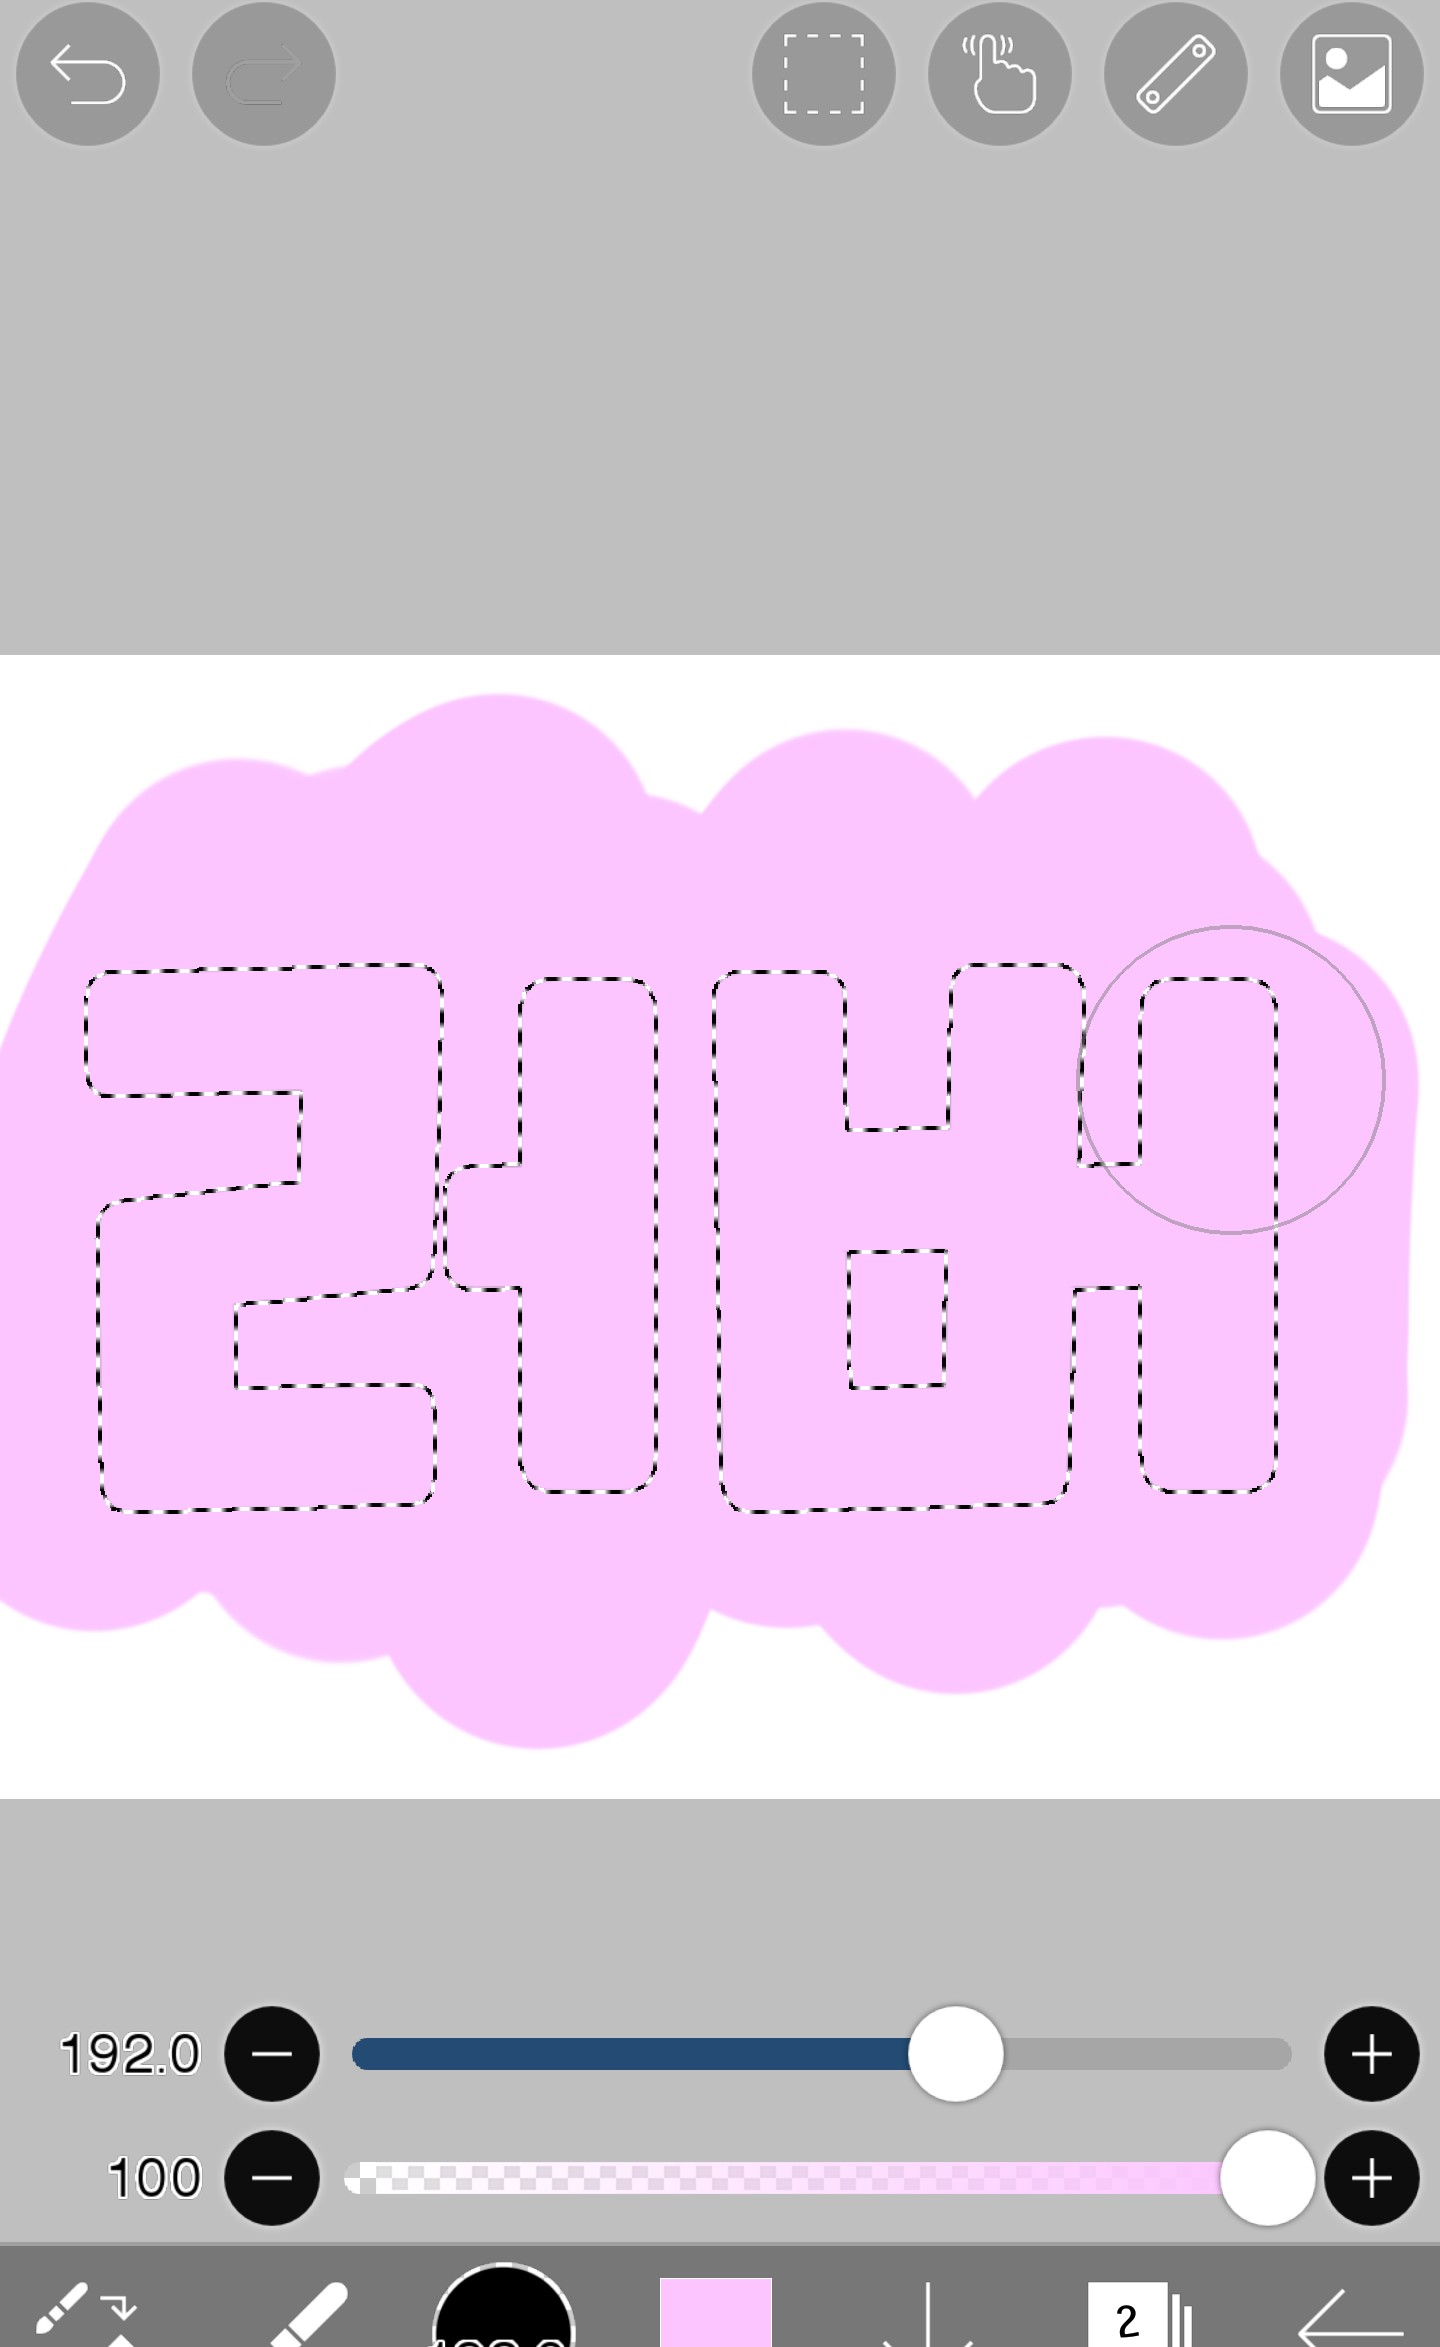
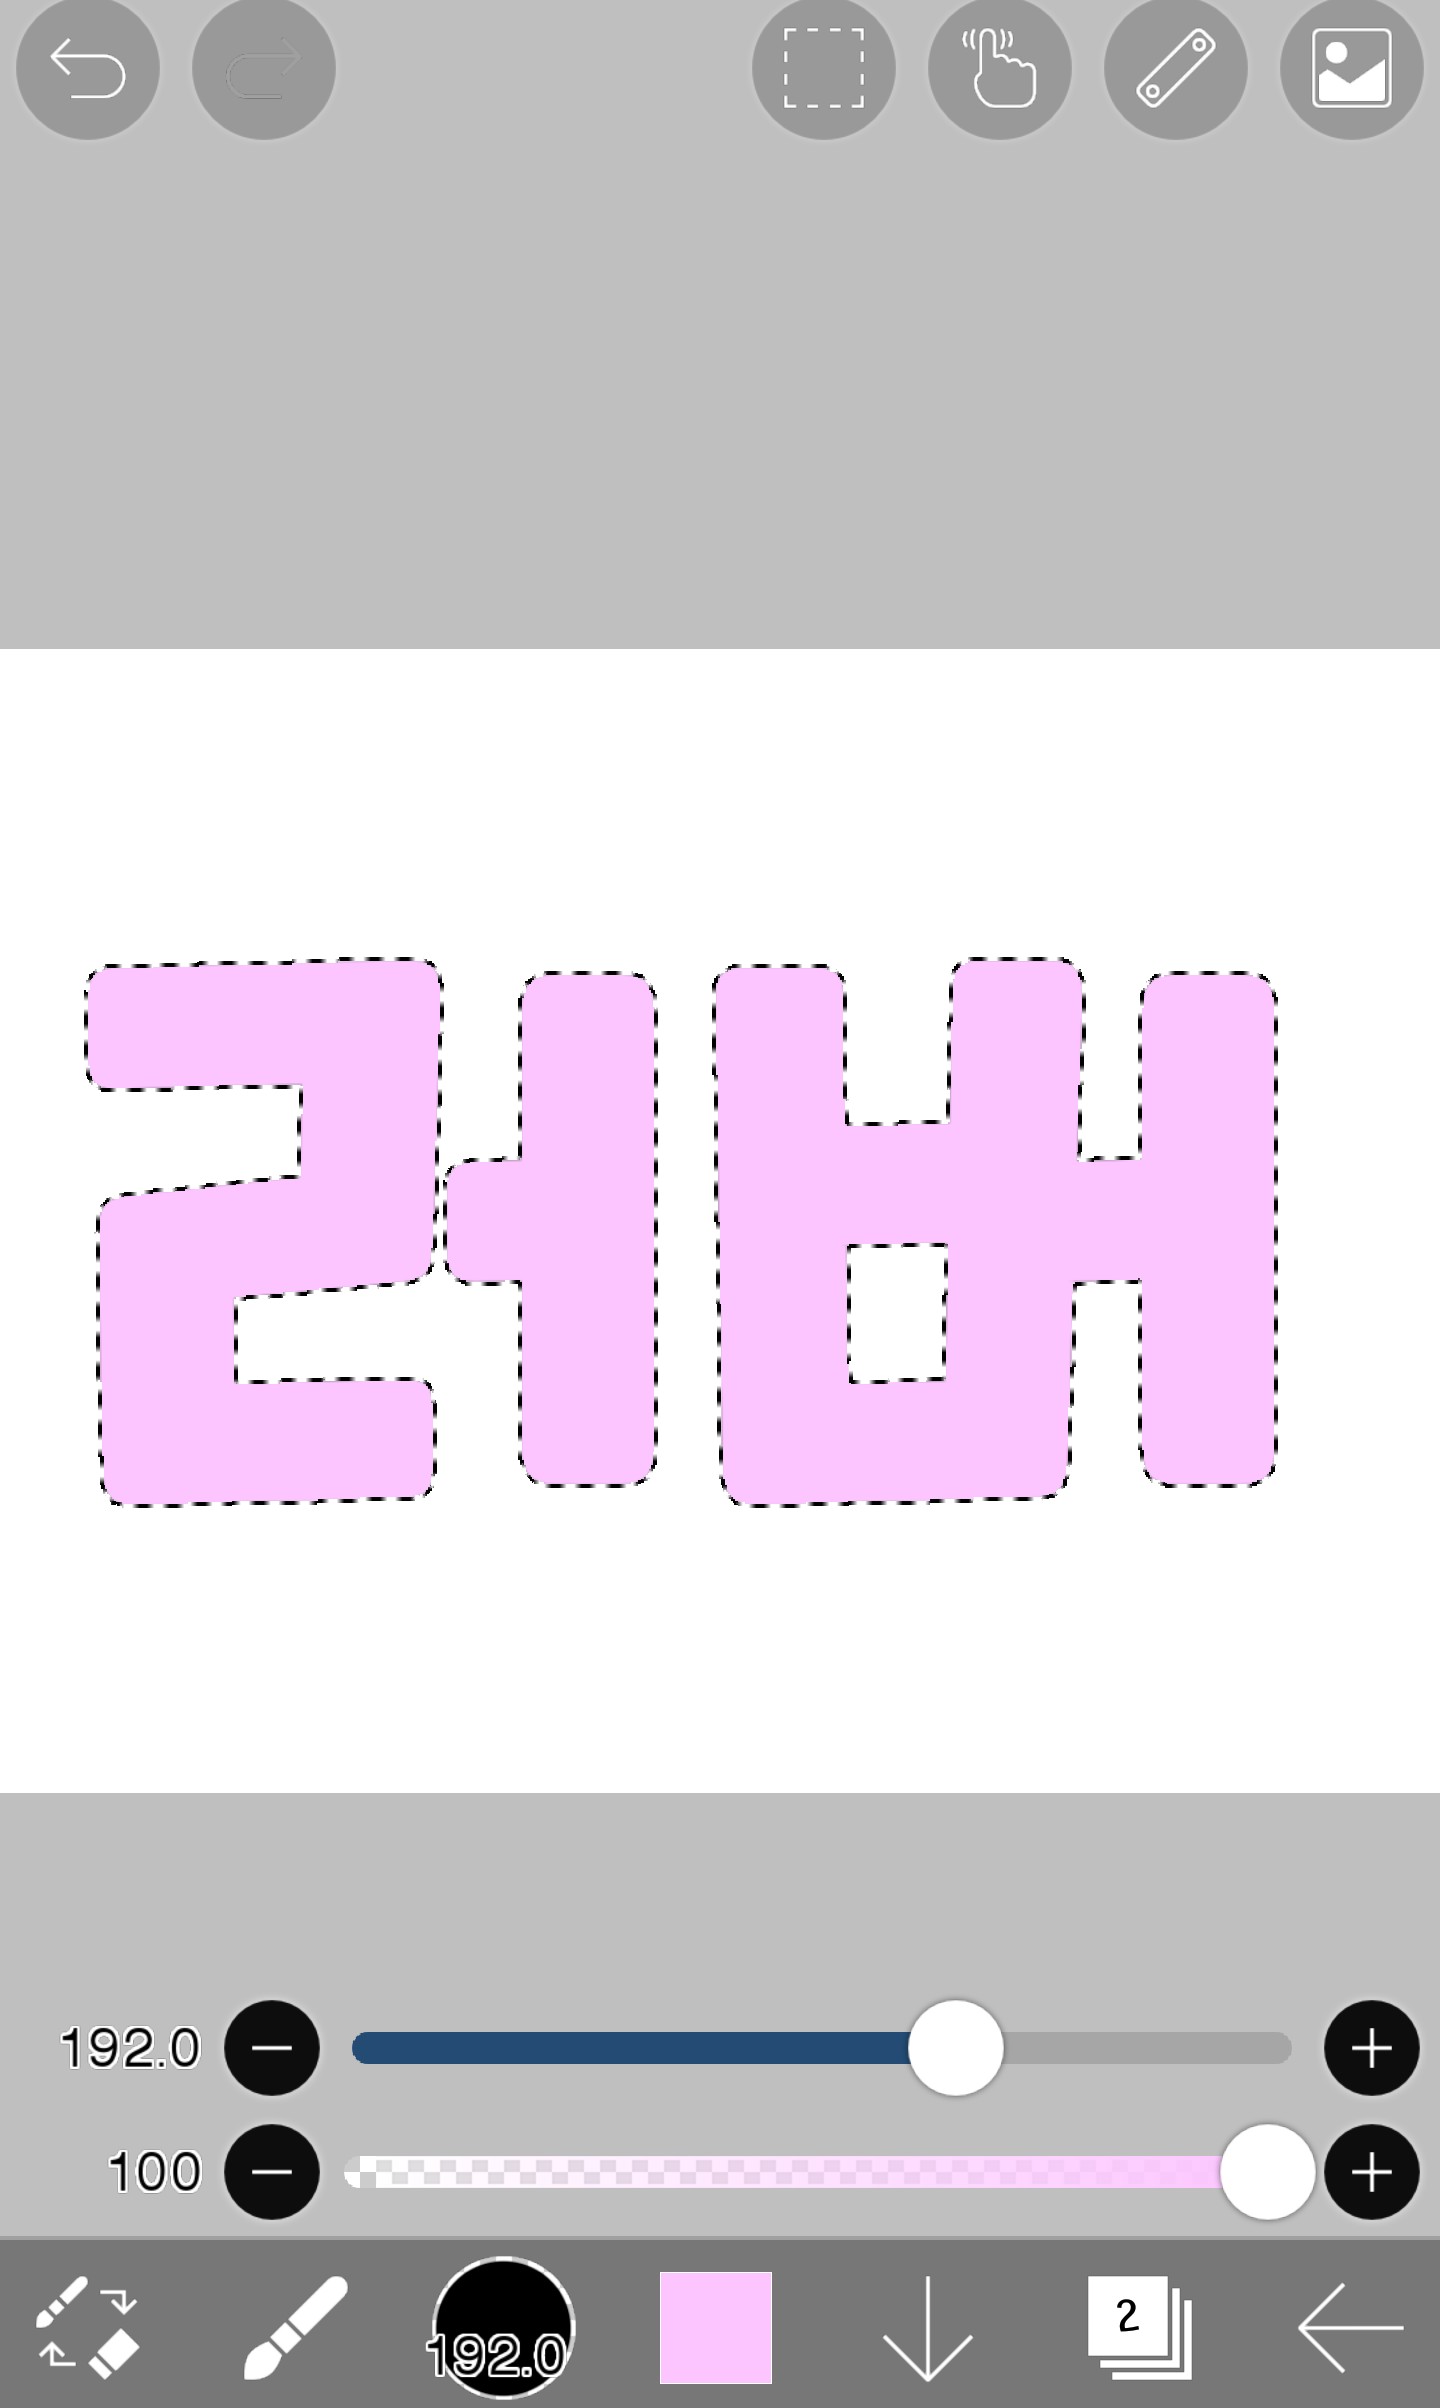
Like this, the part outside the text is not colored!!
Then let's paint it with a gradient. Paint it layer by layer like this...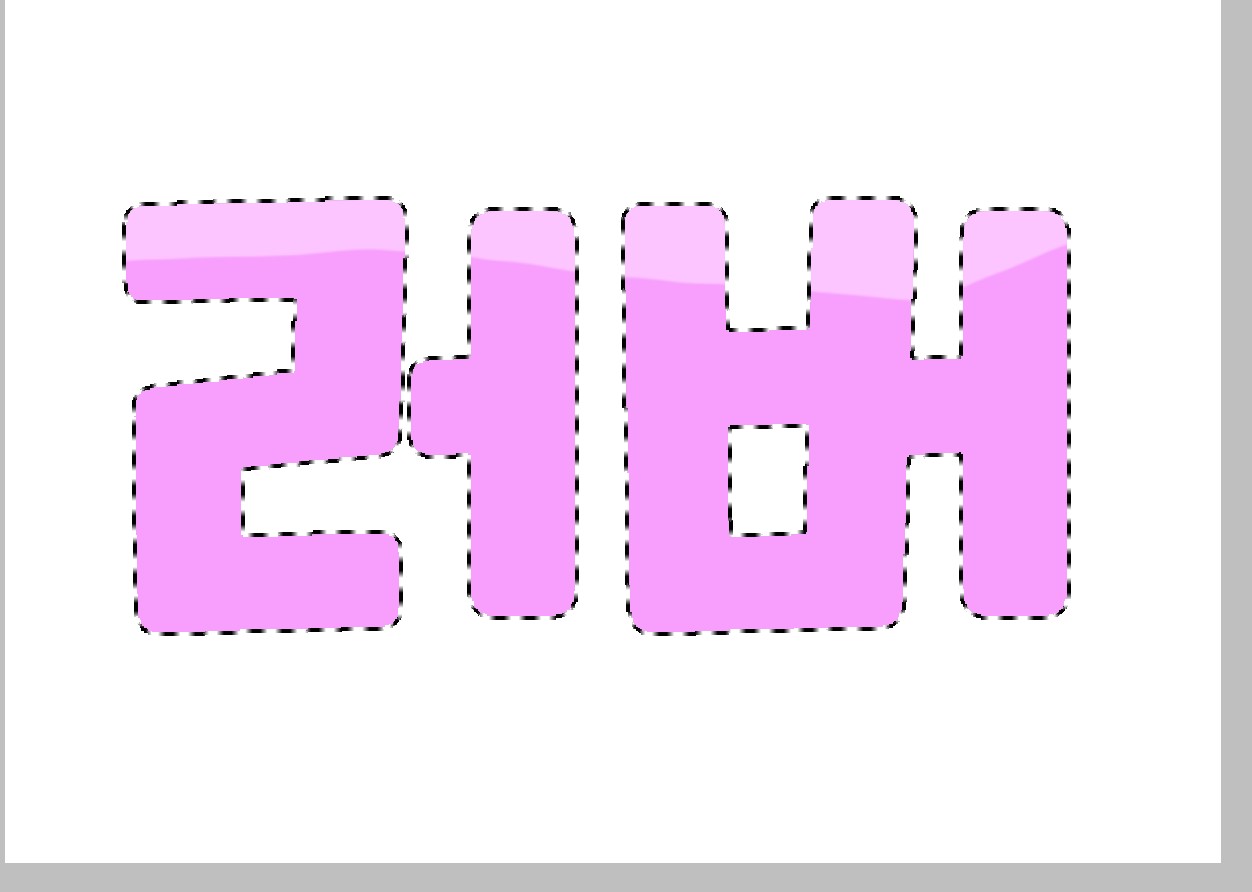
To make it a little more natural, like a brush
Click on the button that appears and click on the blur effect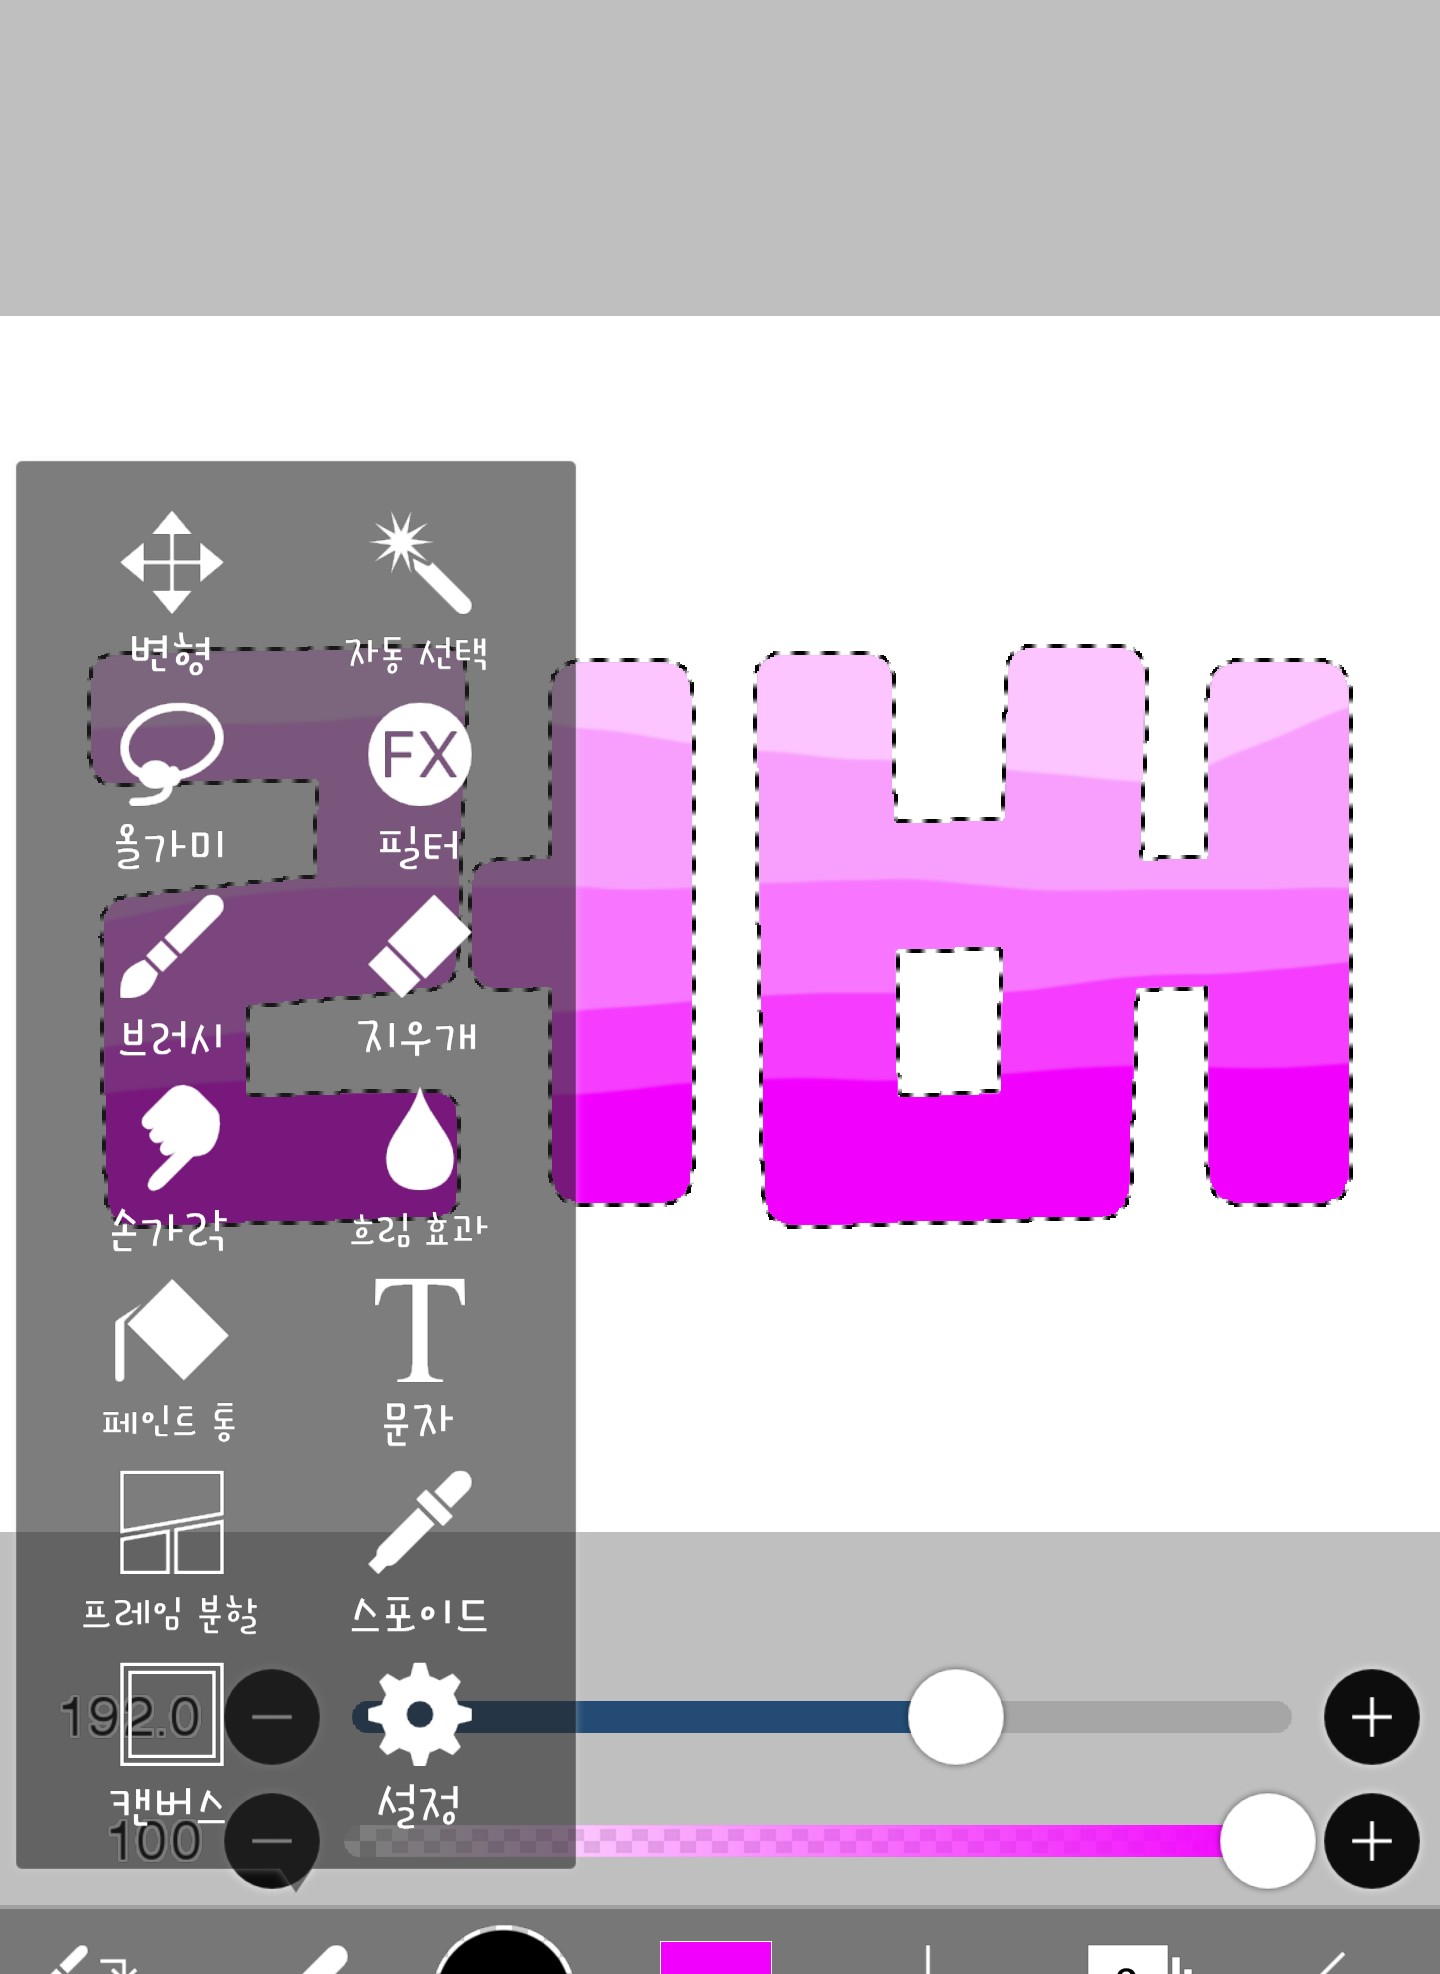
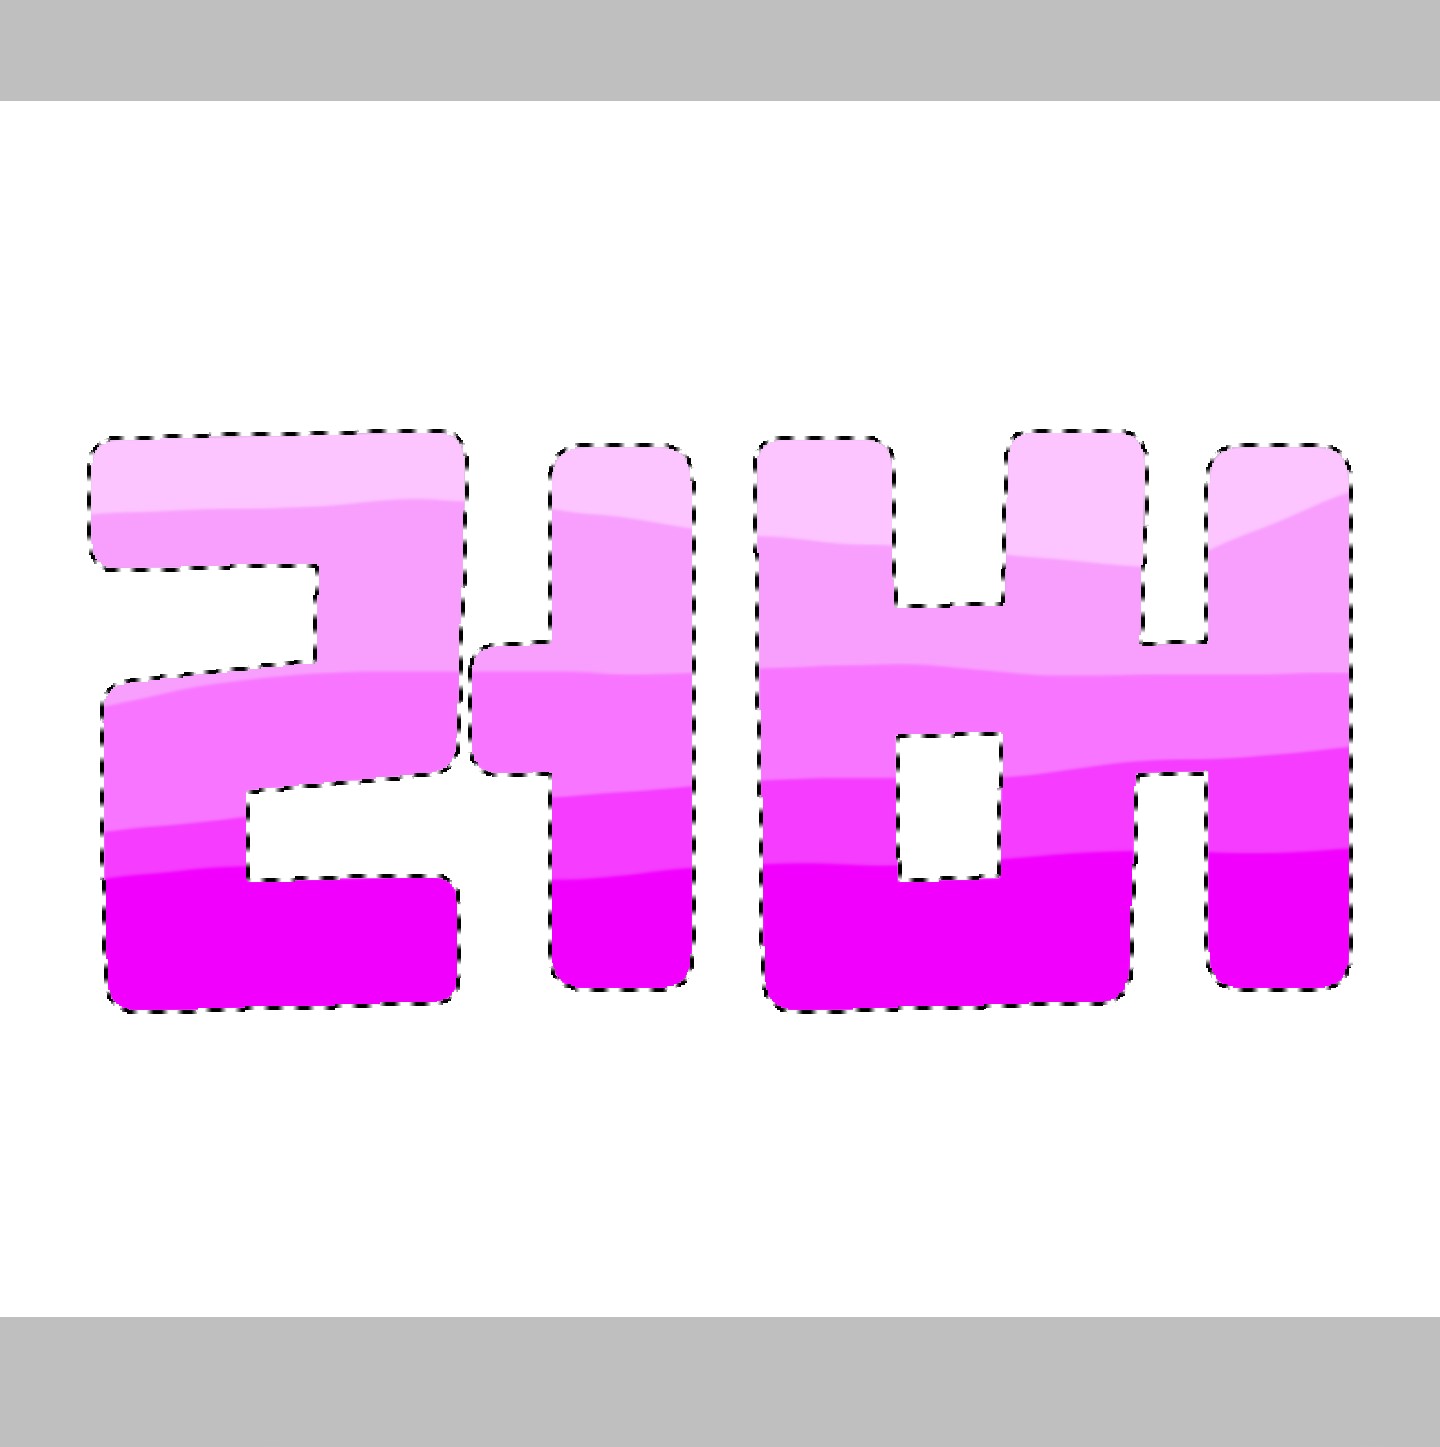
And then just paint it. Ah, if possible.
Please paint in one direction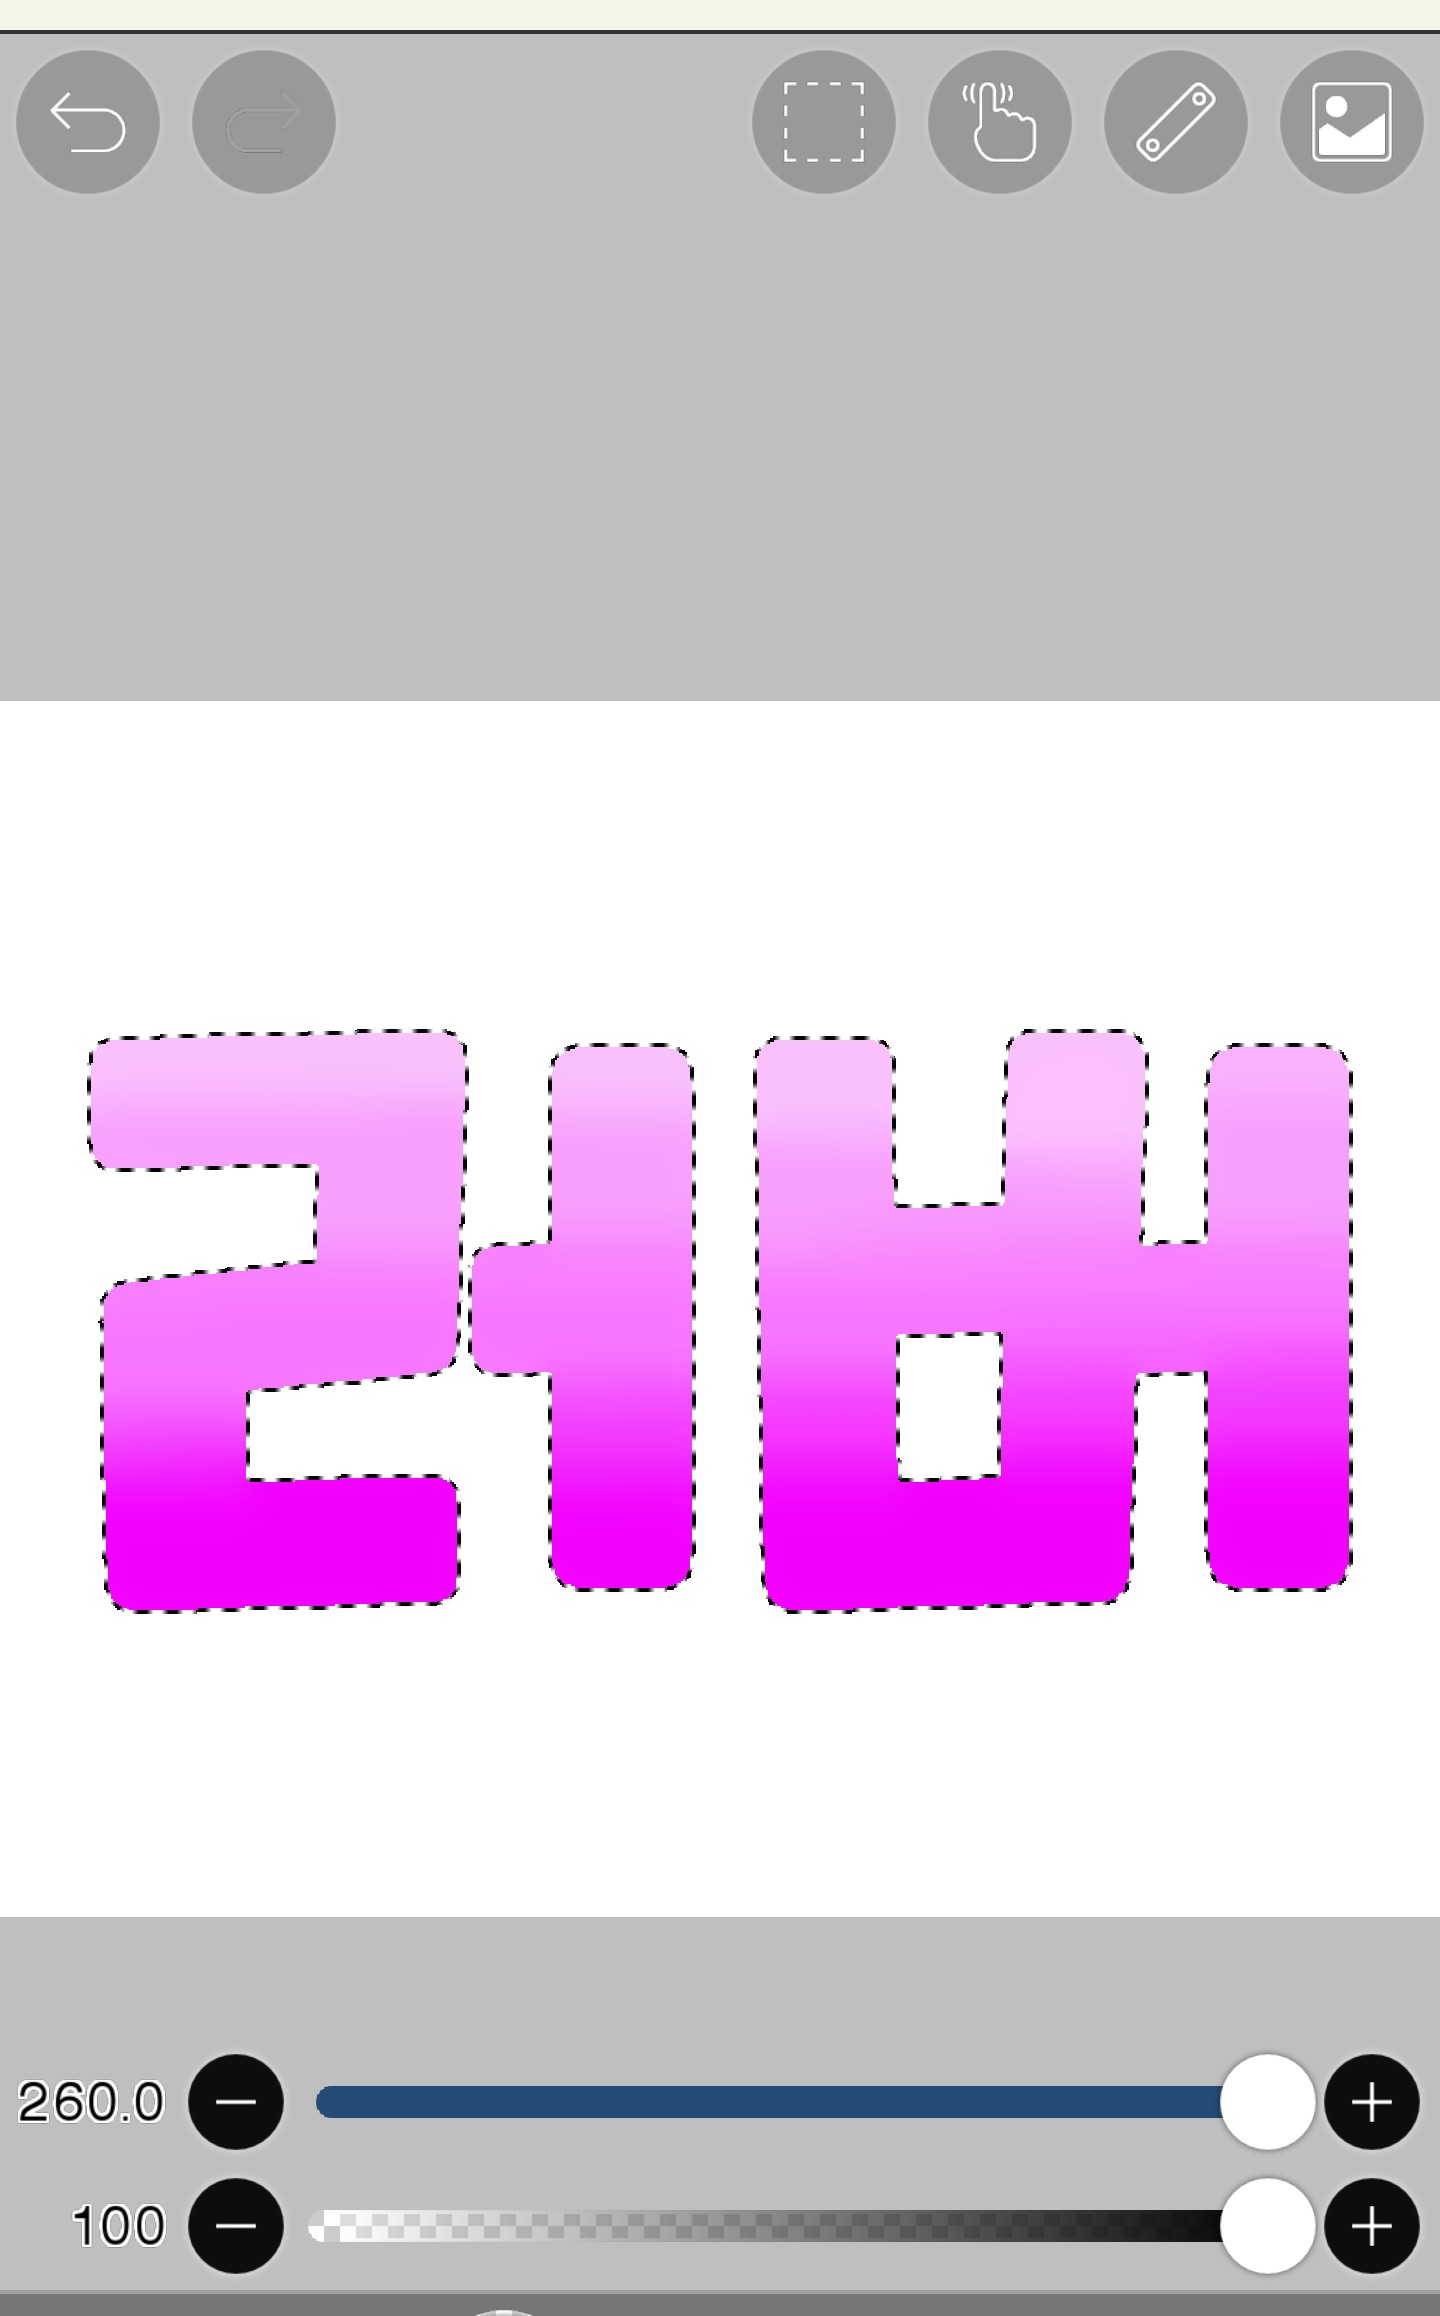
It looks much more natural, right?
And press auto select like in part 1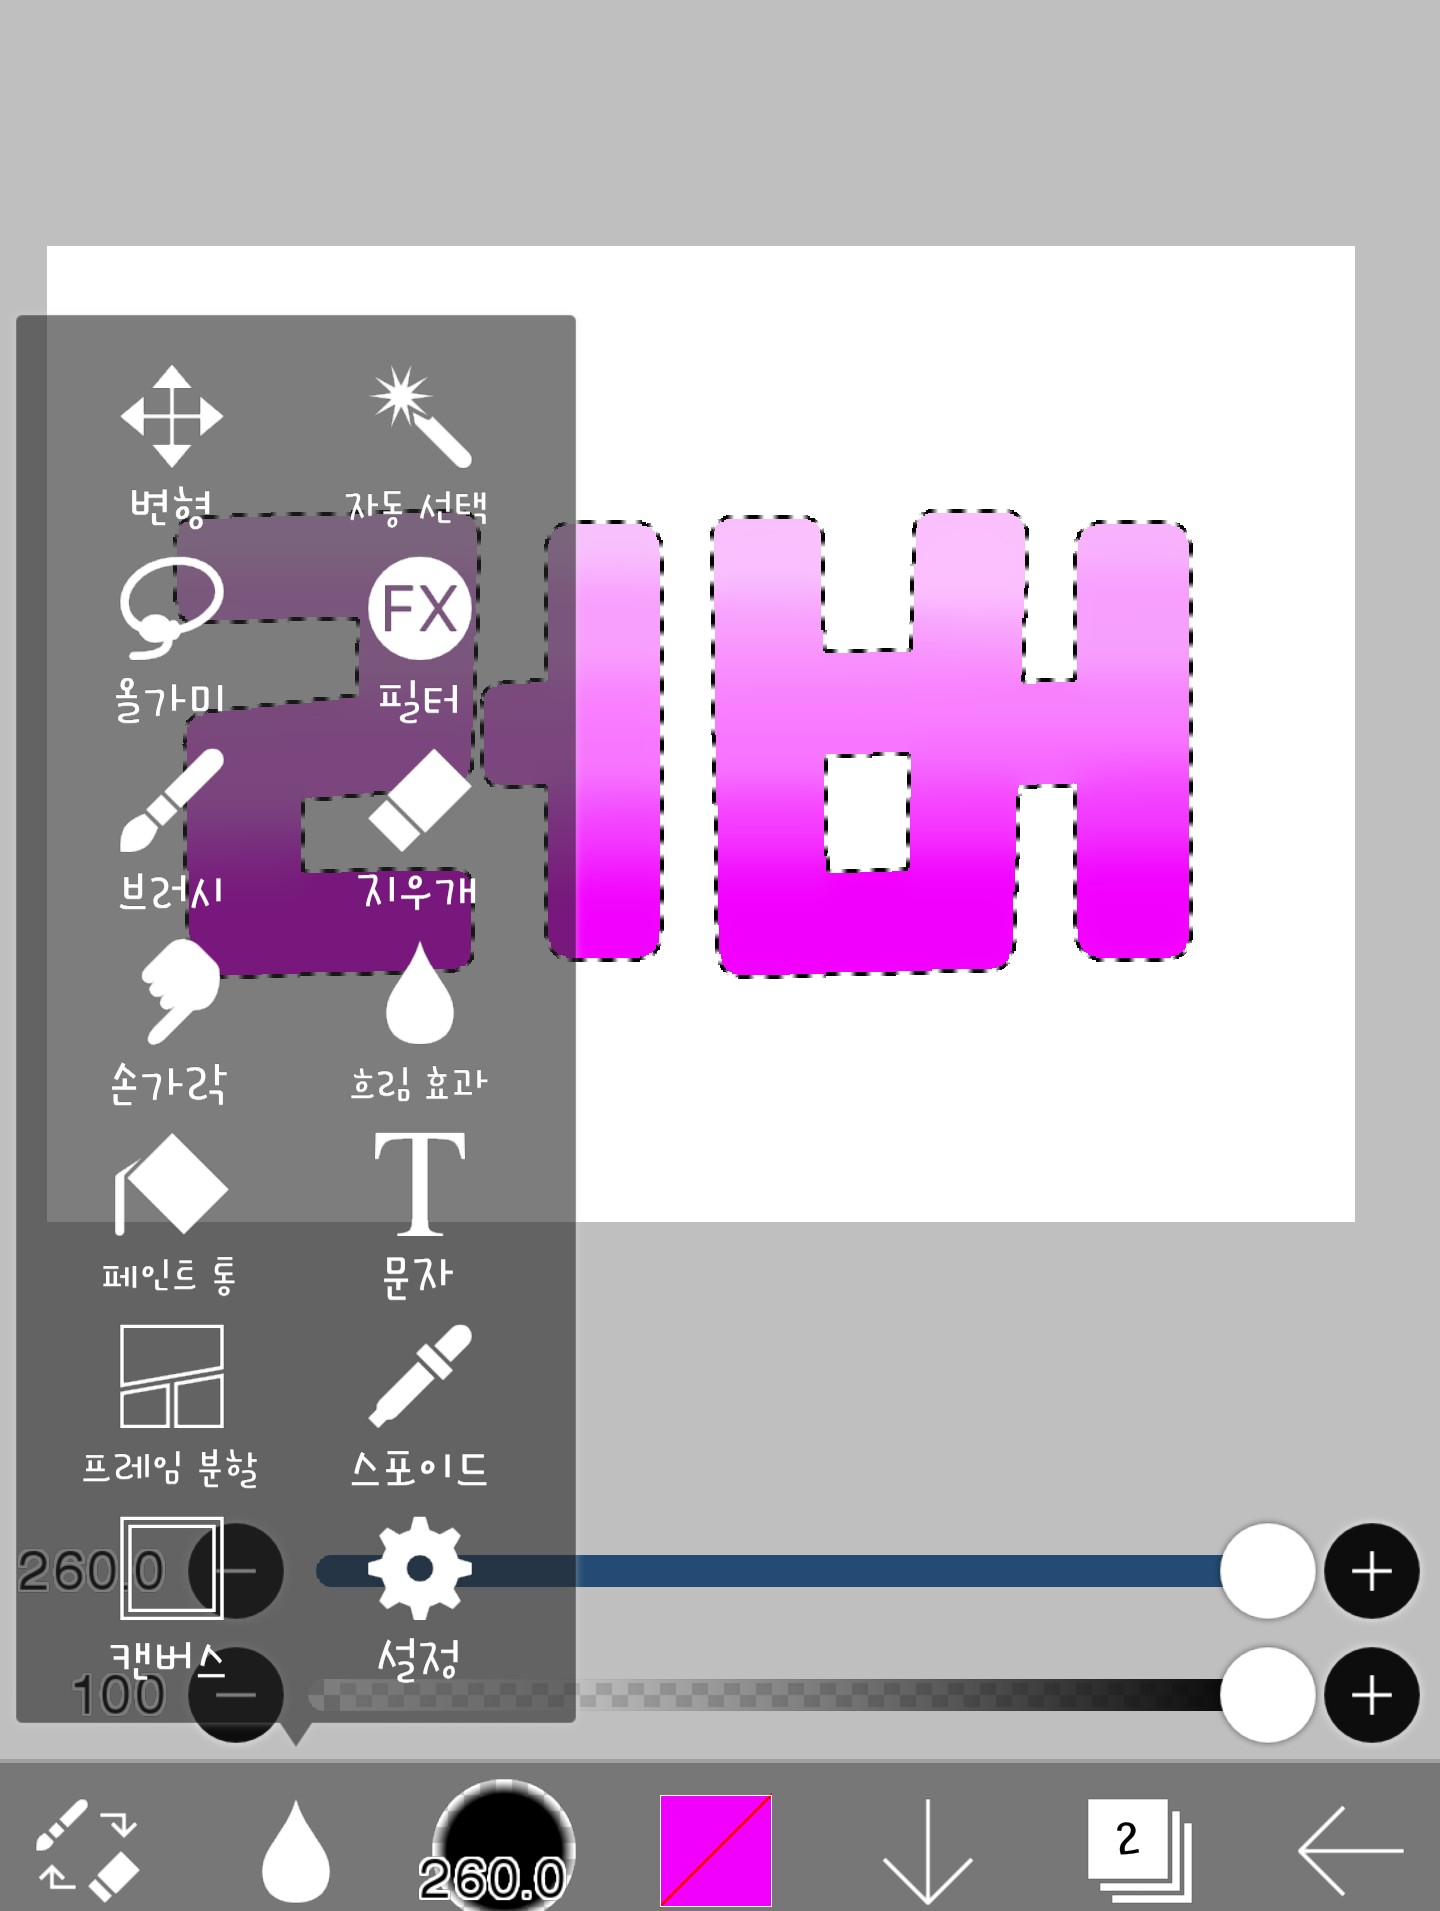
Here...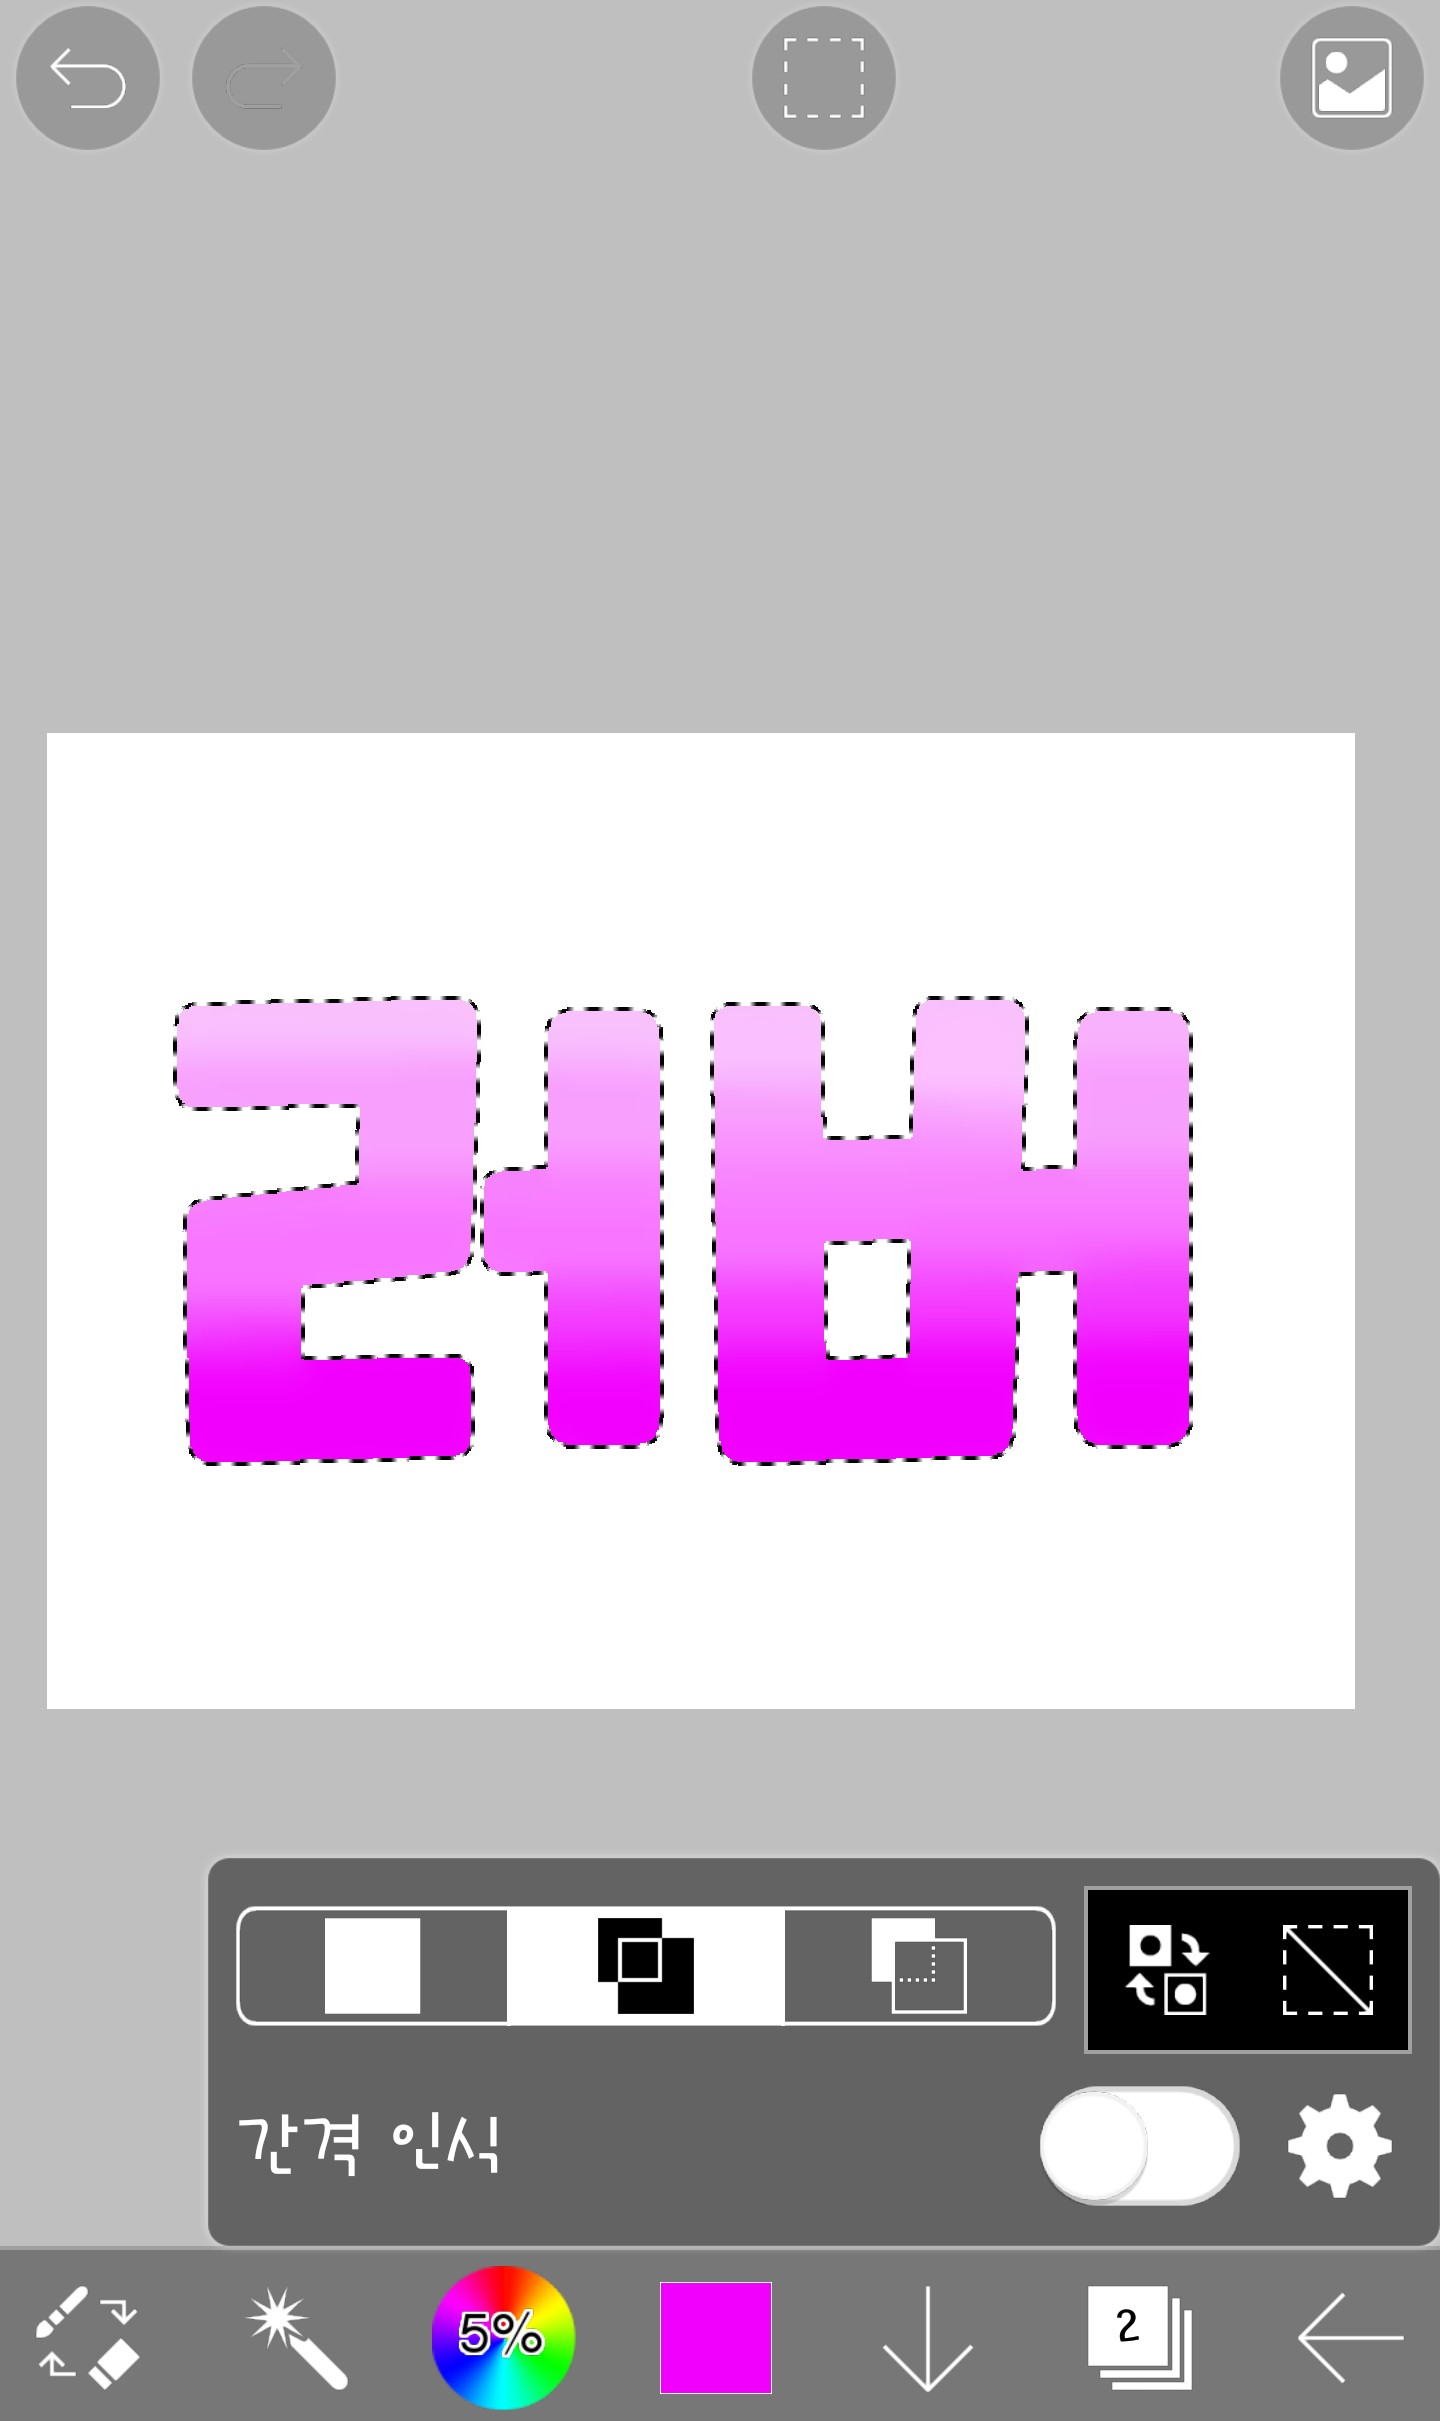 If you press this button
If you press this buttonIt's complete when the dotted line disappears!!!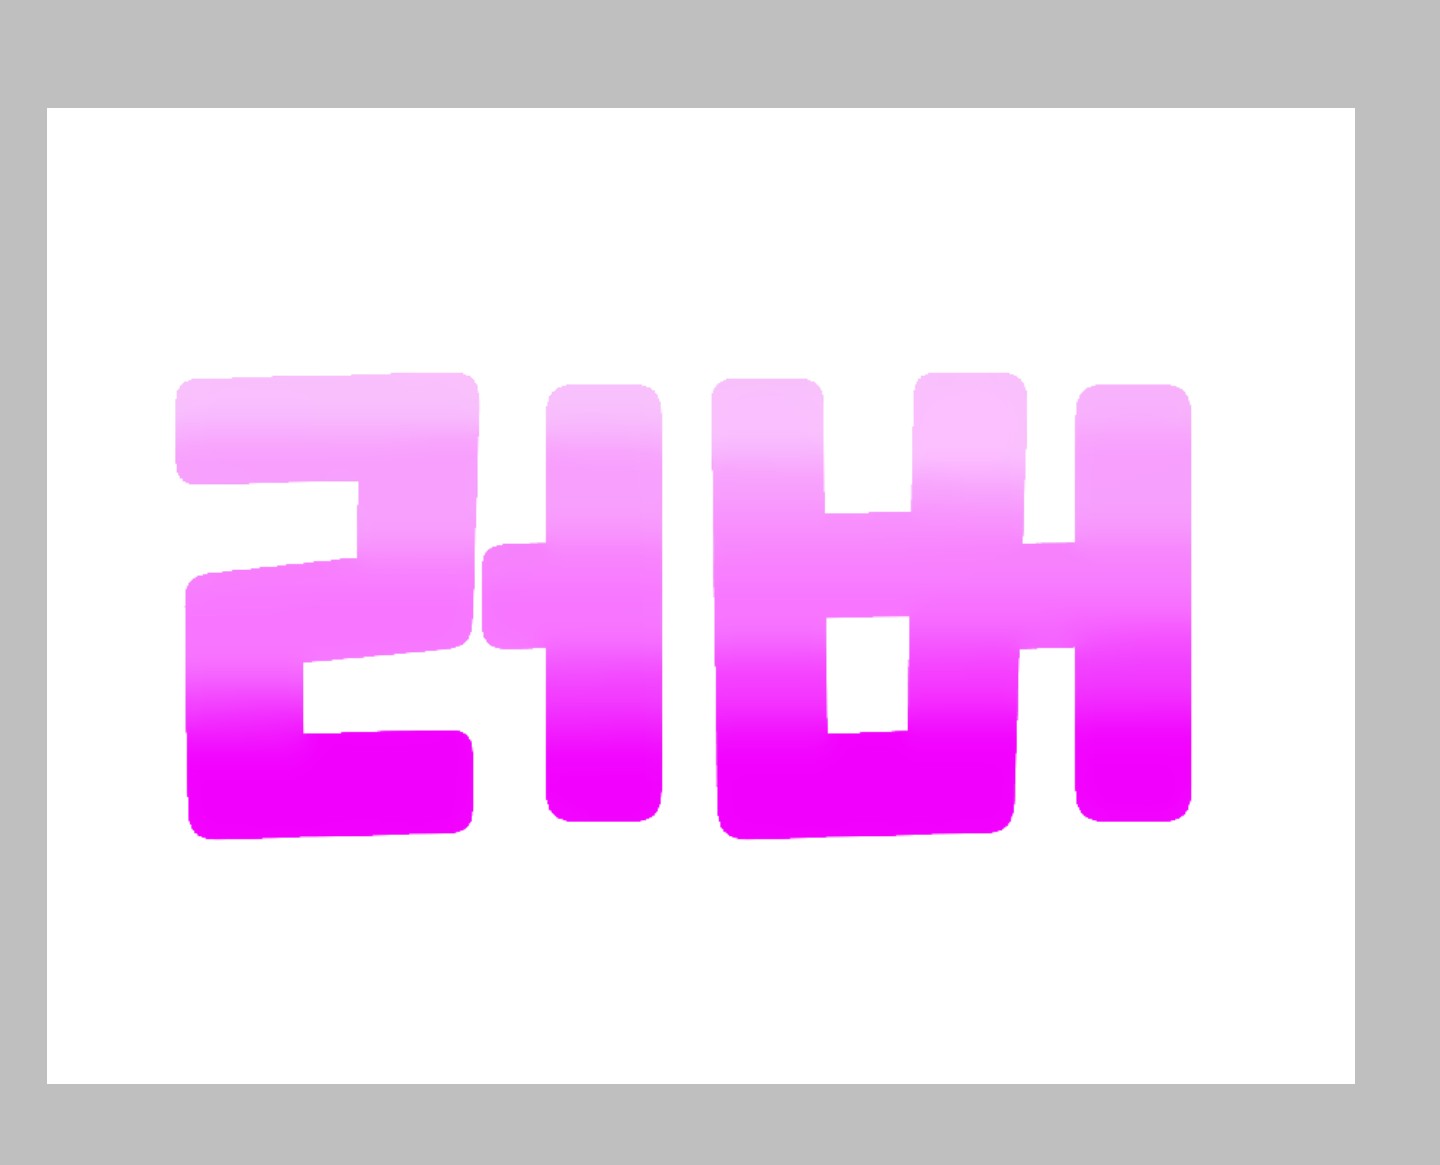
How was today's class? Questions are always welcome. Haha. Since I've been taking a week off from my online classes, I think I'll be able to post more frequently!! Today's homework is...
This is how you create a yellow-green gradient.
The phrase is free haha. See you in the 4th period. Bye.