The amount is enormous, so I'll write it down in order.
1. Tool functions and usage
-eraser
-finger
-Blur effect
-paint can
-Eyedropper
2. Layer
-Add layer
-Change layer order
-Hide layer
-Set layer opacity
-Clipping and alpha locking
-Delete layer
-Erase all layer drawings
3. Homework
(Content may be added)
Just looking at the picture X
If you read the article👍
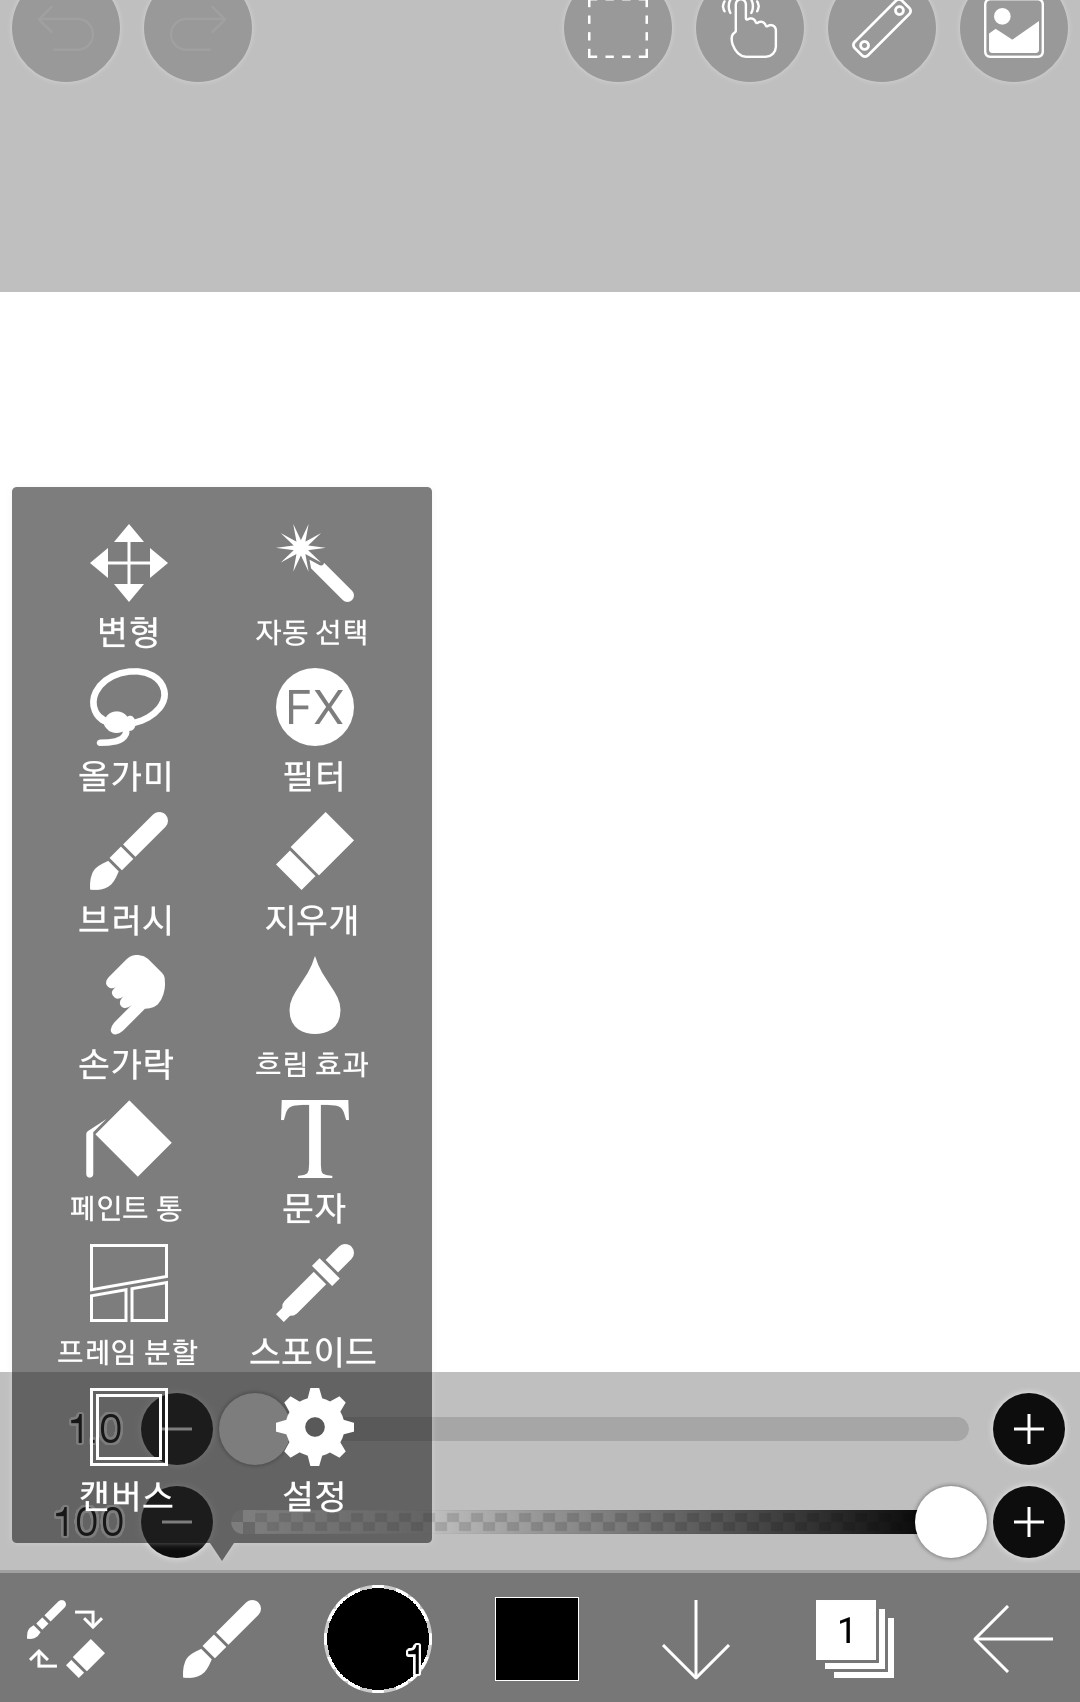
1. Tool features and usage(Only things needed to draw fan art)
Please refer to the basics for how to do this and how to use the brush.
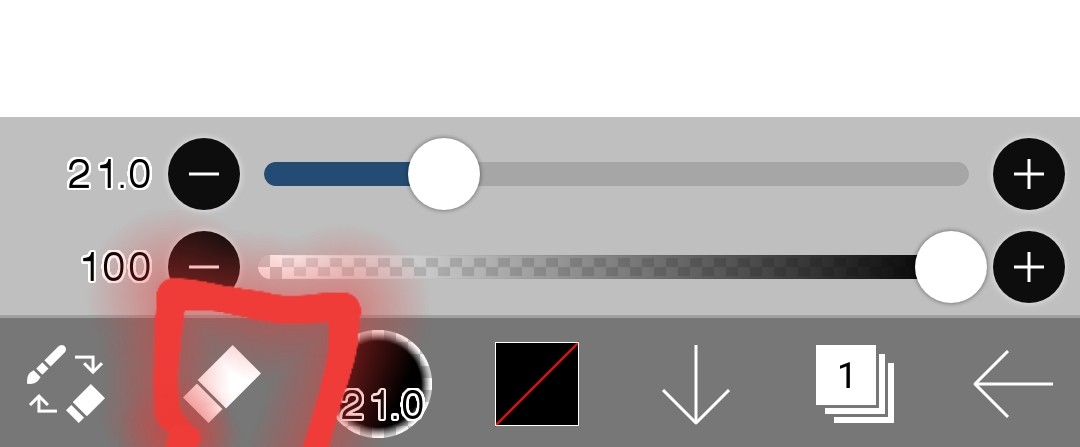
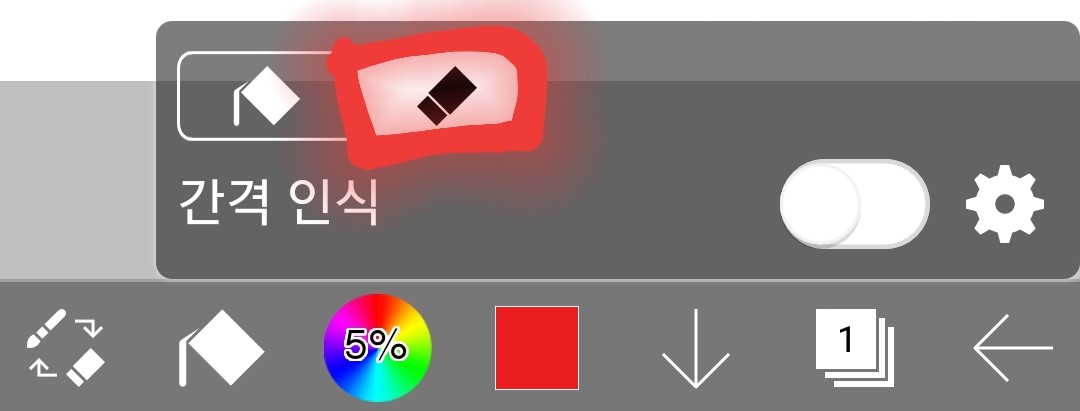
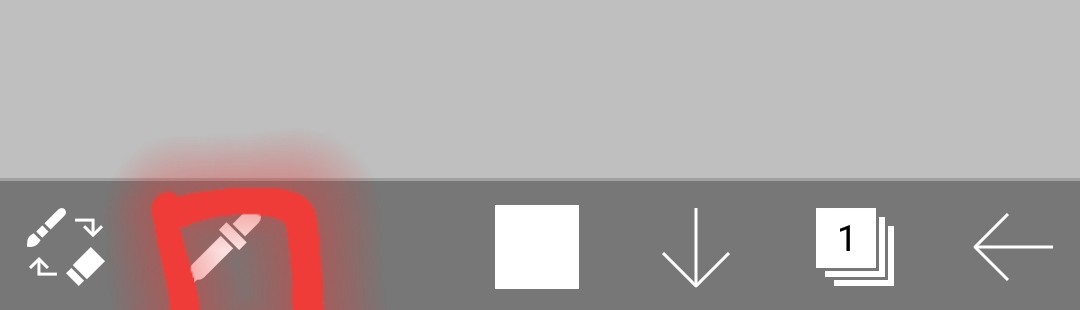
(1) Eraser
Touch this
It changed!
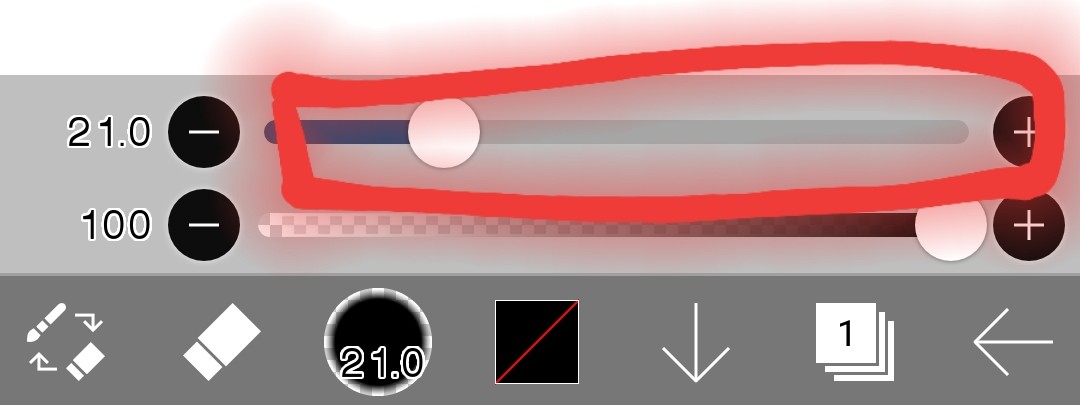
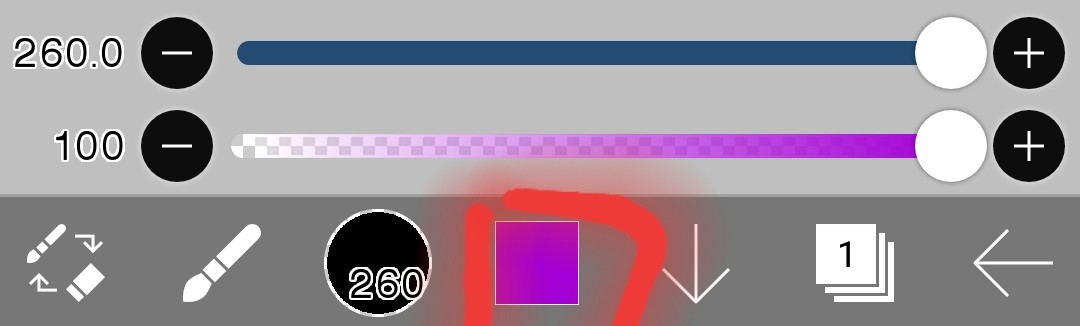
Resize
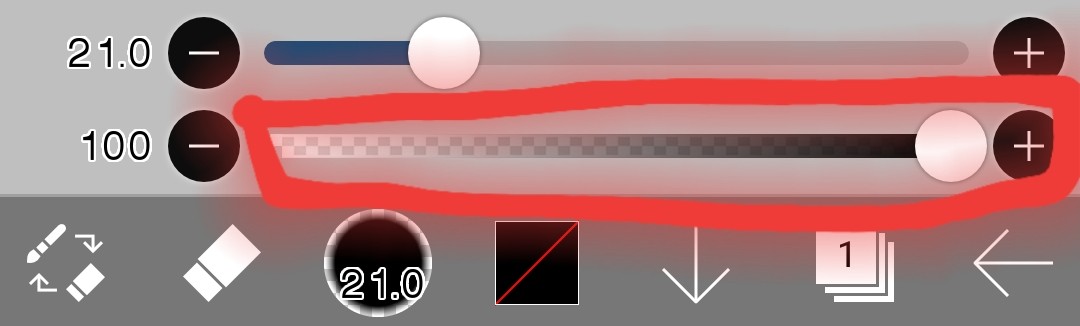
Adjust opacity (how much is erased)
-The further to the left you go, the harder it is to erase, and the further to the right you go, the easier it is to erase.
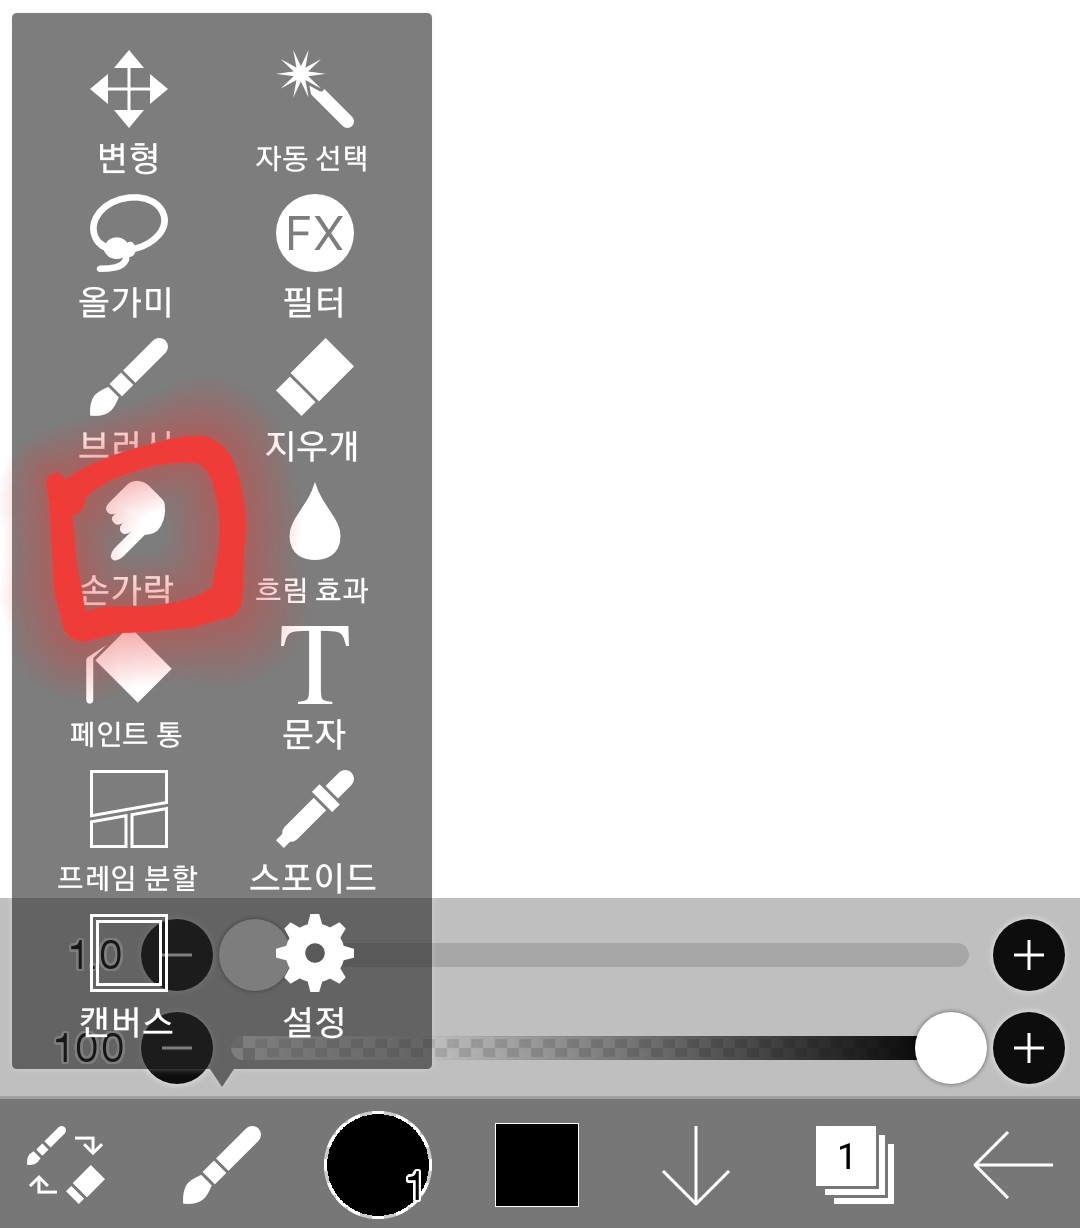
(2) Finger
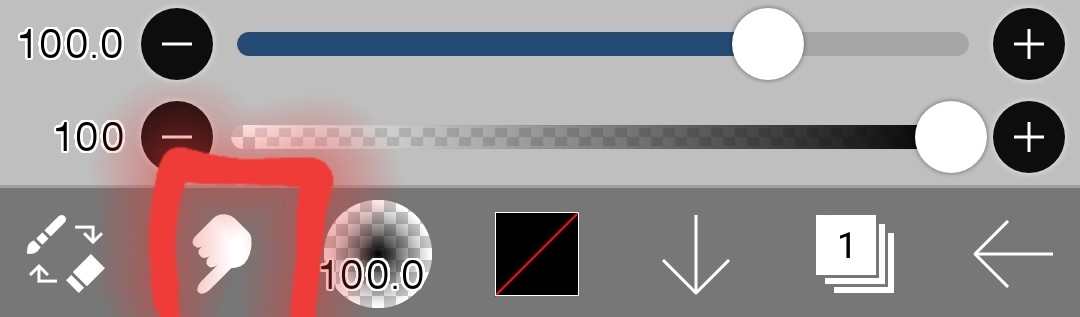
Touch here
It's changed! The resizing and opacity (smudge level) adjustments are the same.
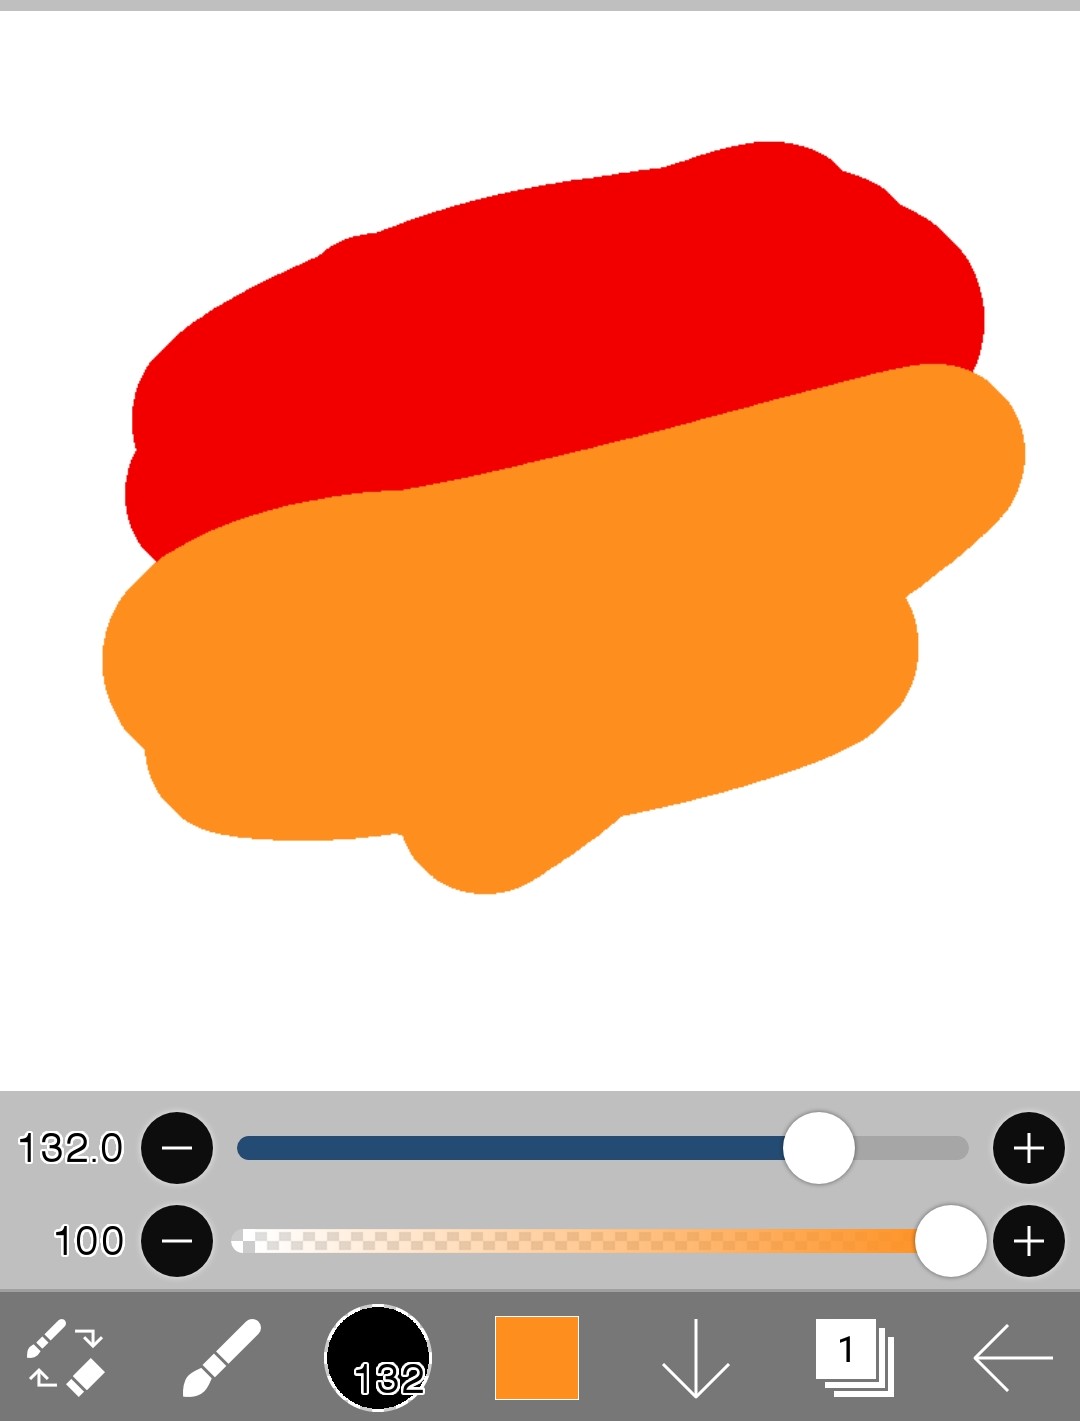
-function
Fingers can be used to mix or spread colors.
If you use your fingers like this,
Mix it like this
(※Caution: The white background is also mixed in)
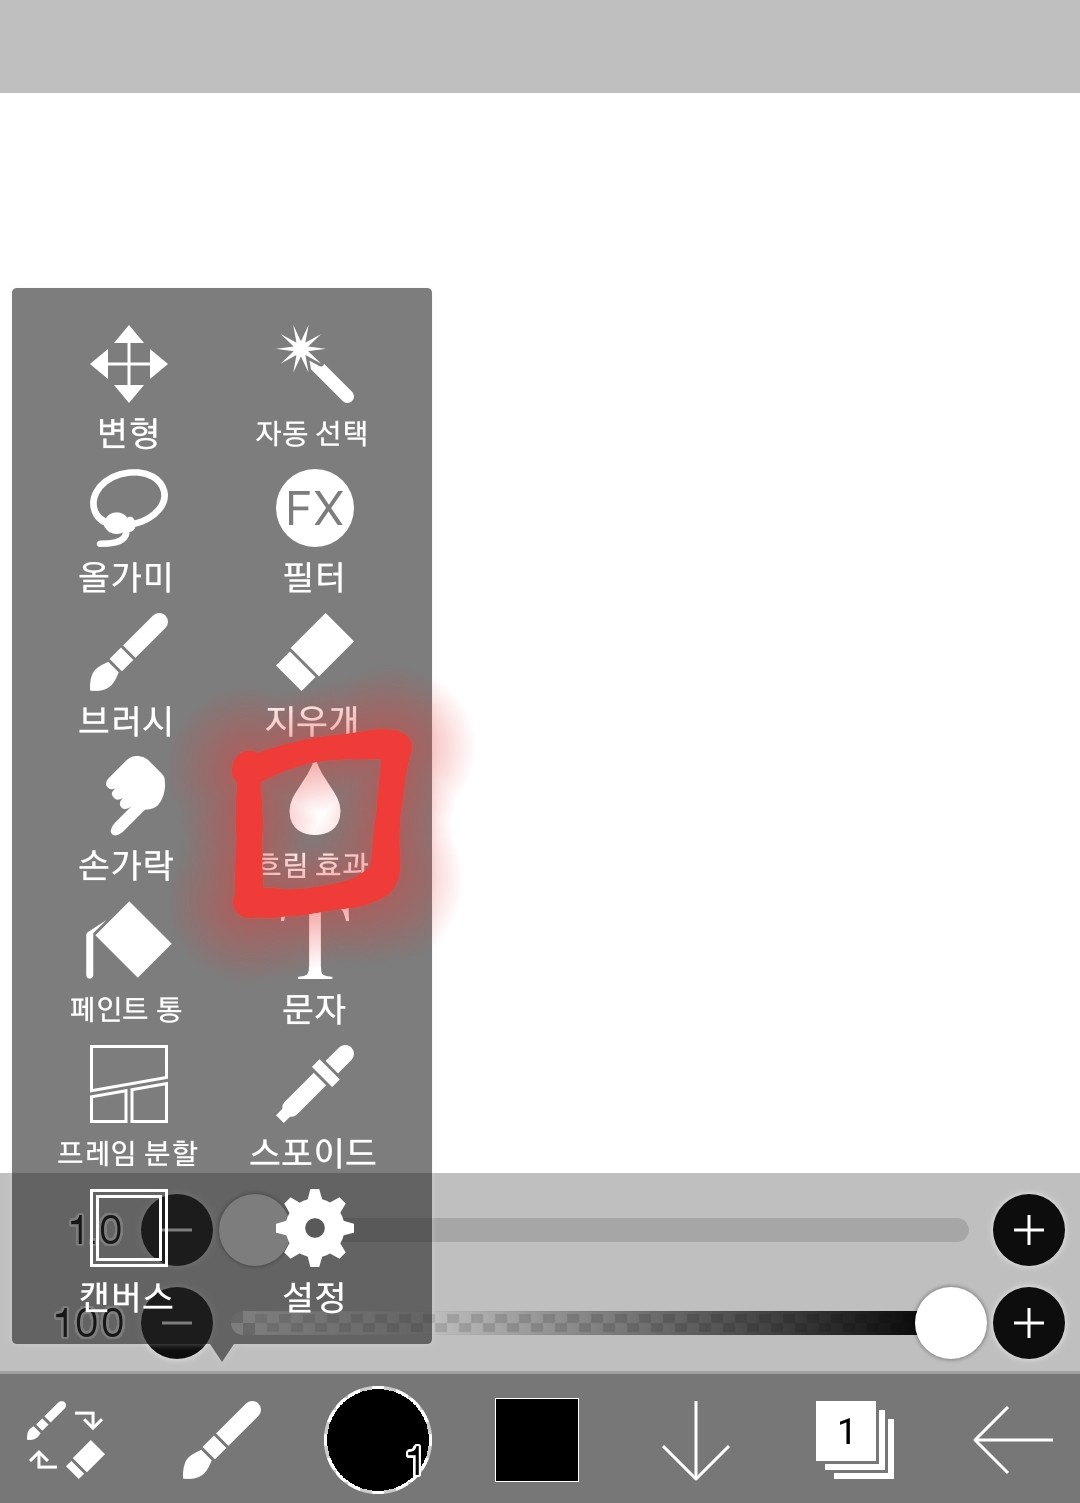
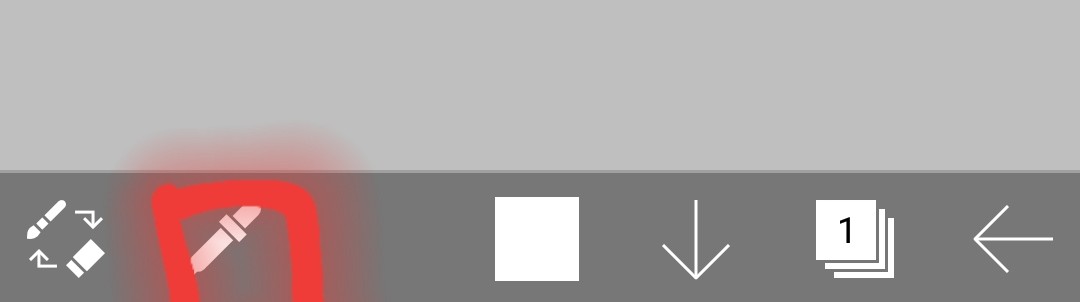
(3) Blur effect
Touch here
It's changed. This one also has the same size and opacity adjustments.
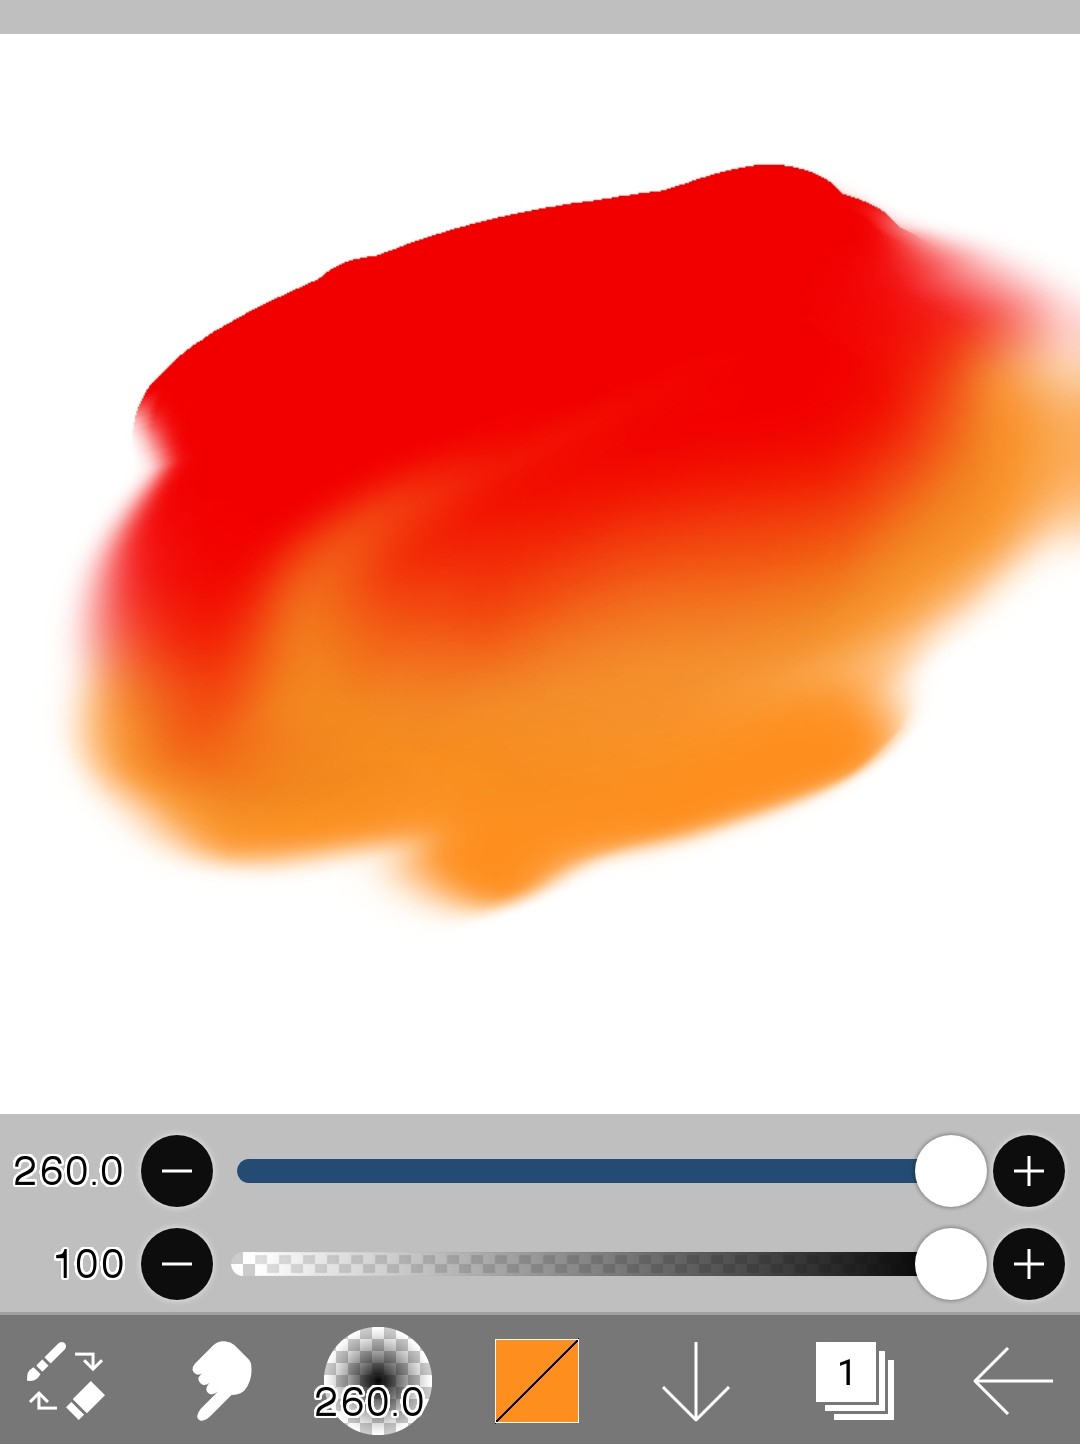
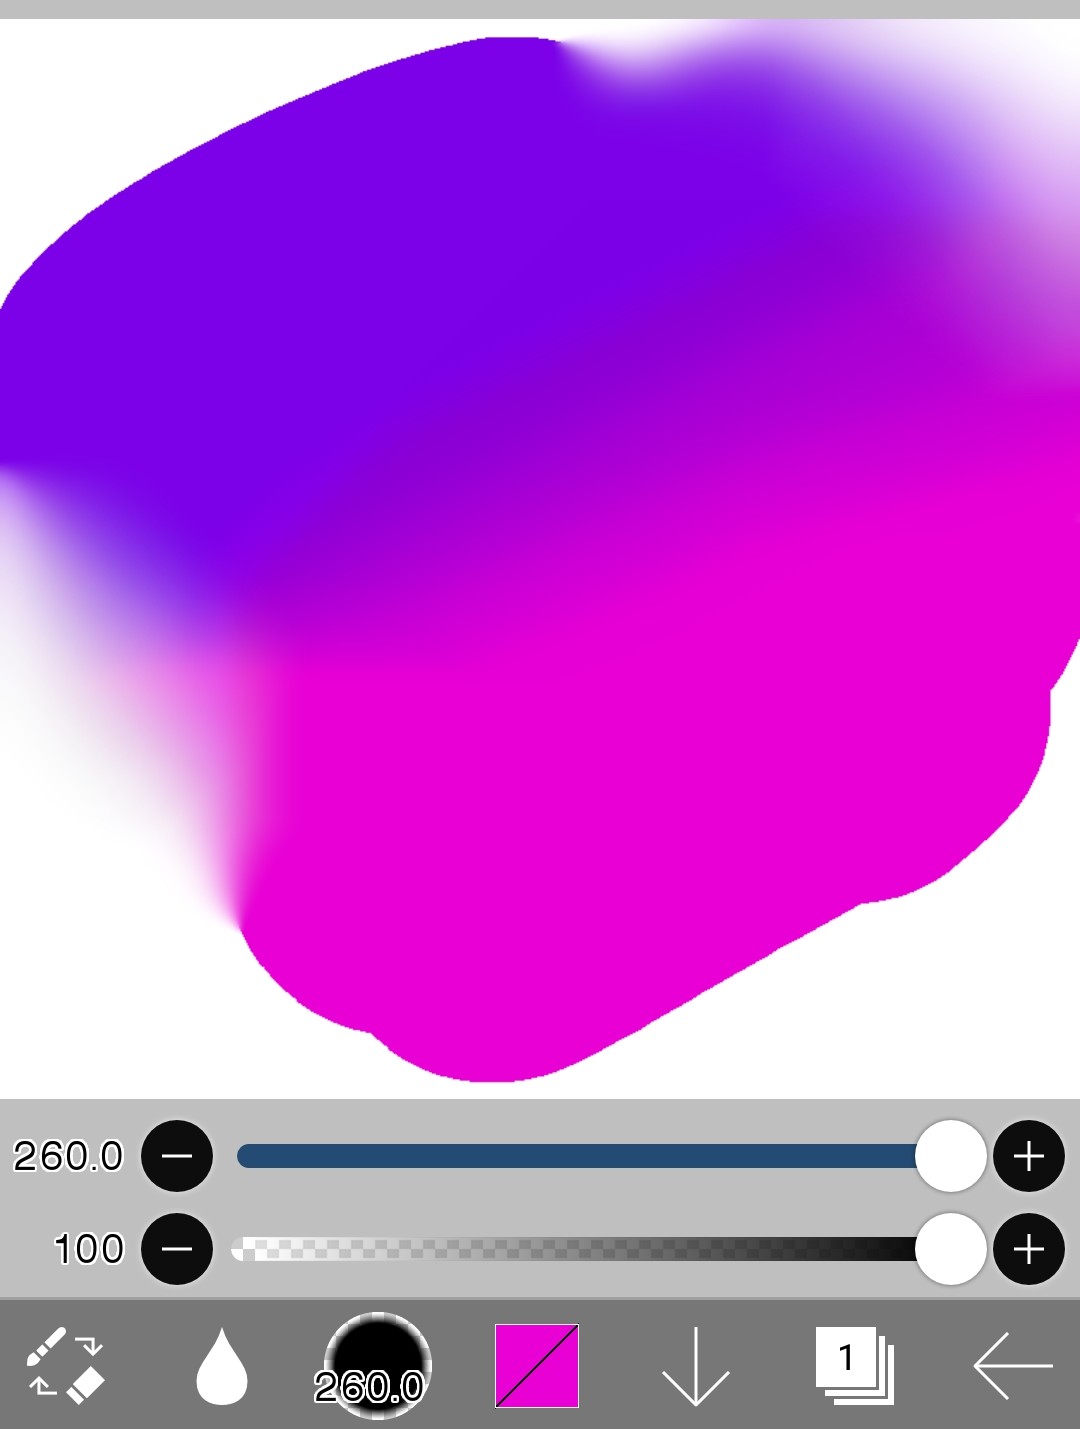
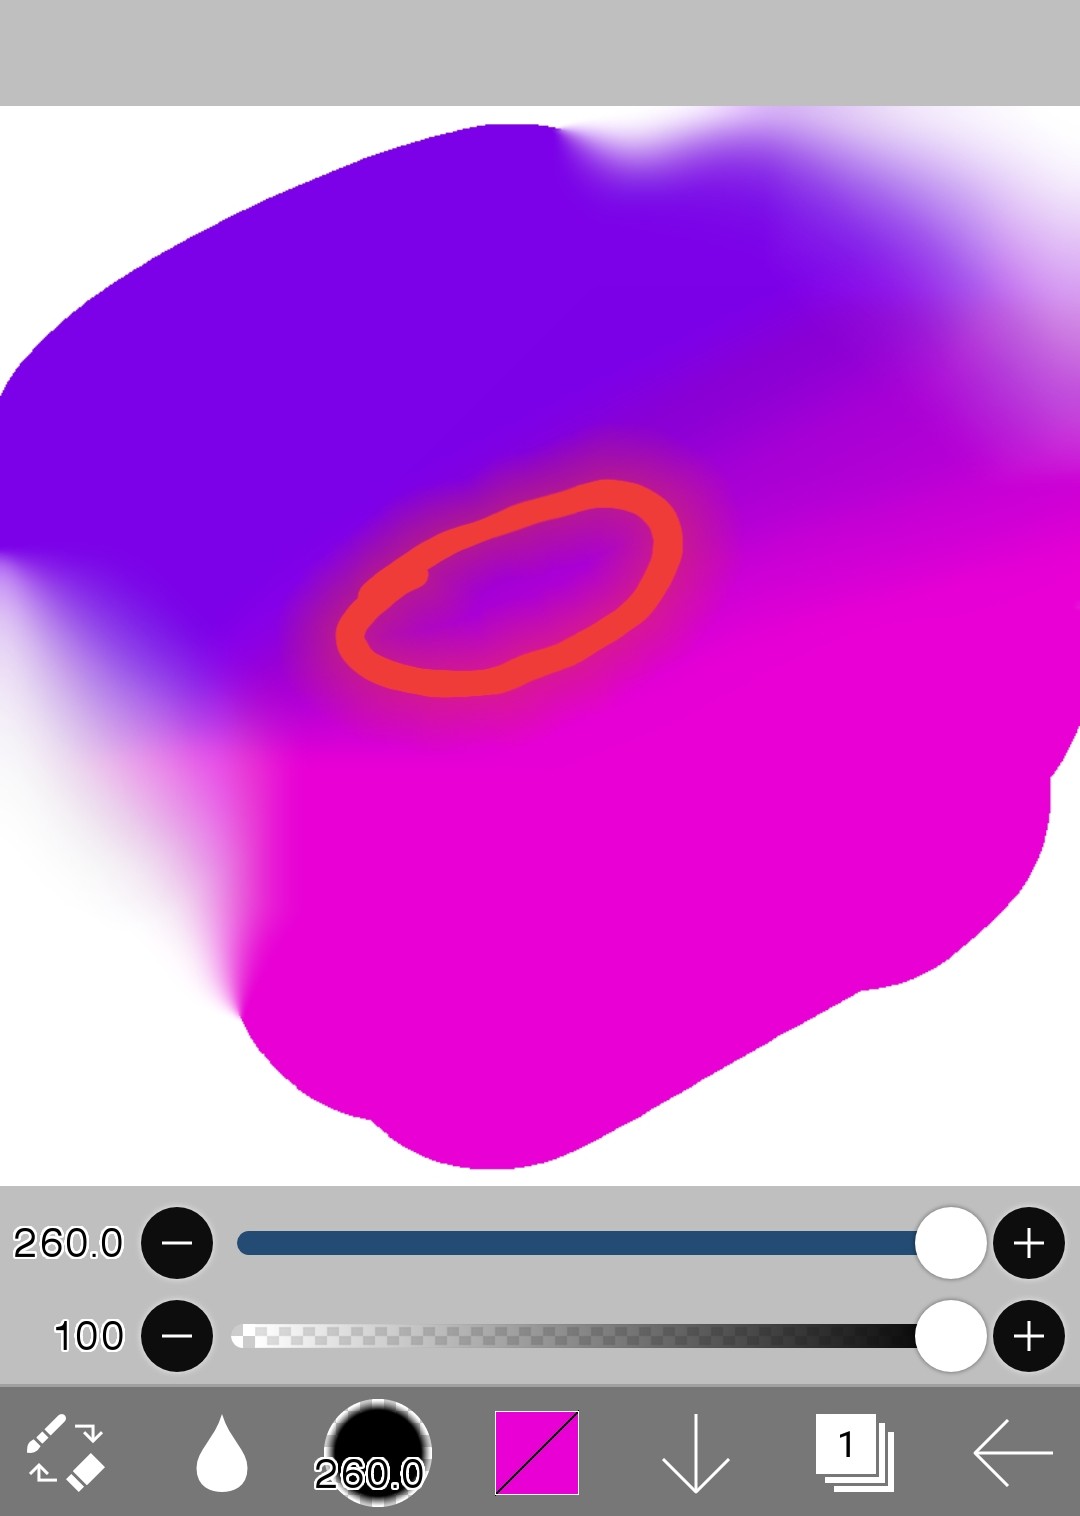
- function
It literally gets blurry
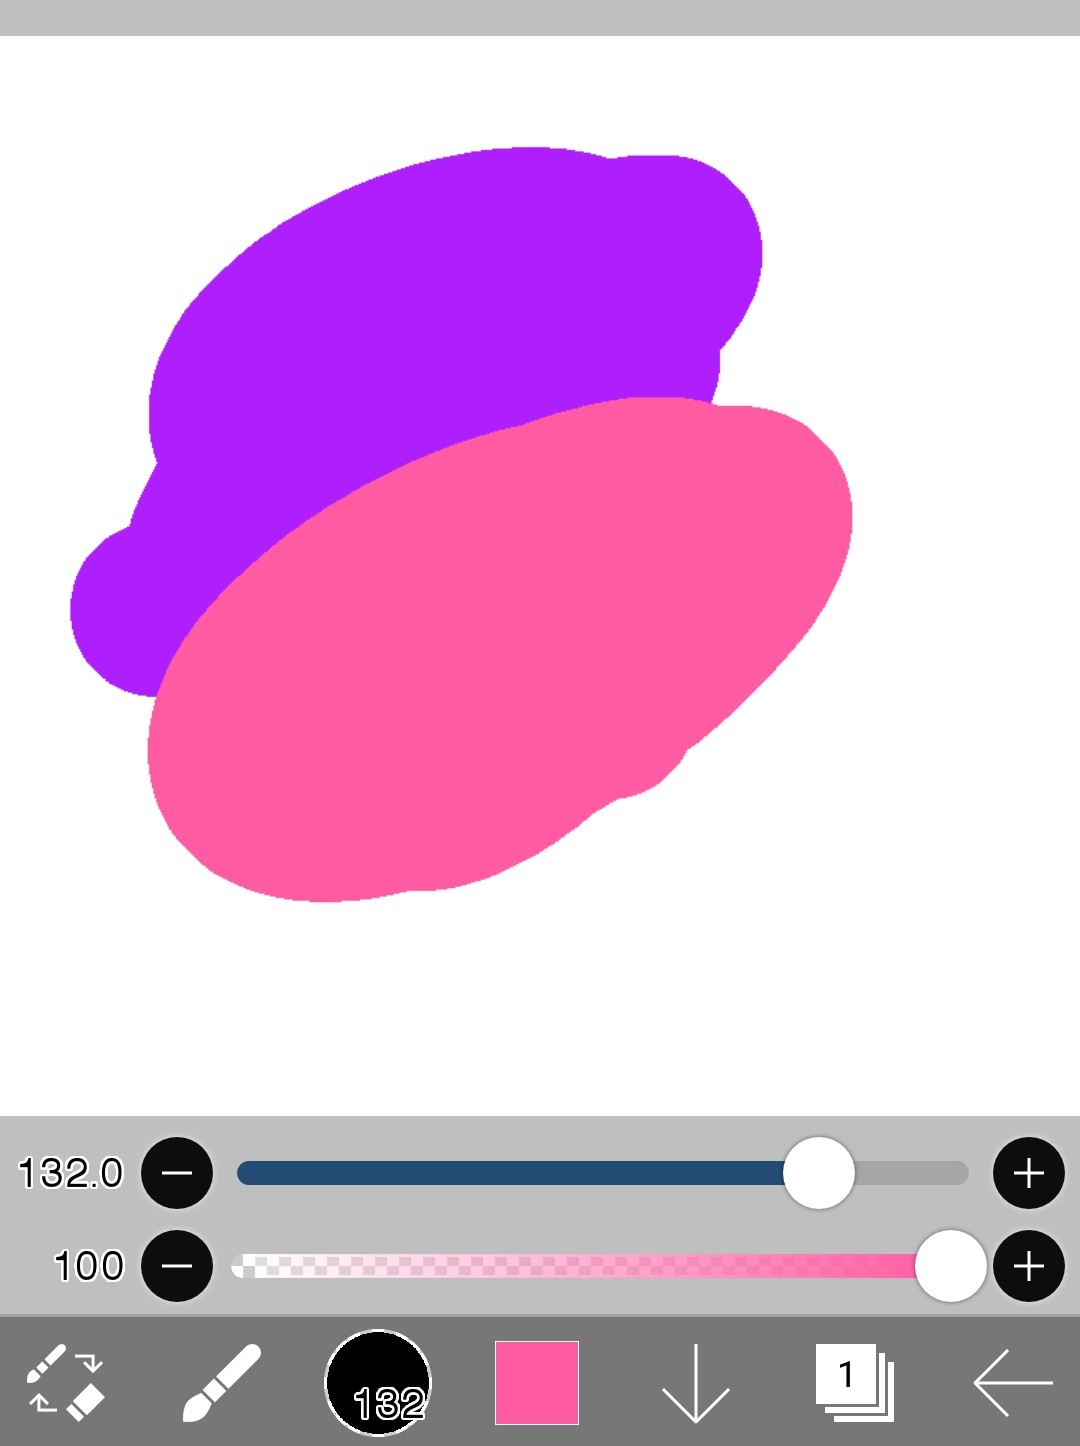
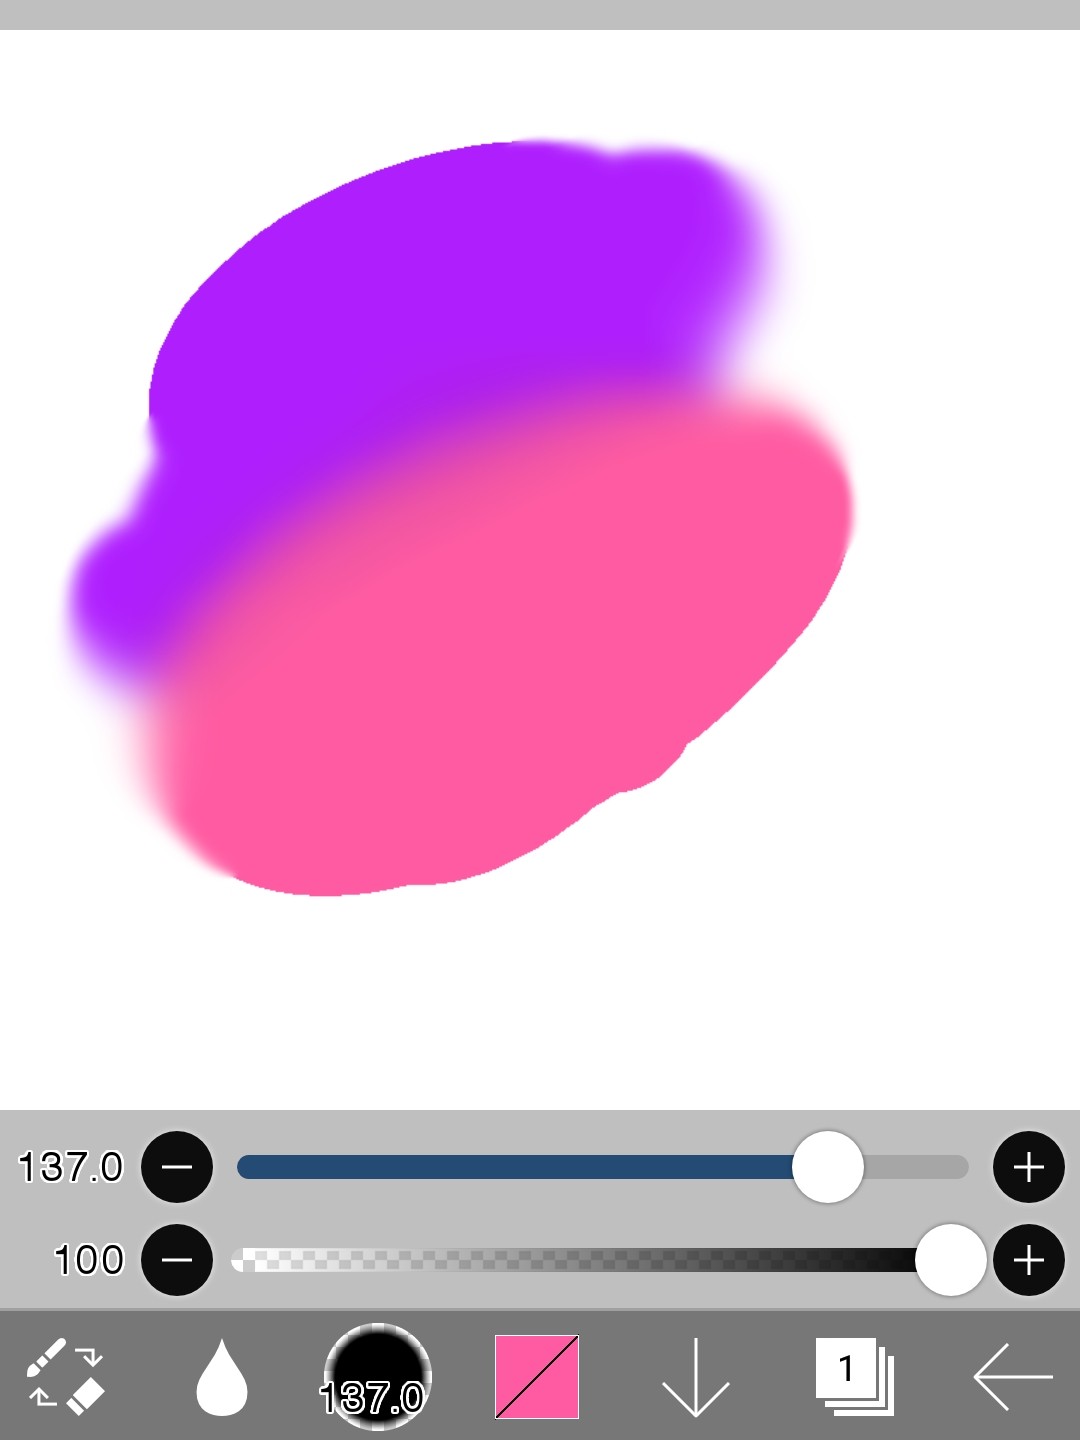
If you use a blur effect on something like this,
It becomes like this
(※Caution: The white background will also be blurred)
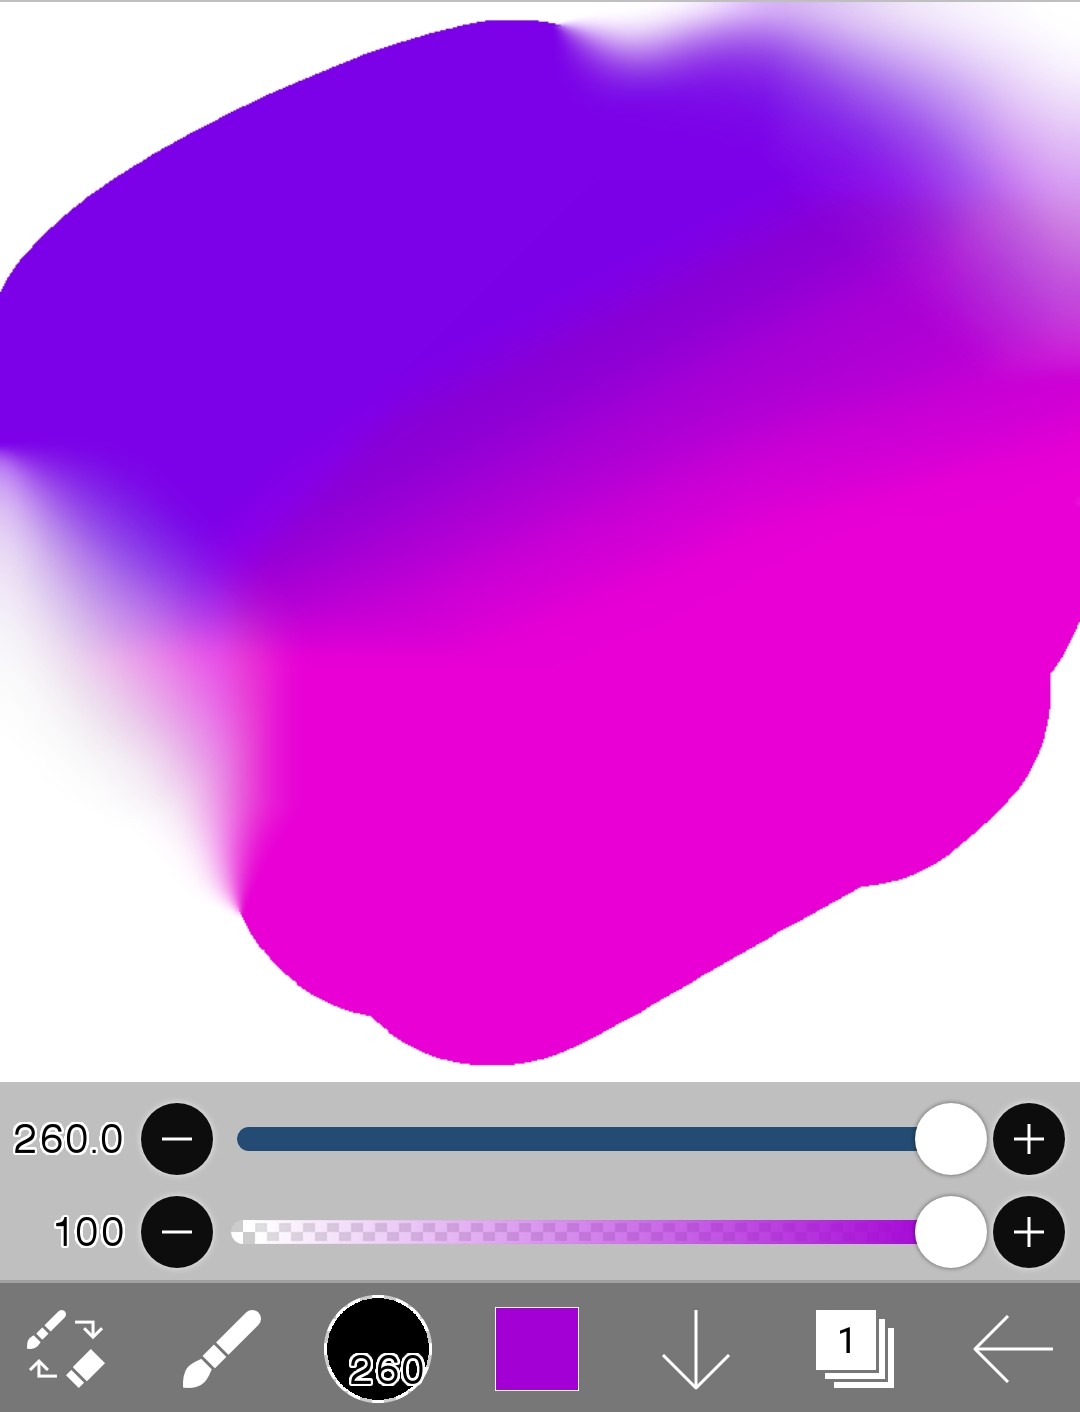
Tip here!
If you want to mix multiple colors to create a gradient,Hand gestures and blur effectUse together
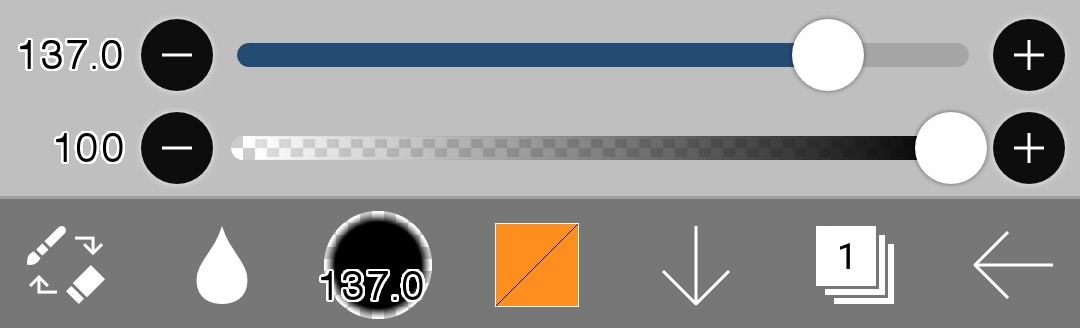
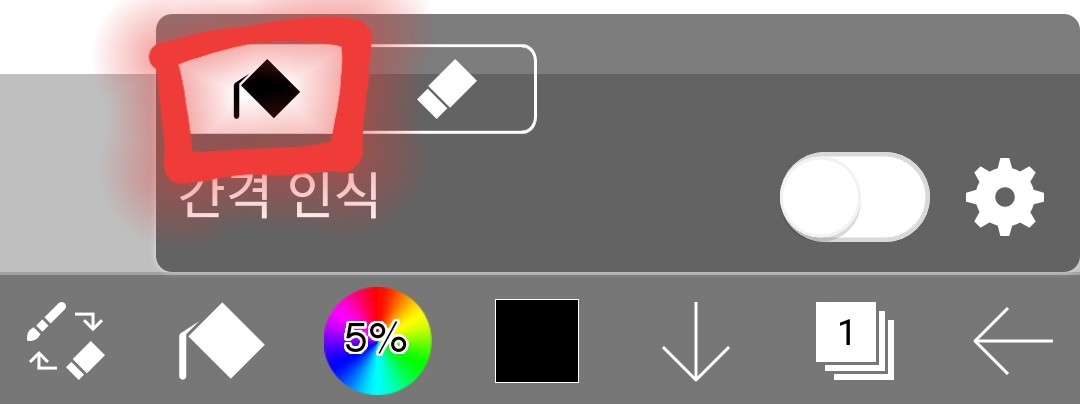
(4) Paint can
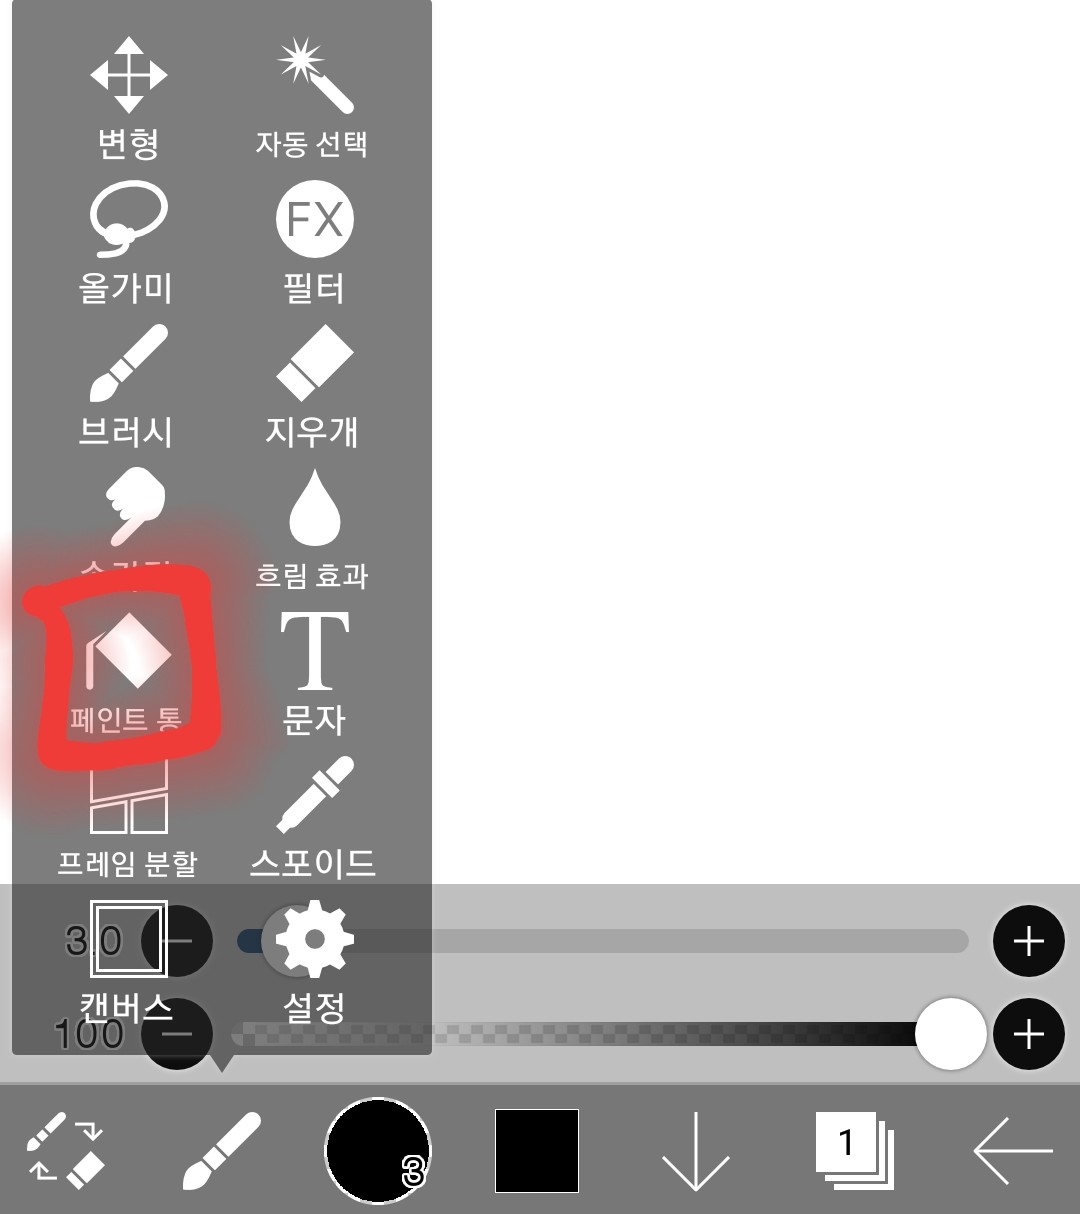 Touch this
 It changed
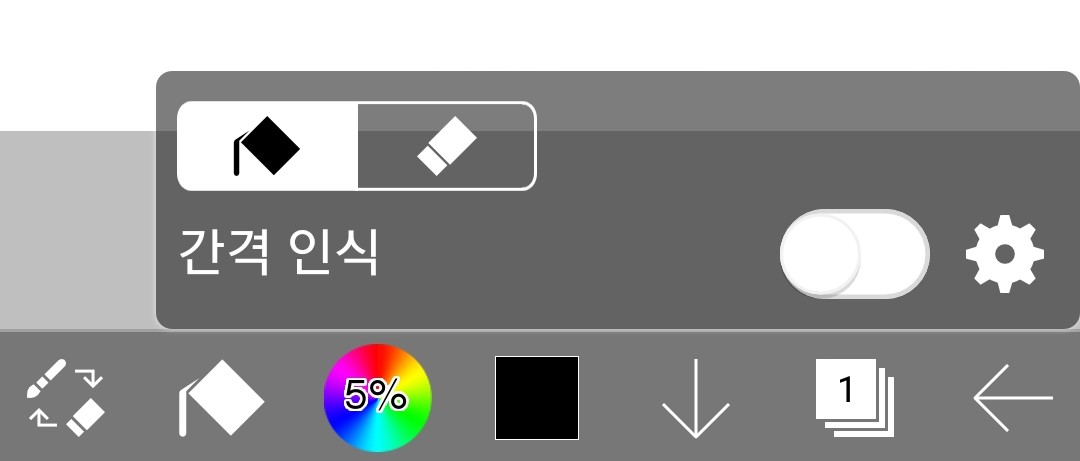
And then
 This came up
 If it's like this, it will be colored
 If it's like this, it will be deleted
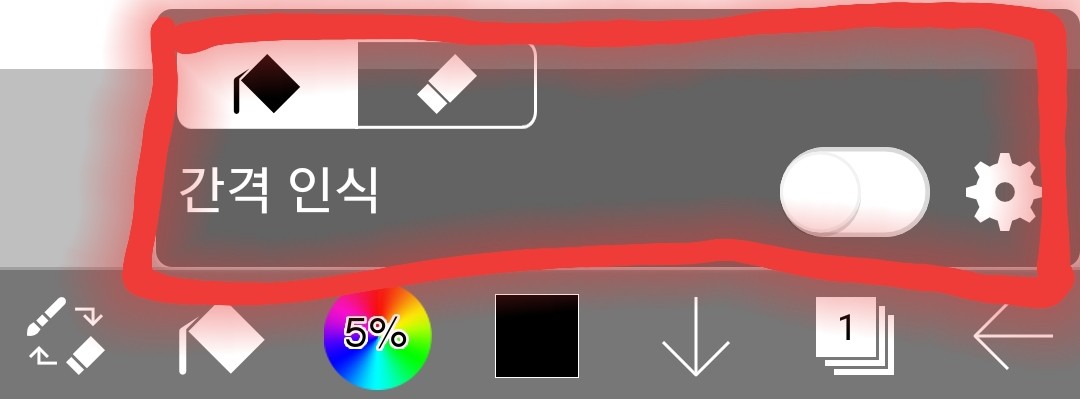
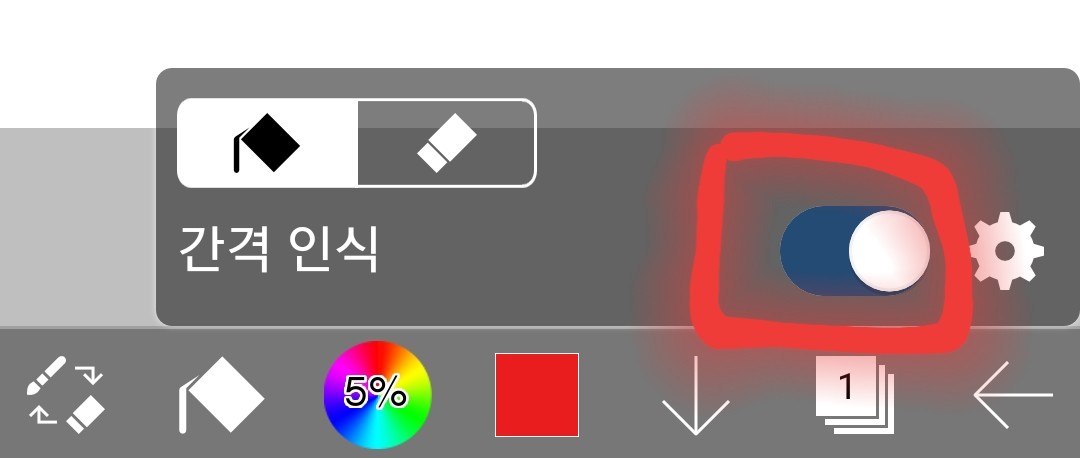 I think it's okay to use it with the gap recognition turned on because it doesn't go outside the line.
-Try it out
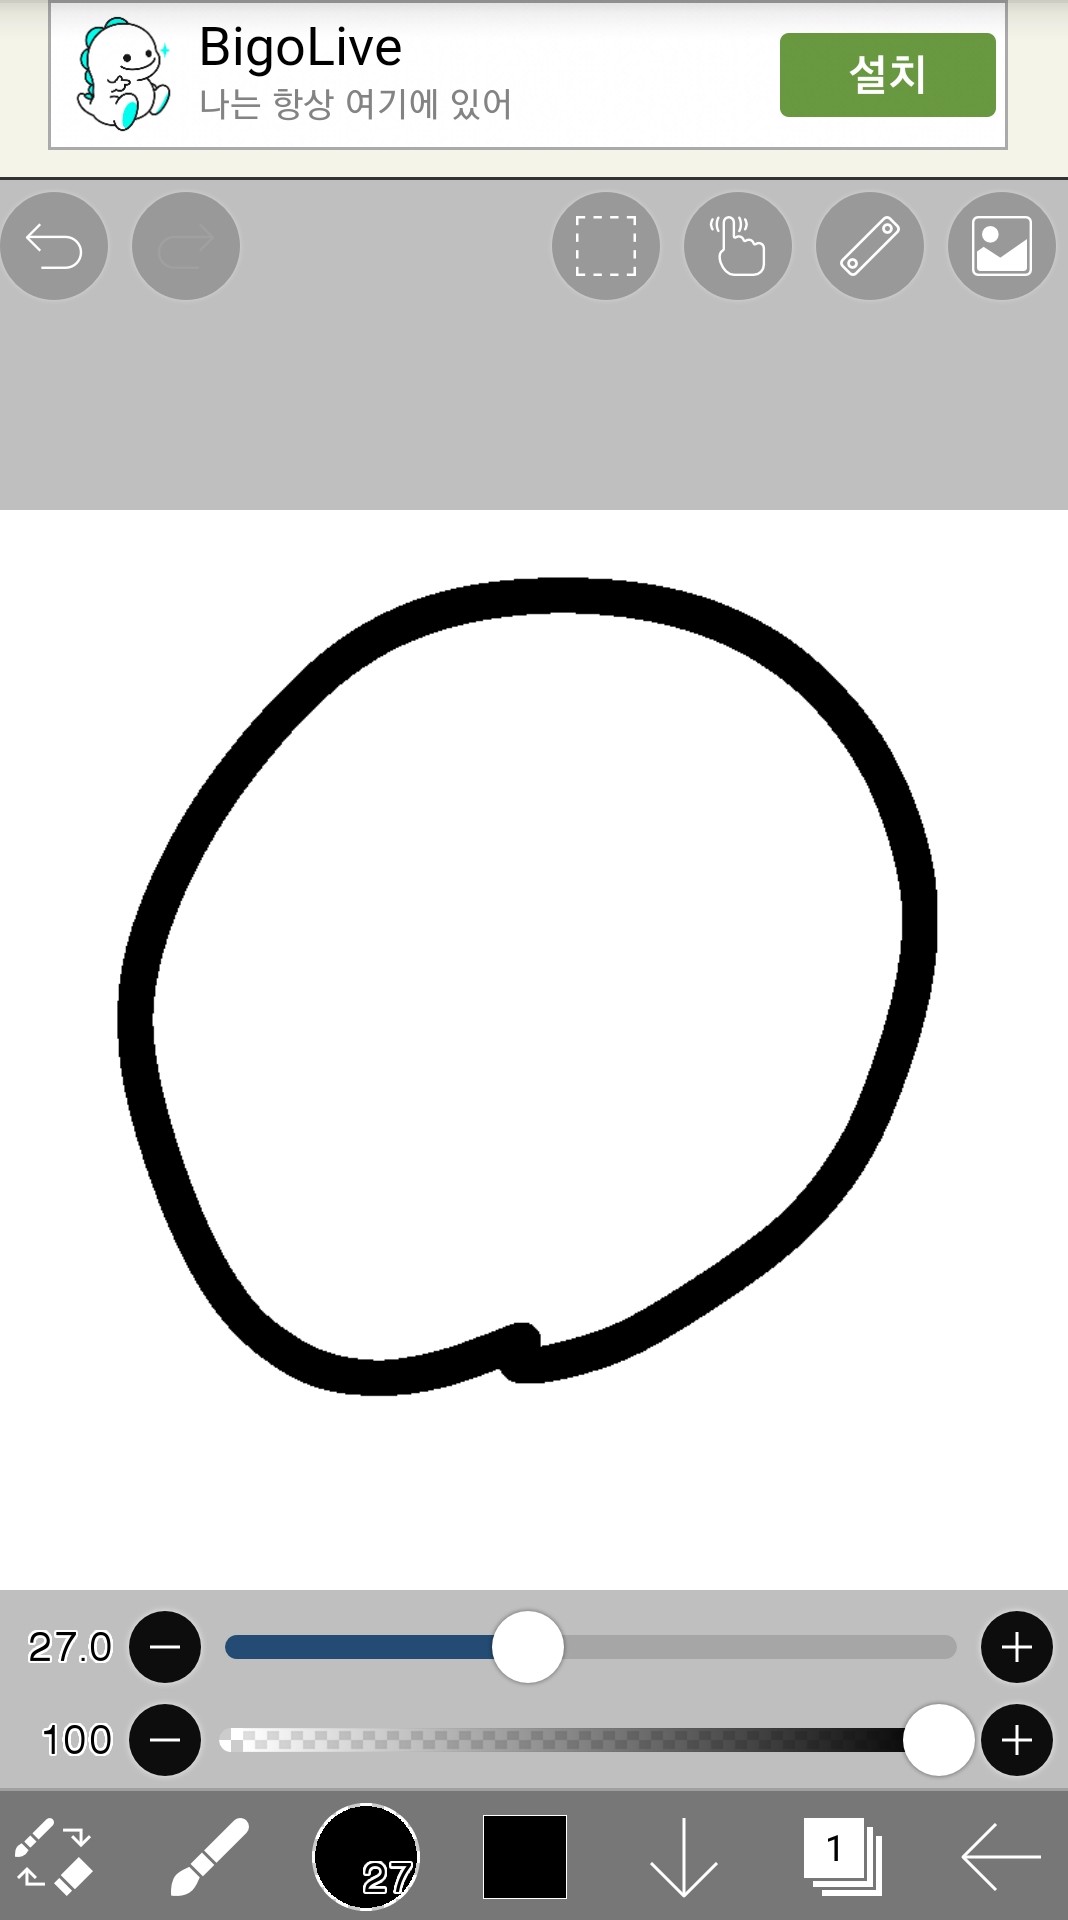 Let's just fill in the color here.
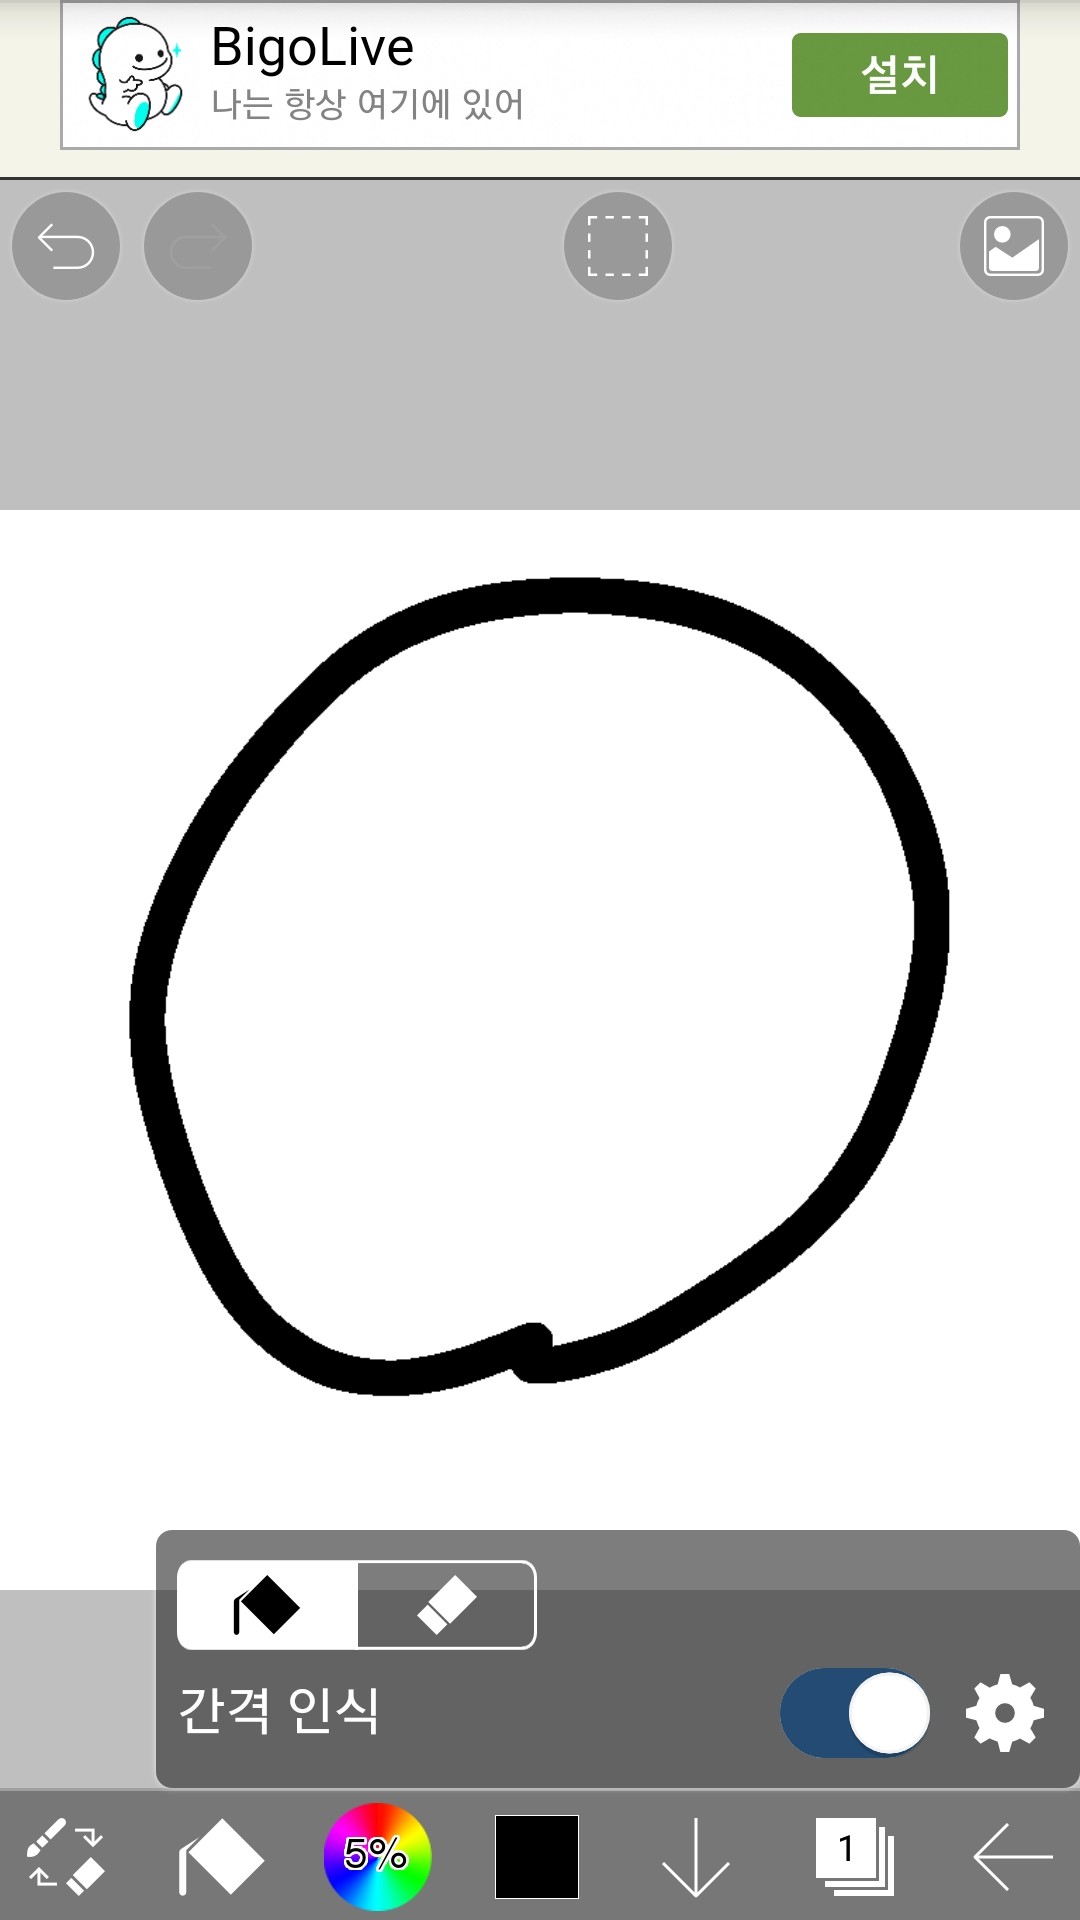 Paint can, turn on the paint and also turn on gap recognition.
Burst inside the circle
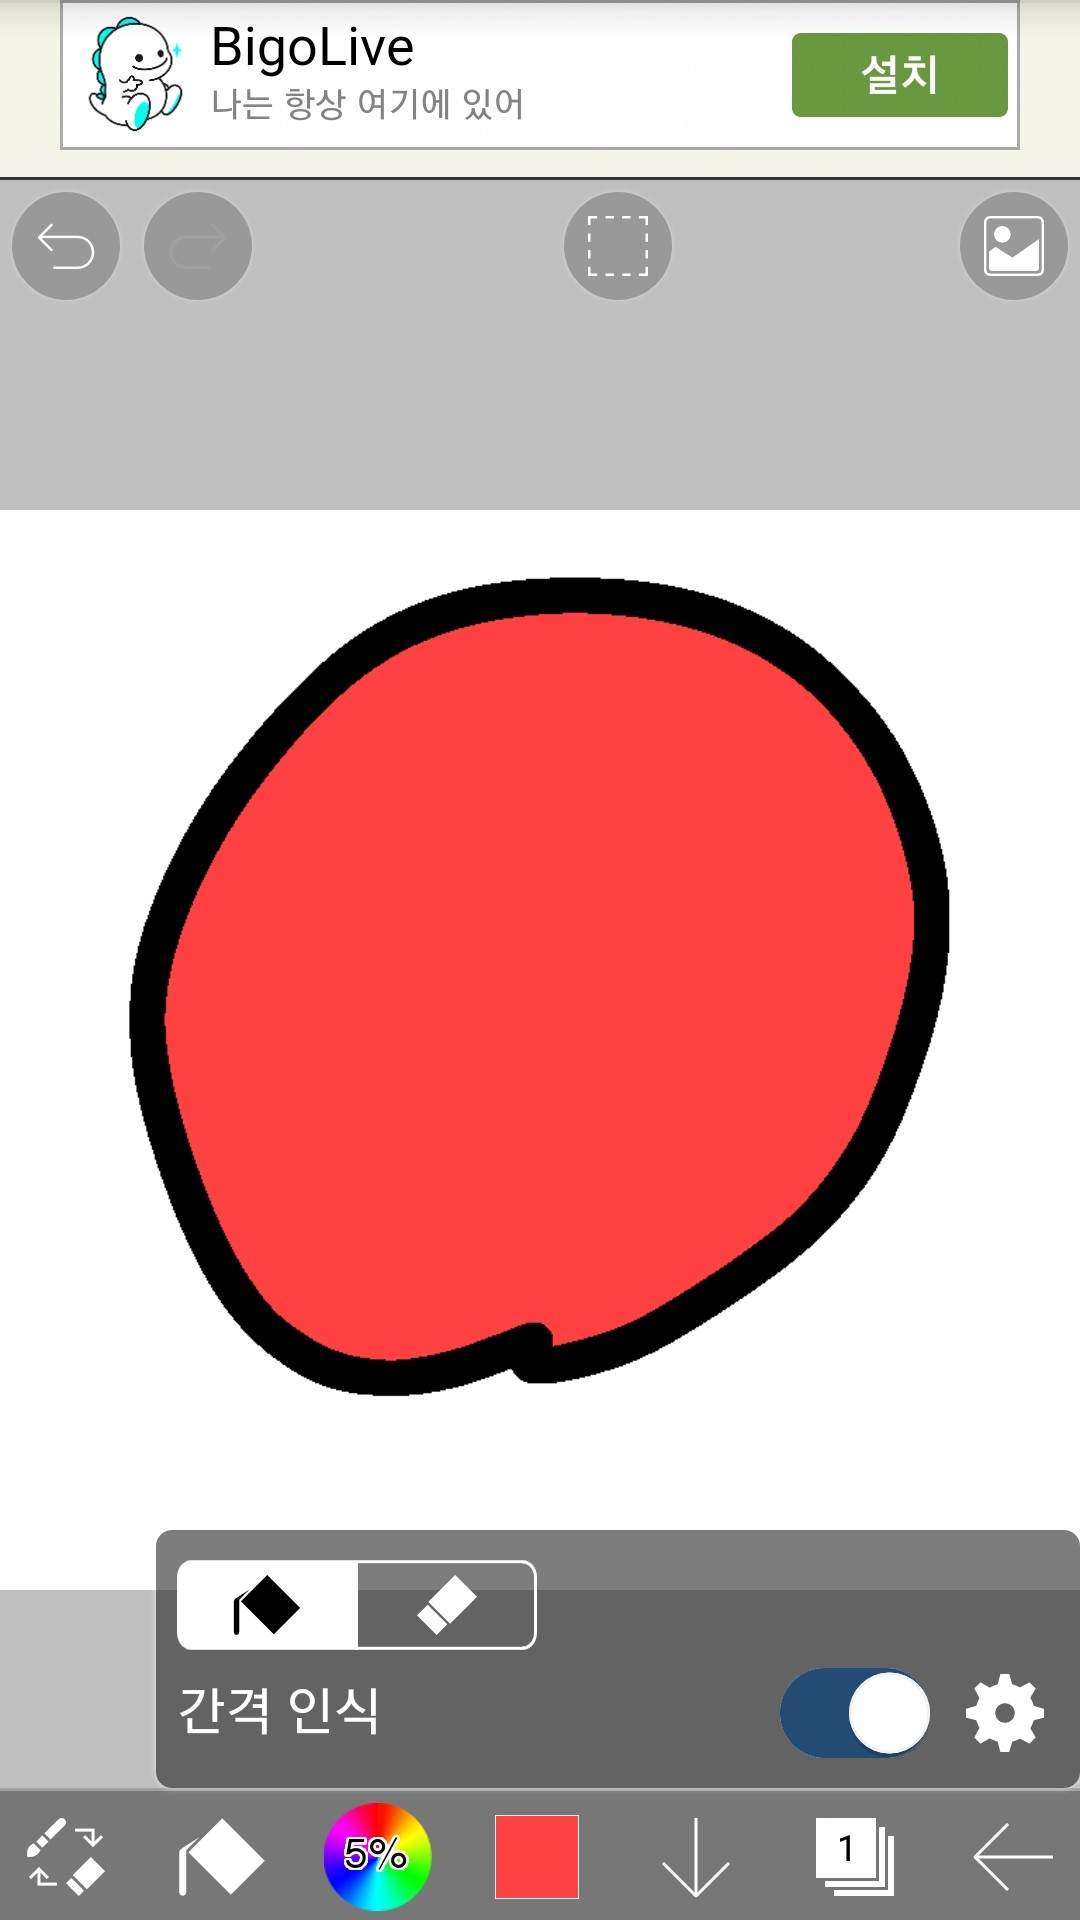 It's filled!
I'll try to erase it again this time.
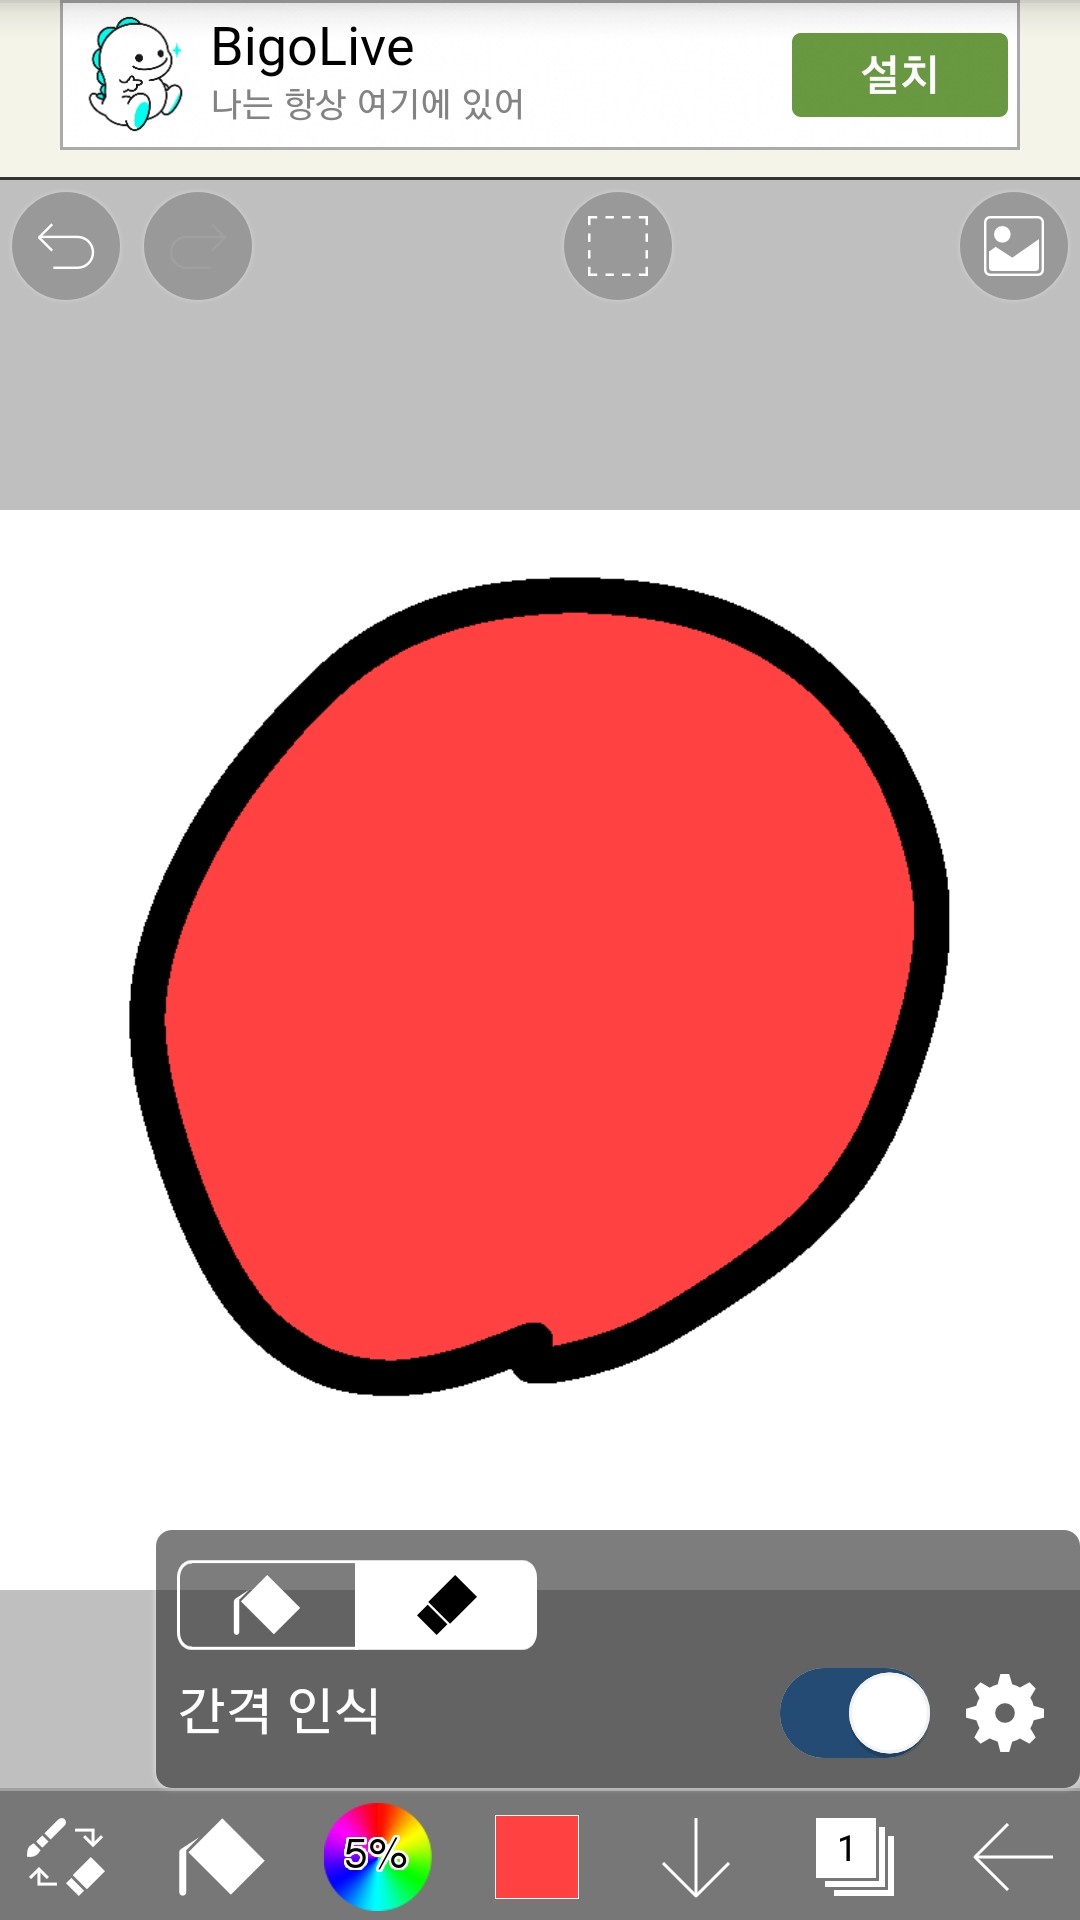 Please turn on the paint bucket and eraser and increase the spacing recognition.
And then burst the inside of the circle
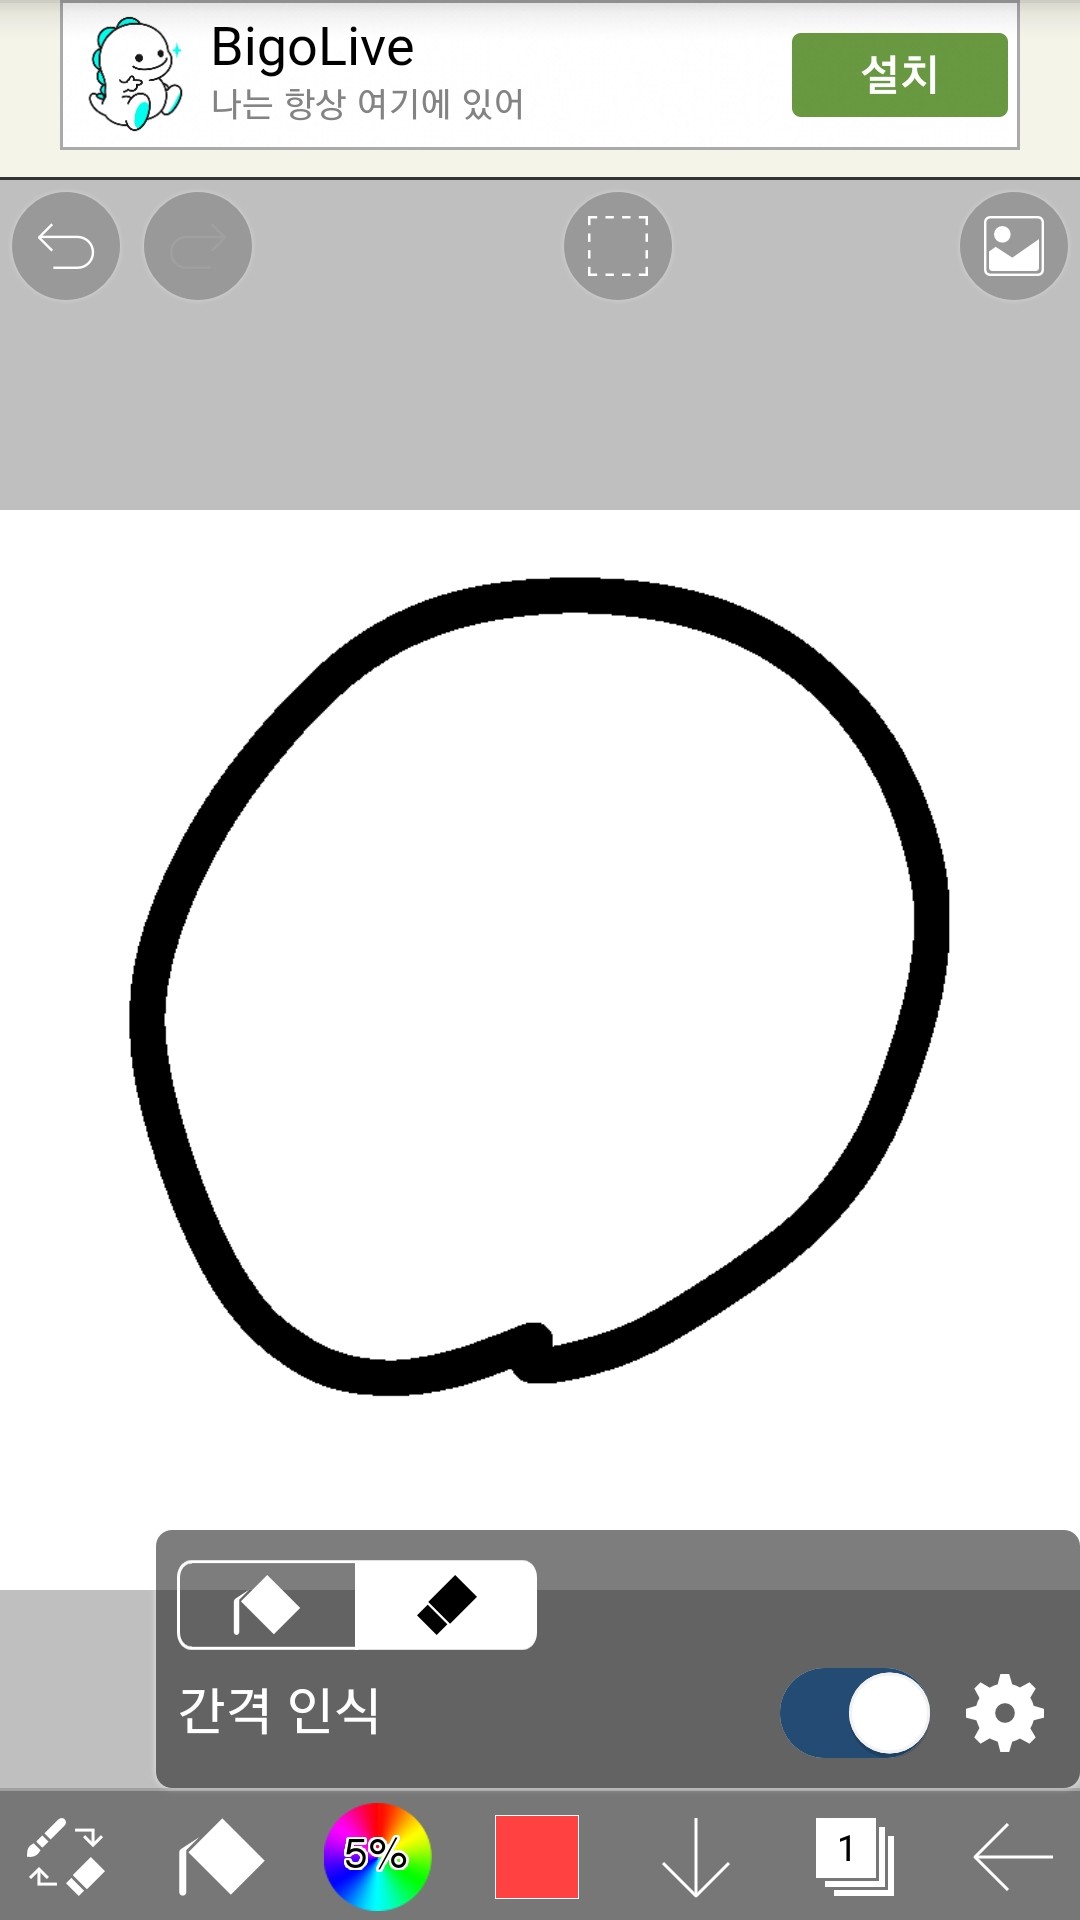 It's been erased!!
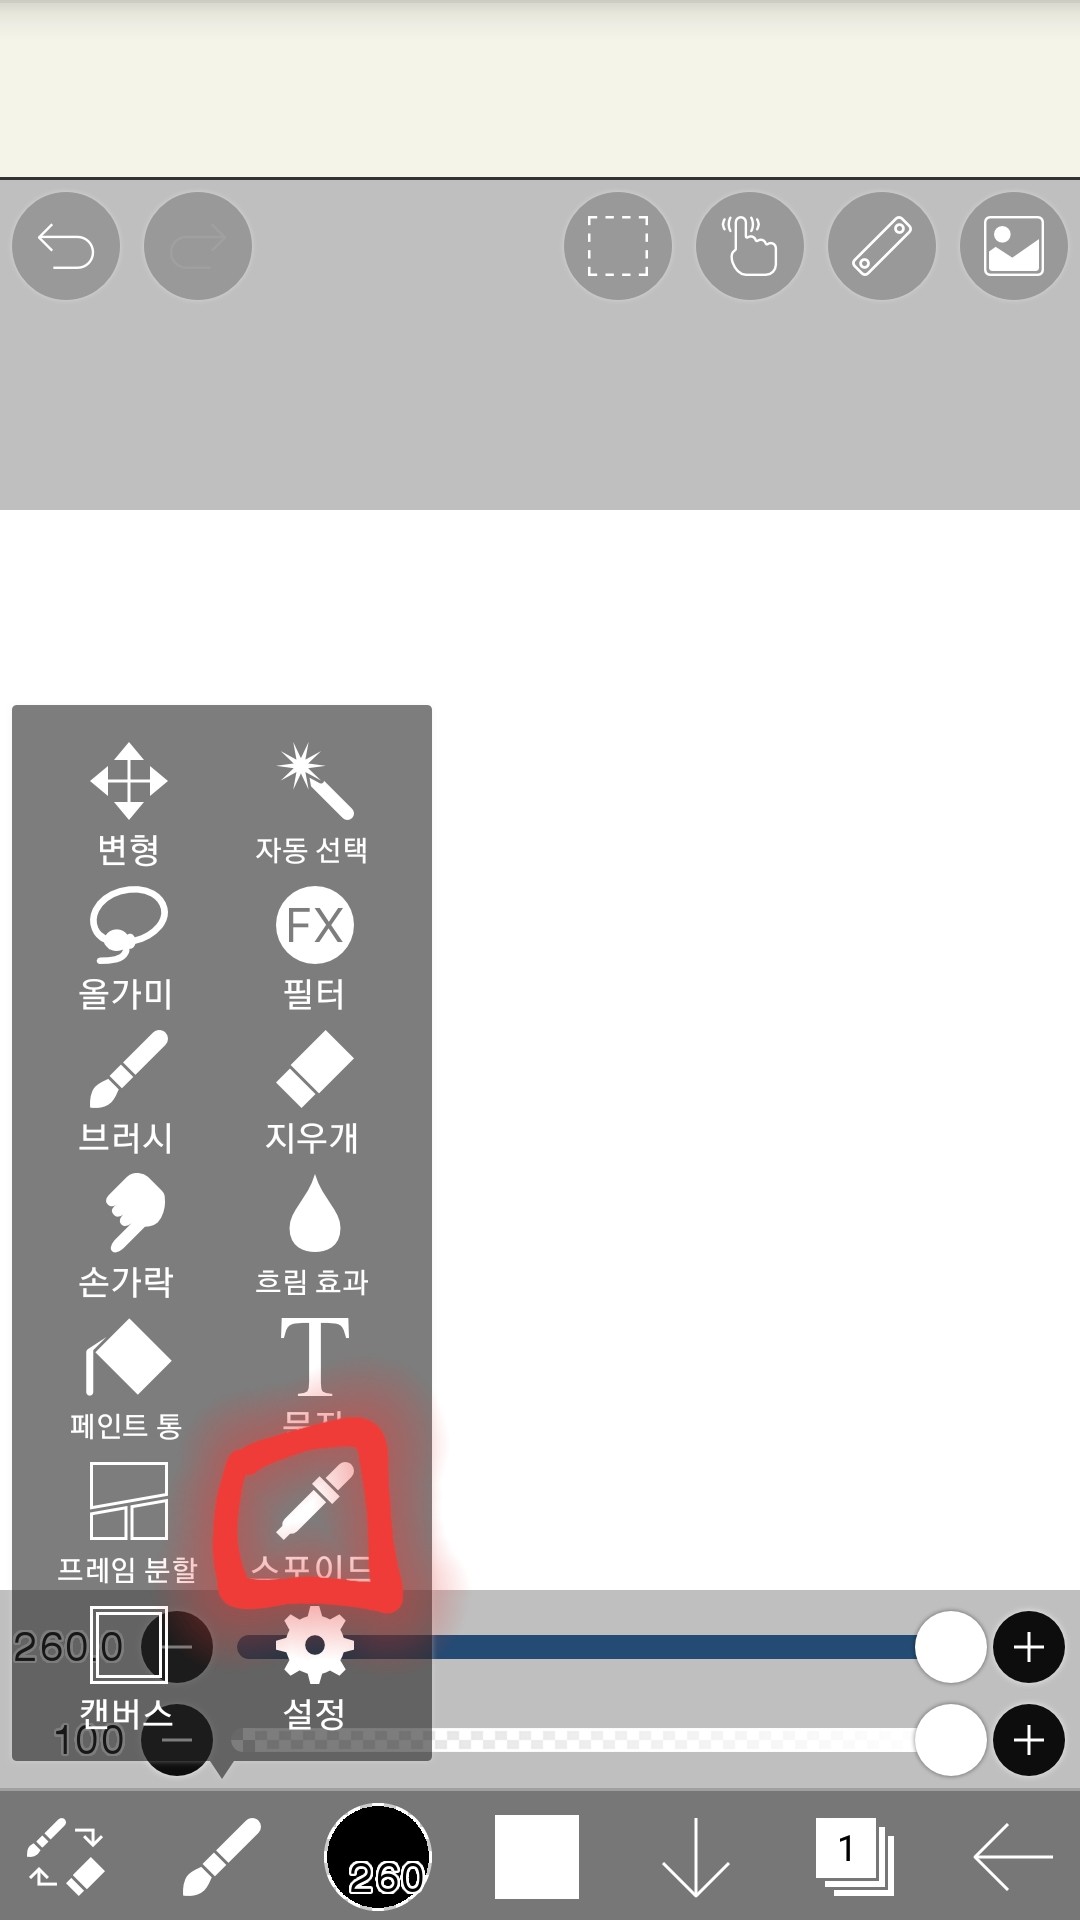
(5) Dropper
Touch here
It changed
-function
Please touch the part you want to use again in the conference.
Then you can use that color again
-Try it out
Here
When you want to use this color again
Set it to Eyedropper
Touch that part
then
 The color set in this section will appear and automatically set back to the fan.
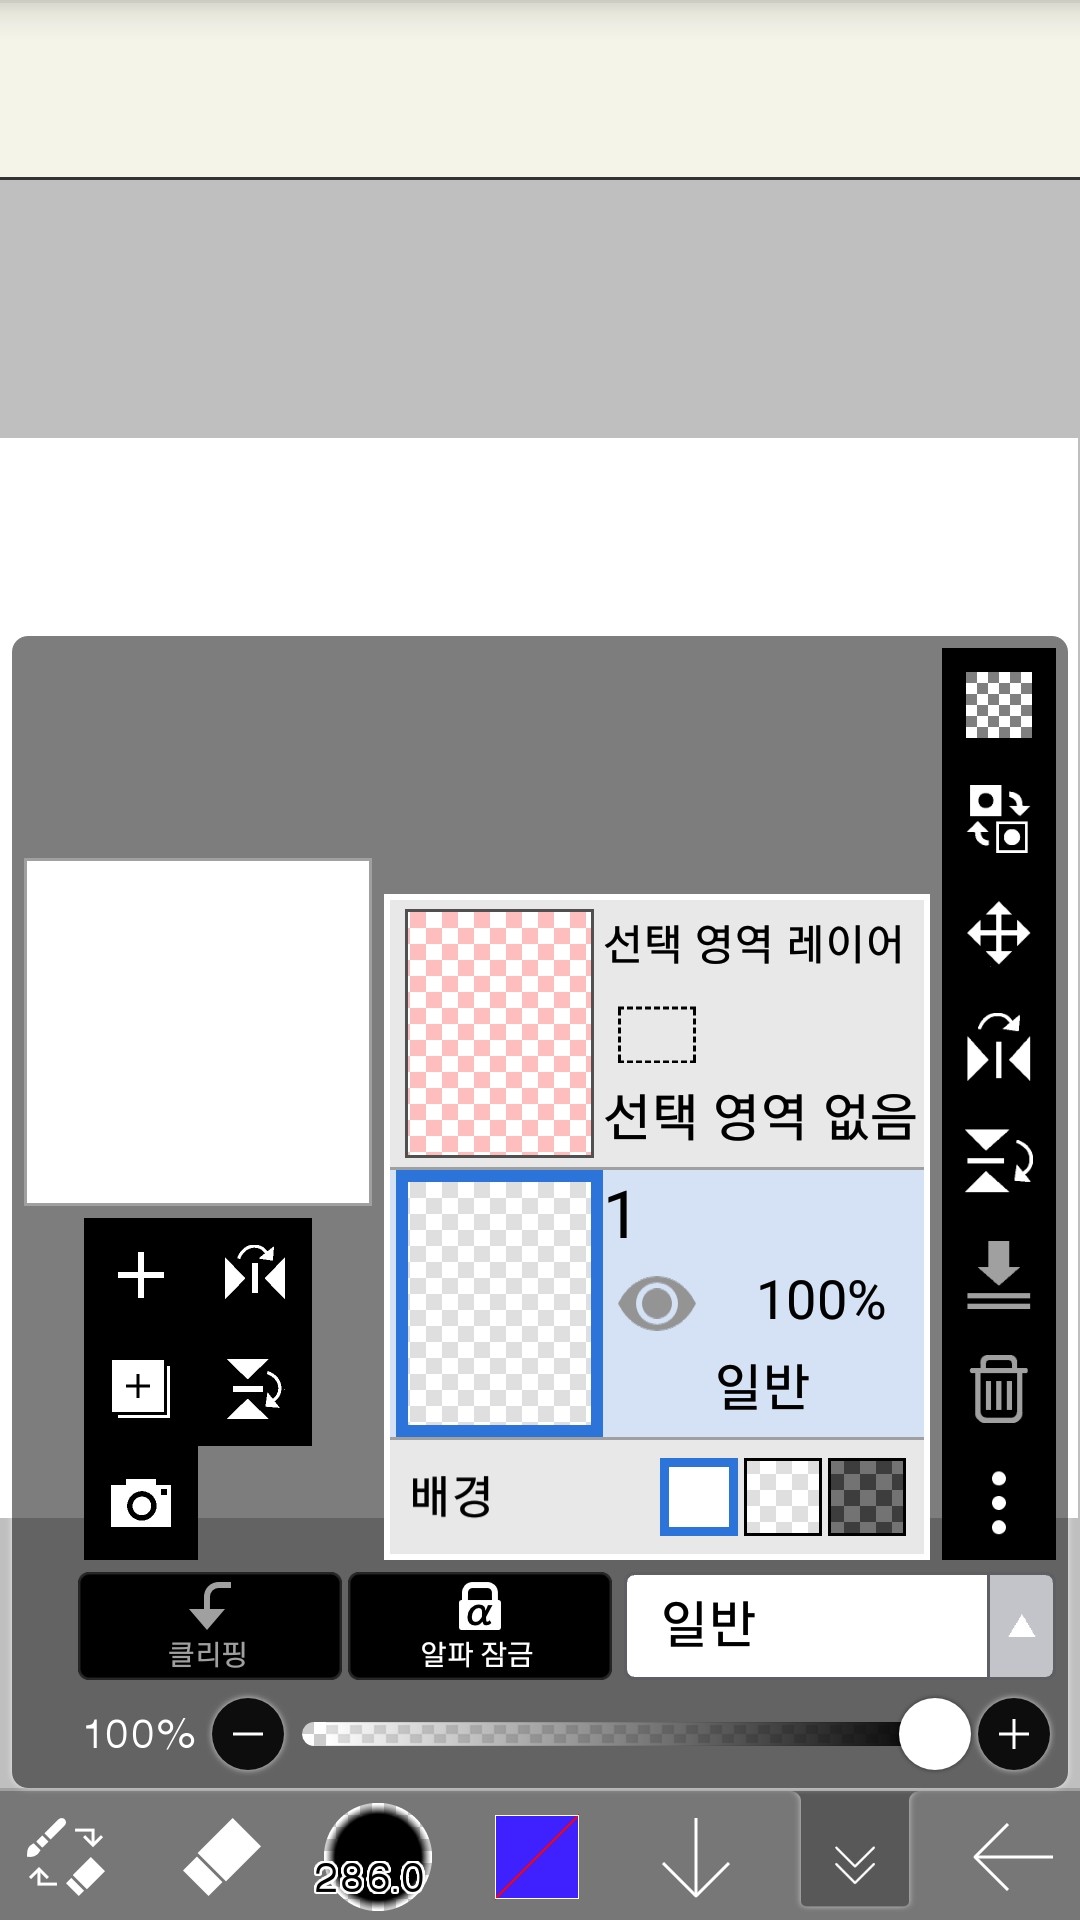
2. Layer(Only things needed to draw fan art)
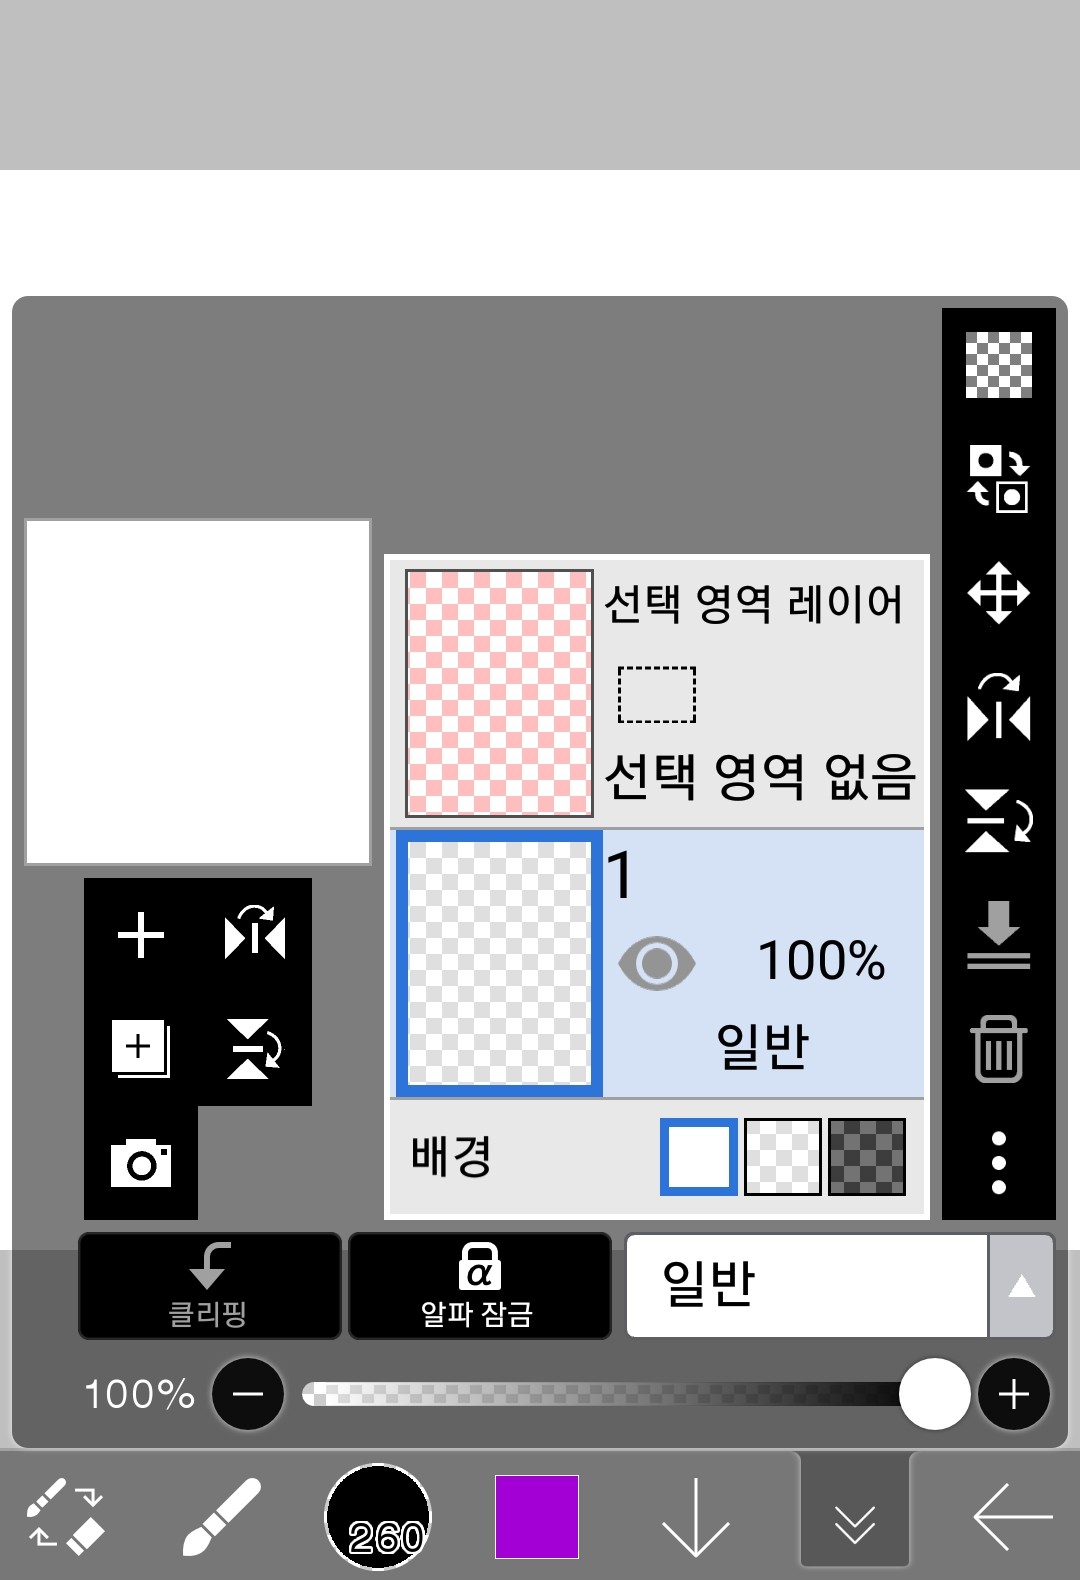
Right now, you basically have one normal layer and one selection layer.
A normal layer is a normal layer that draws pictures as the name suggests.
I won't explain the selection layer because it's not necessary for how I draw fan art.
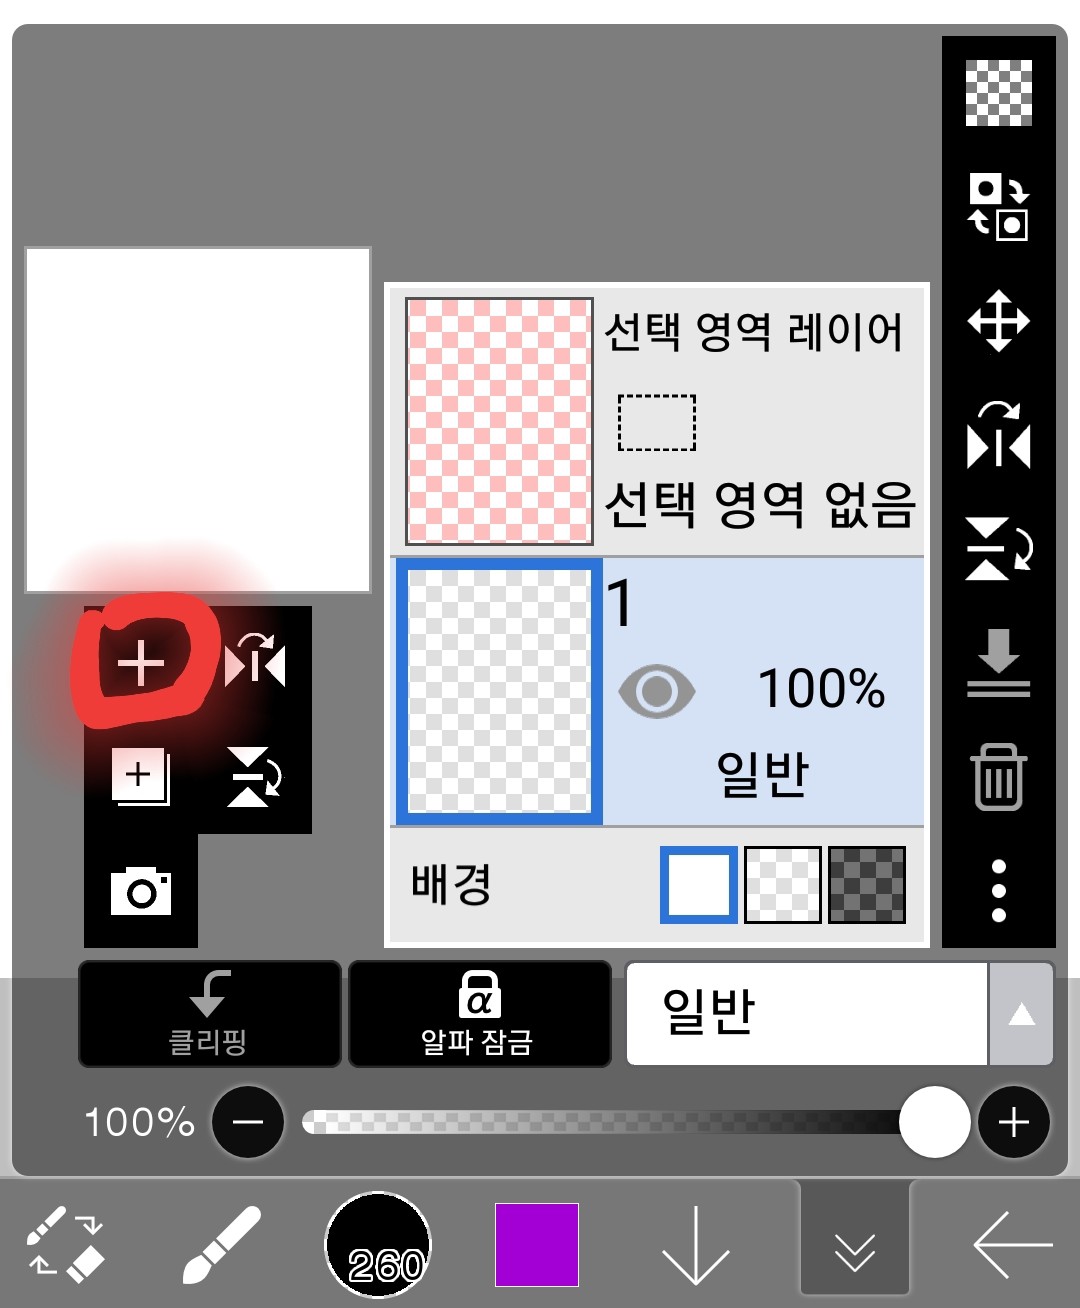
(1) Add layer
If you touch here
Layers are added like this
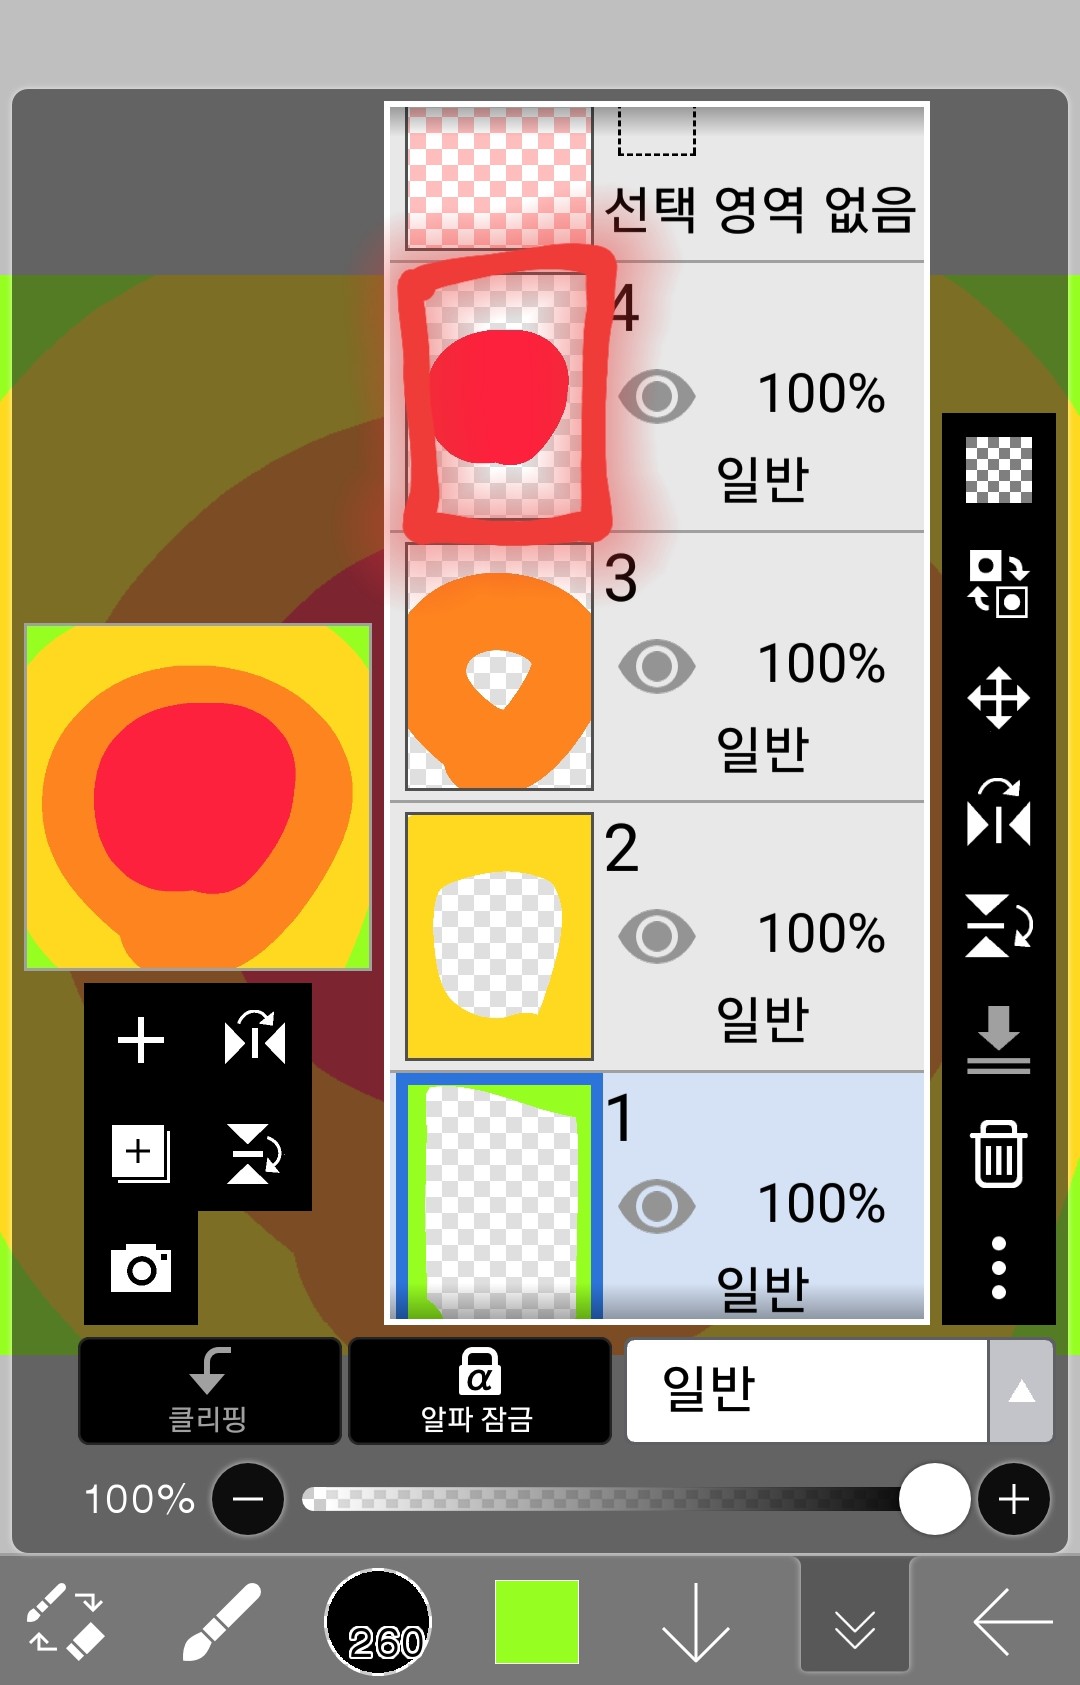
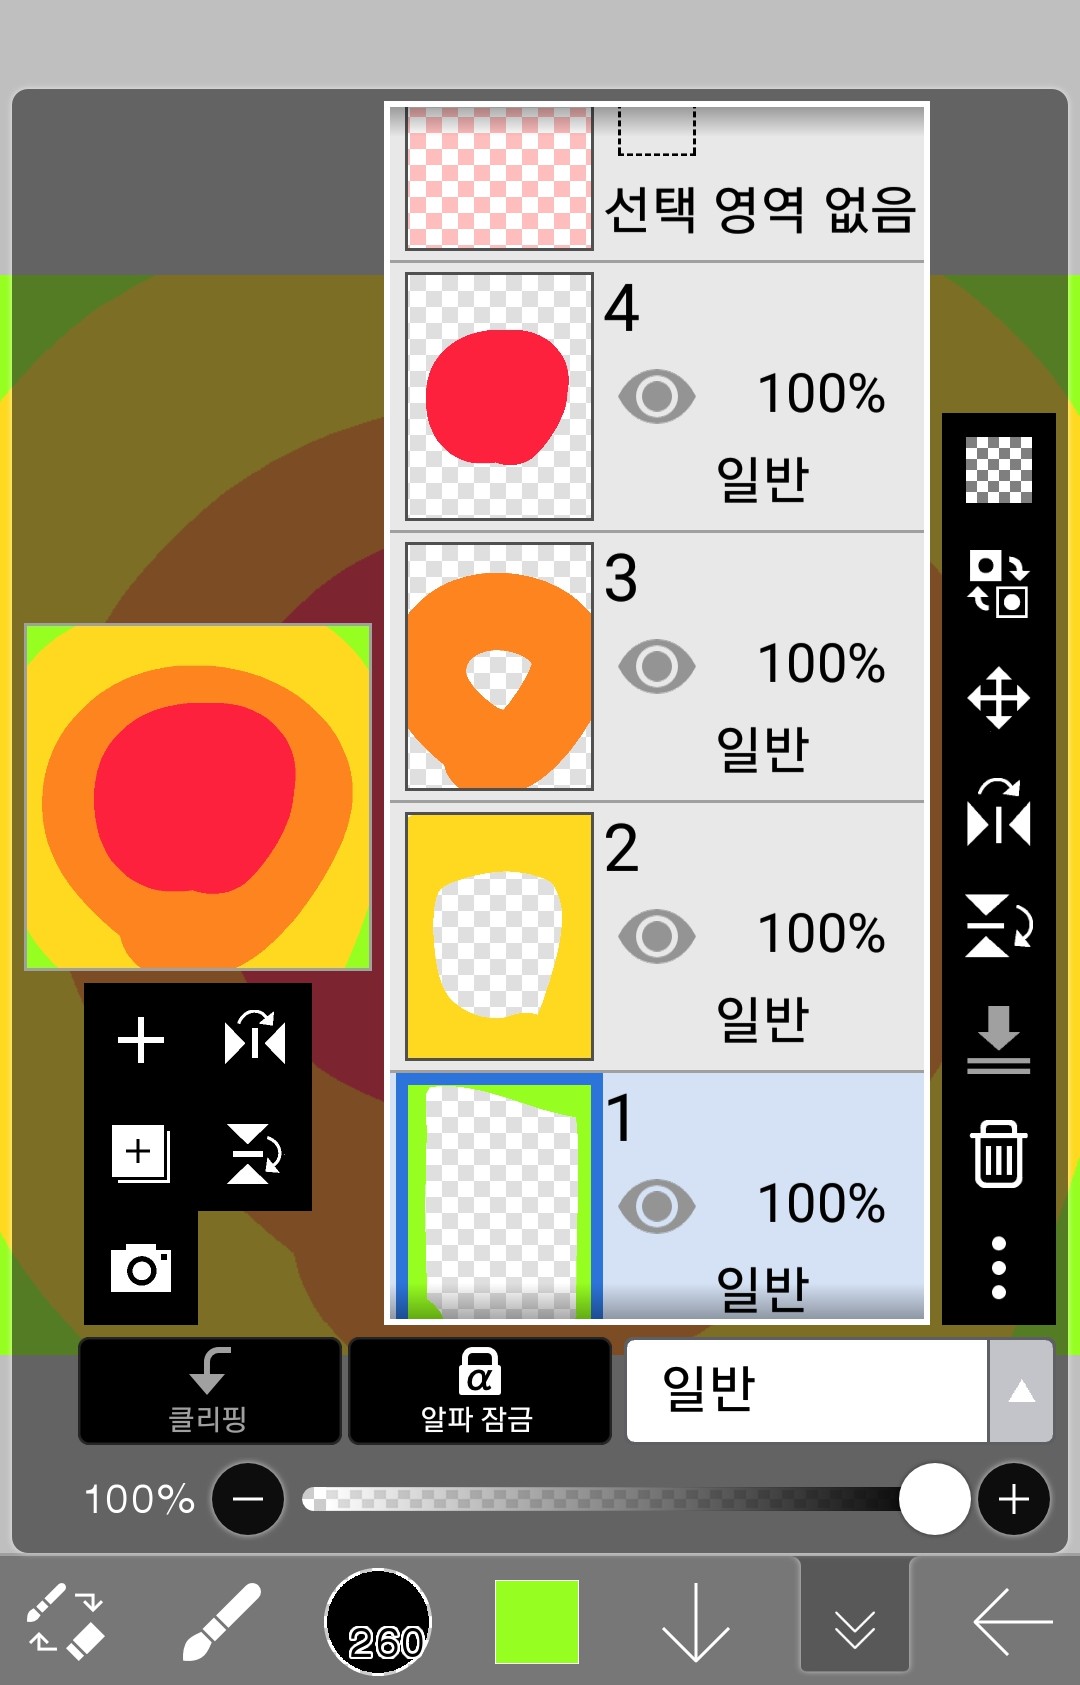
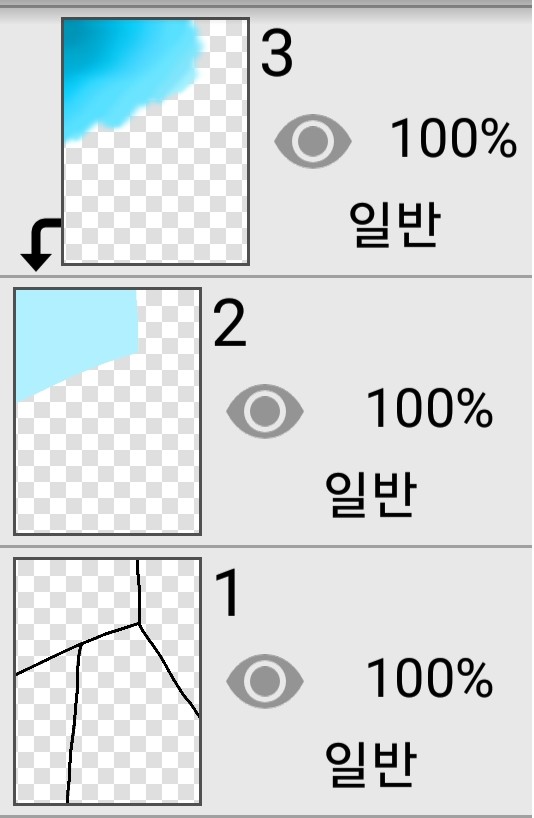
(2) Change the layer order
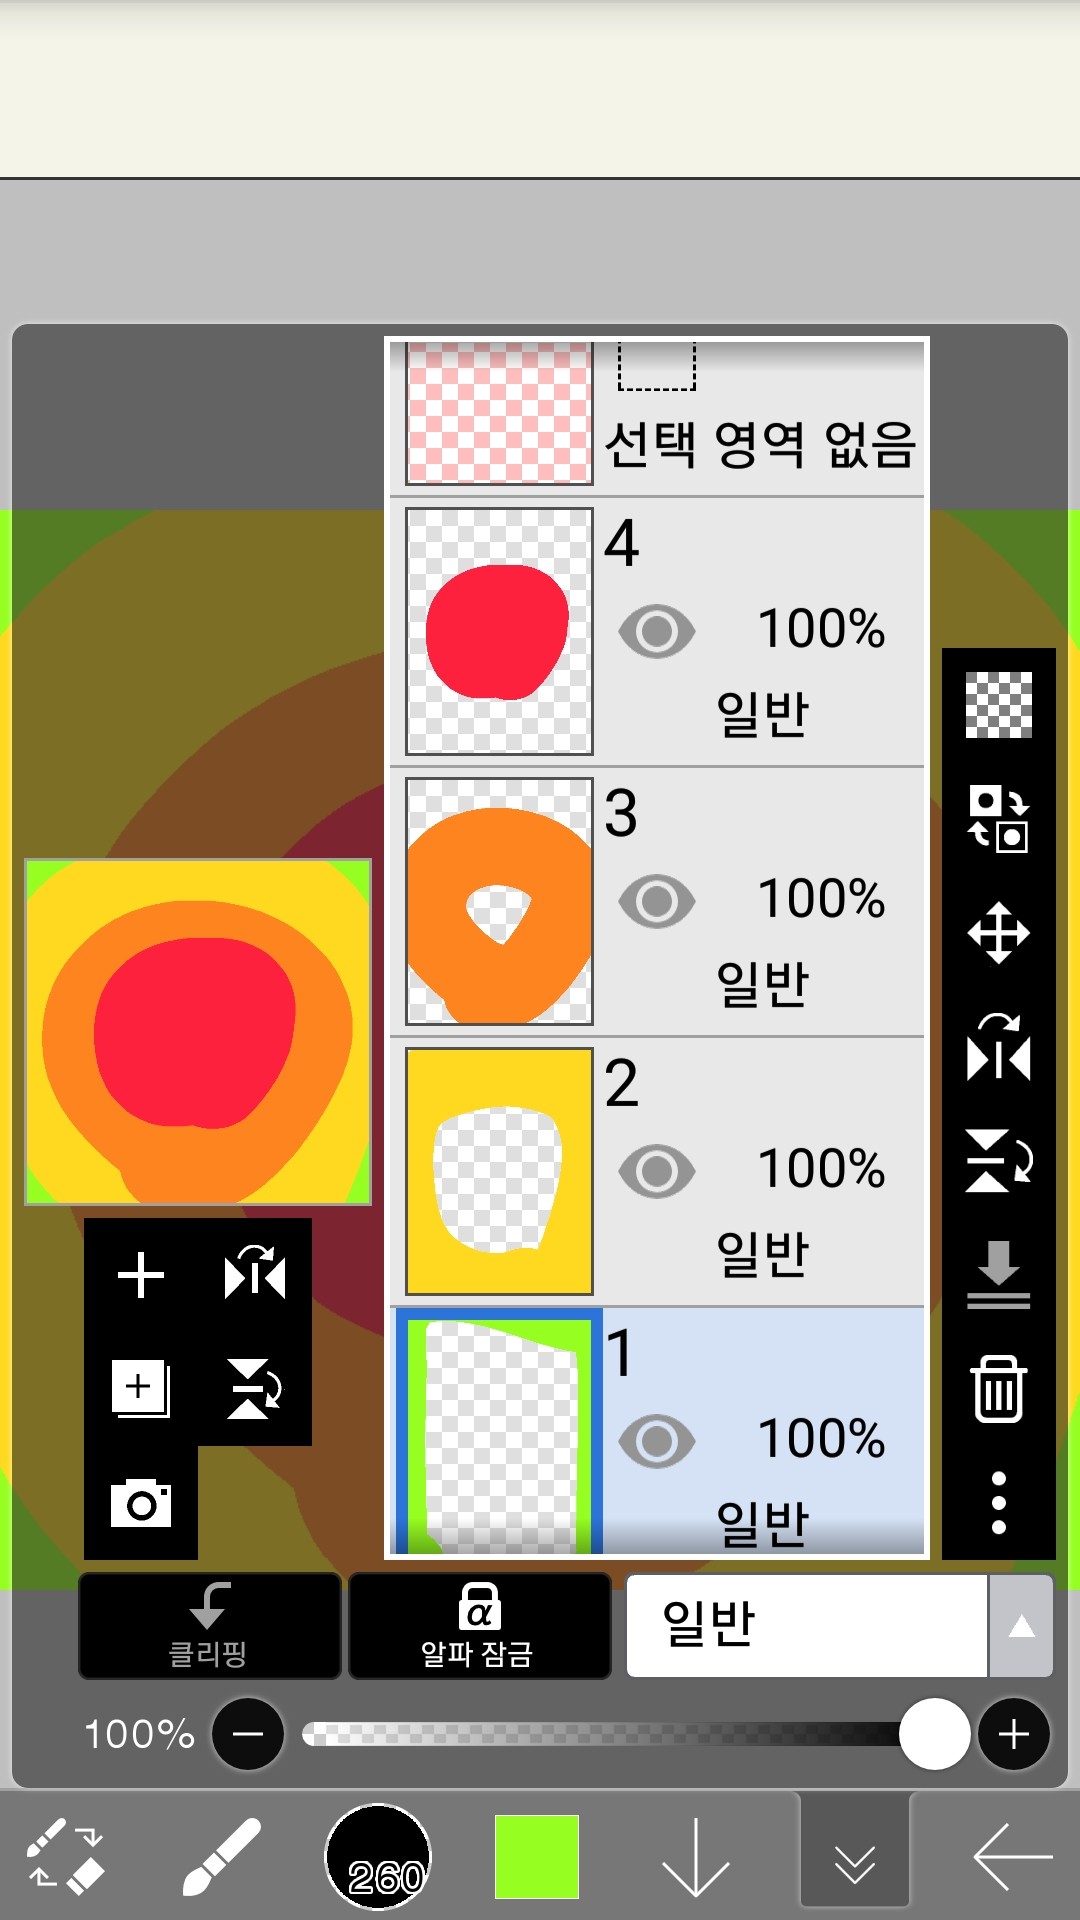
As above, the higher the layer is, the higher it is in the conference.
If I try to make layer 4 into layer 1
Just click here and drag down
then
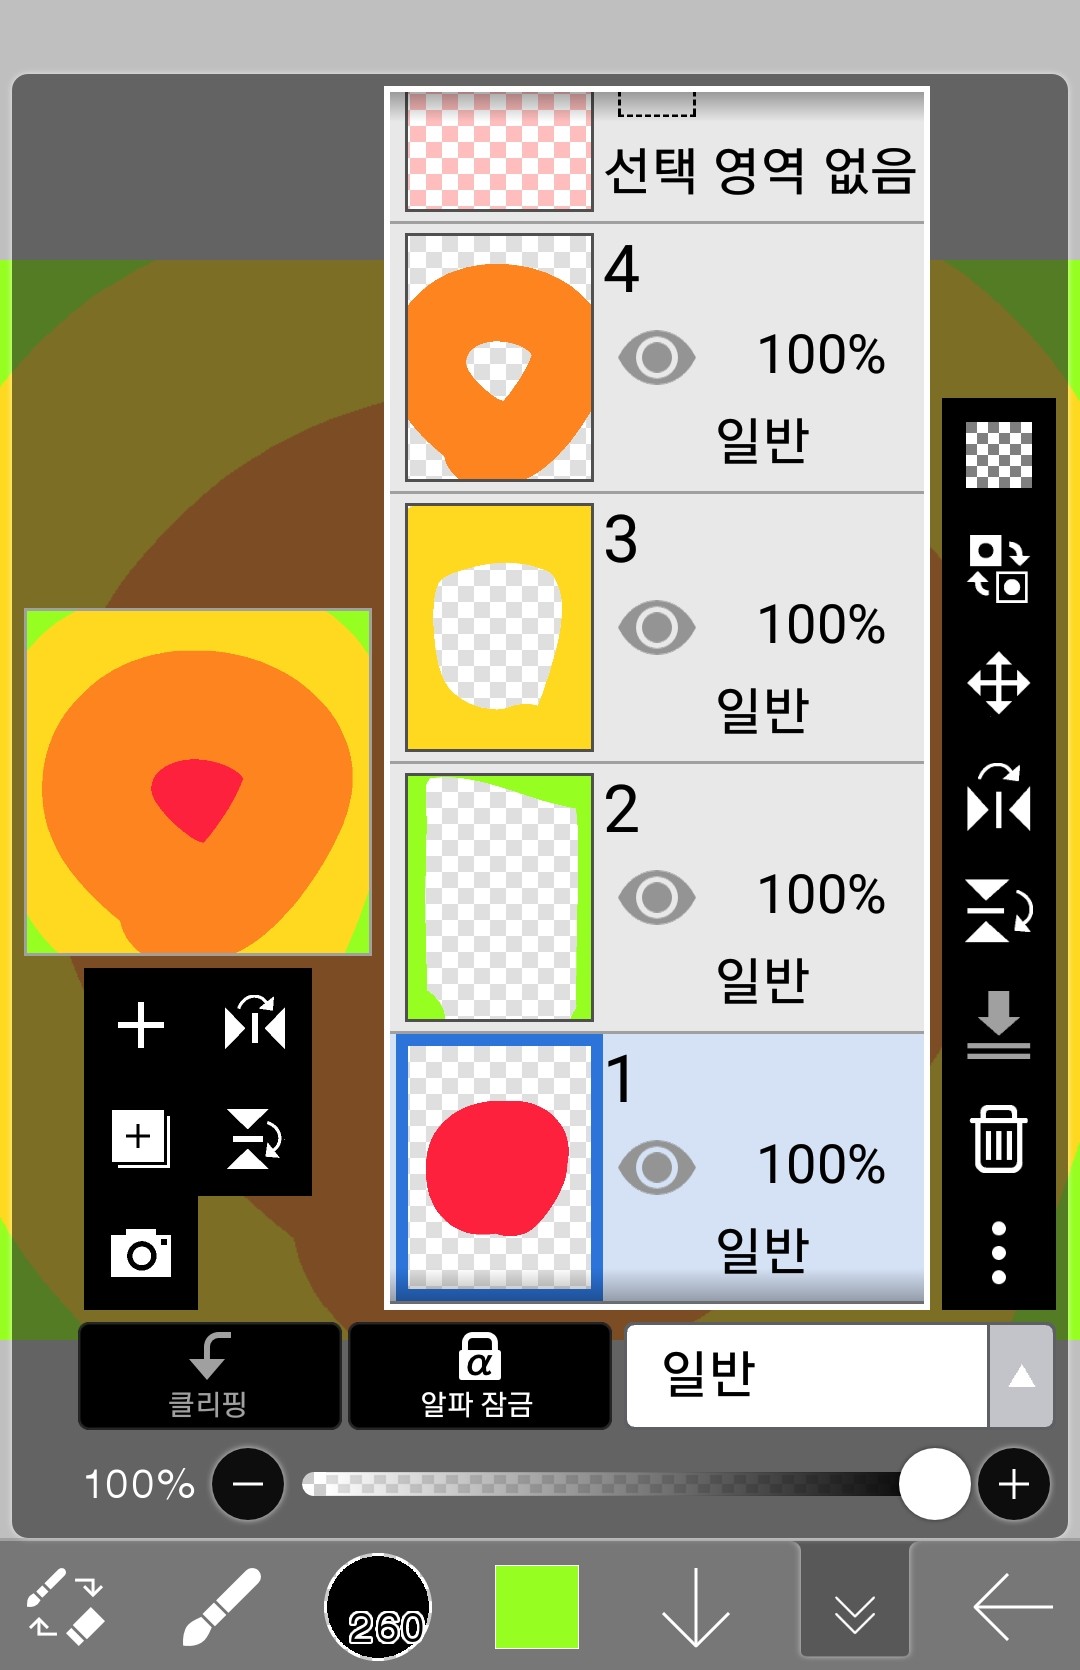
This is how it happens!
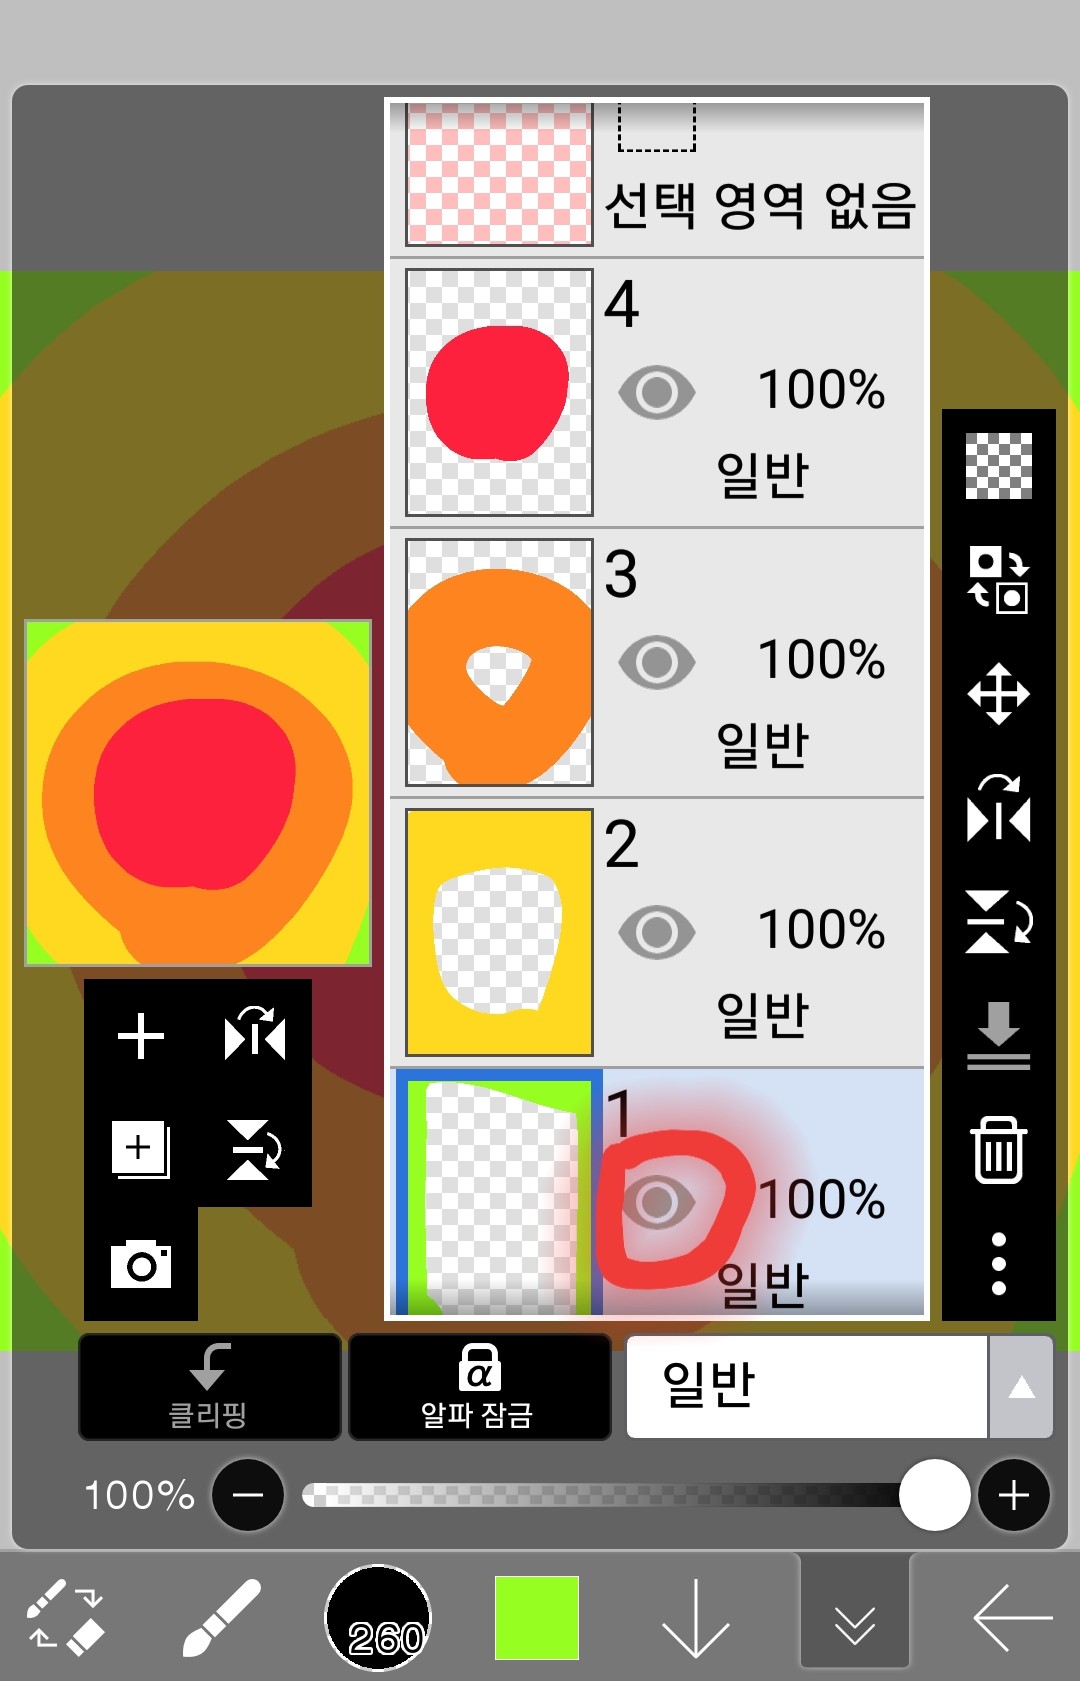
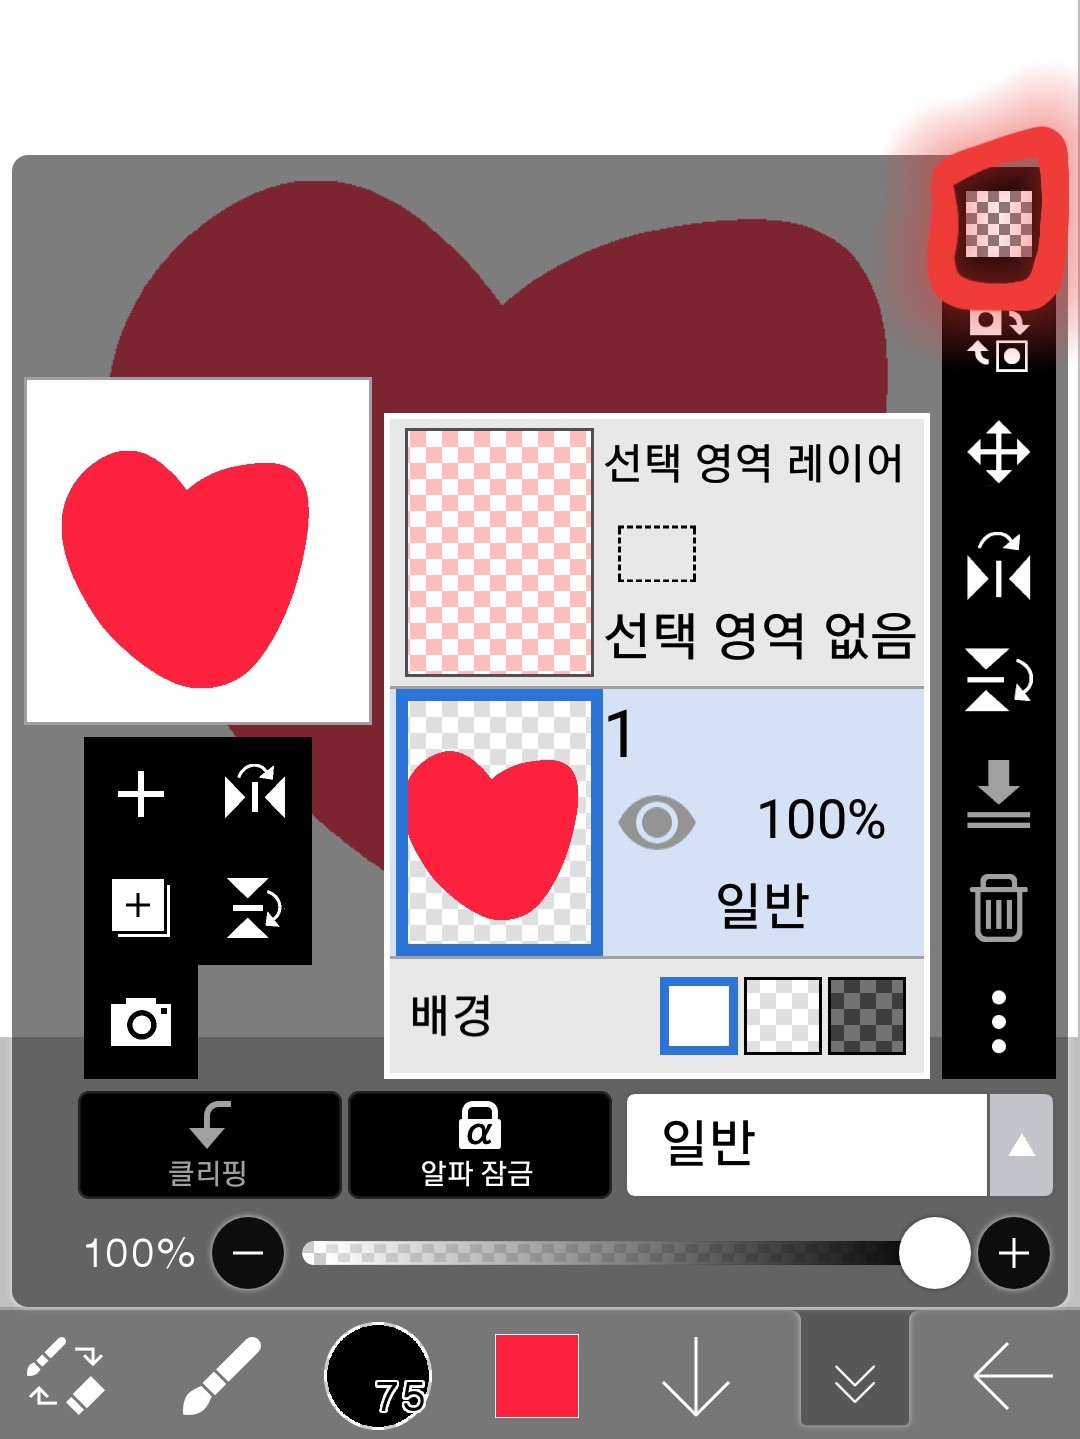
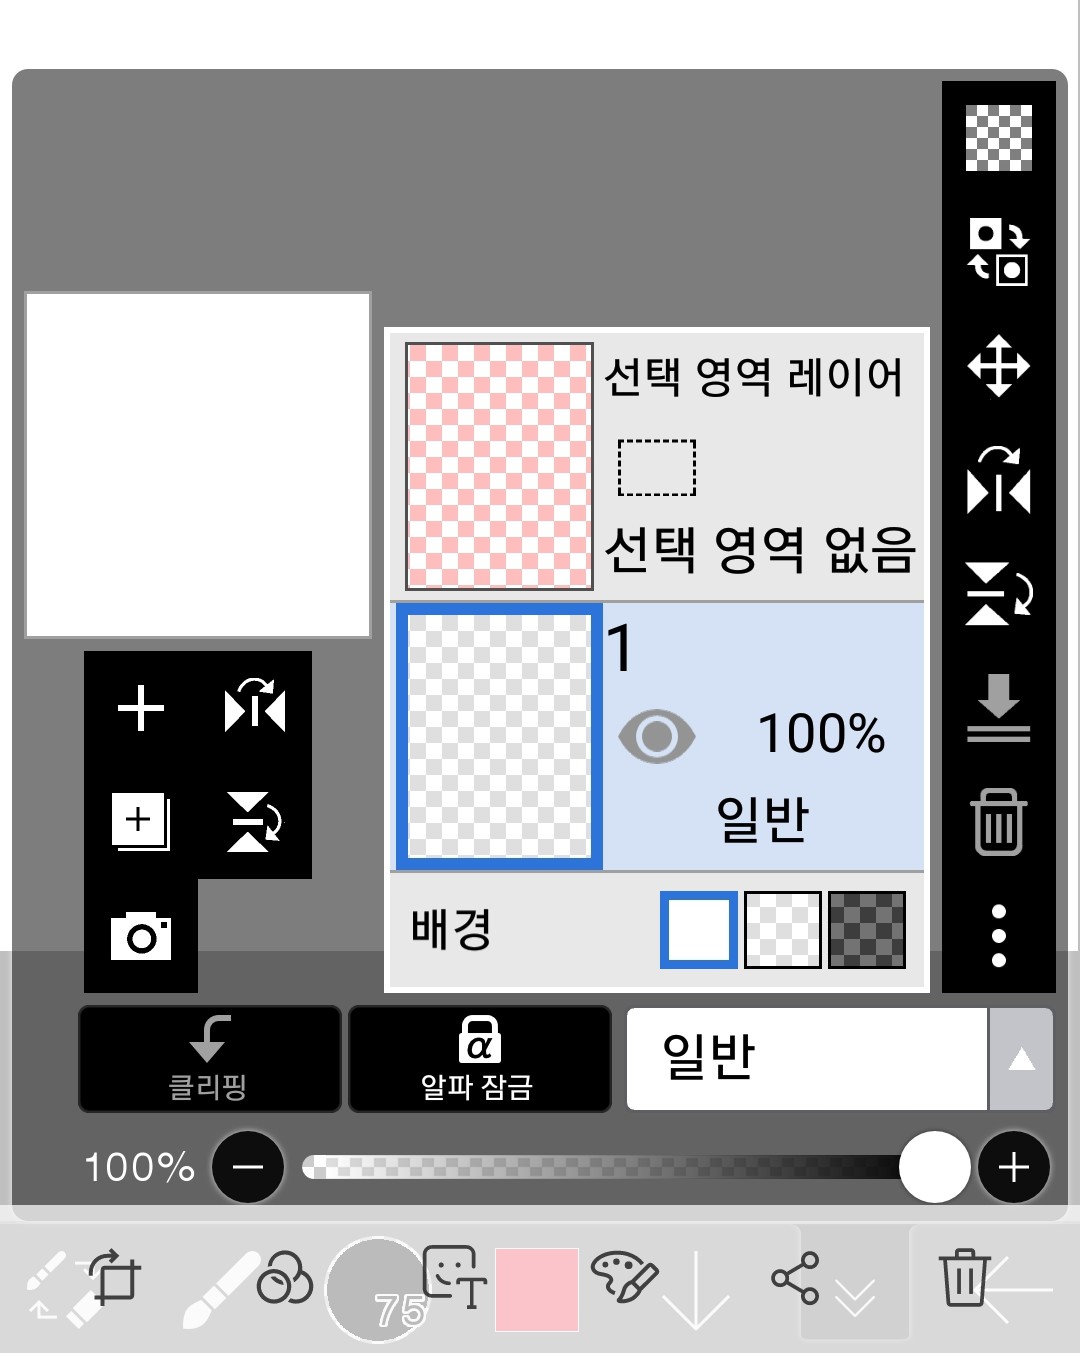
(3) Hide layer
If you want to make layer 1 invisible here
Click here to see layer 1
It won't be visible like this
That doesn't mean it's deleted!
Click on the eye shape again to see it again
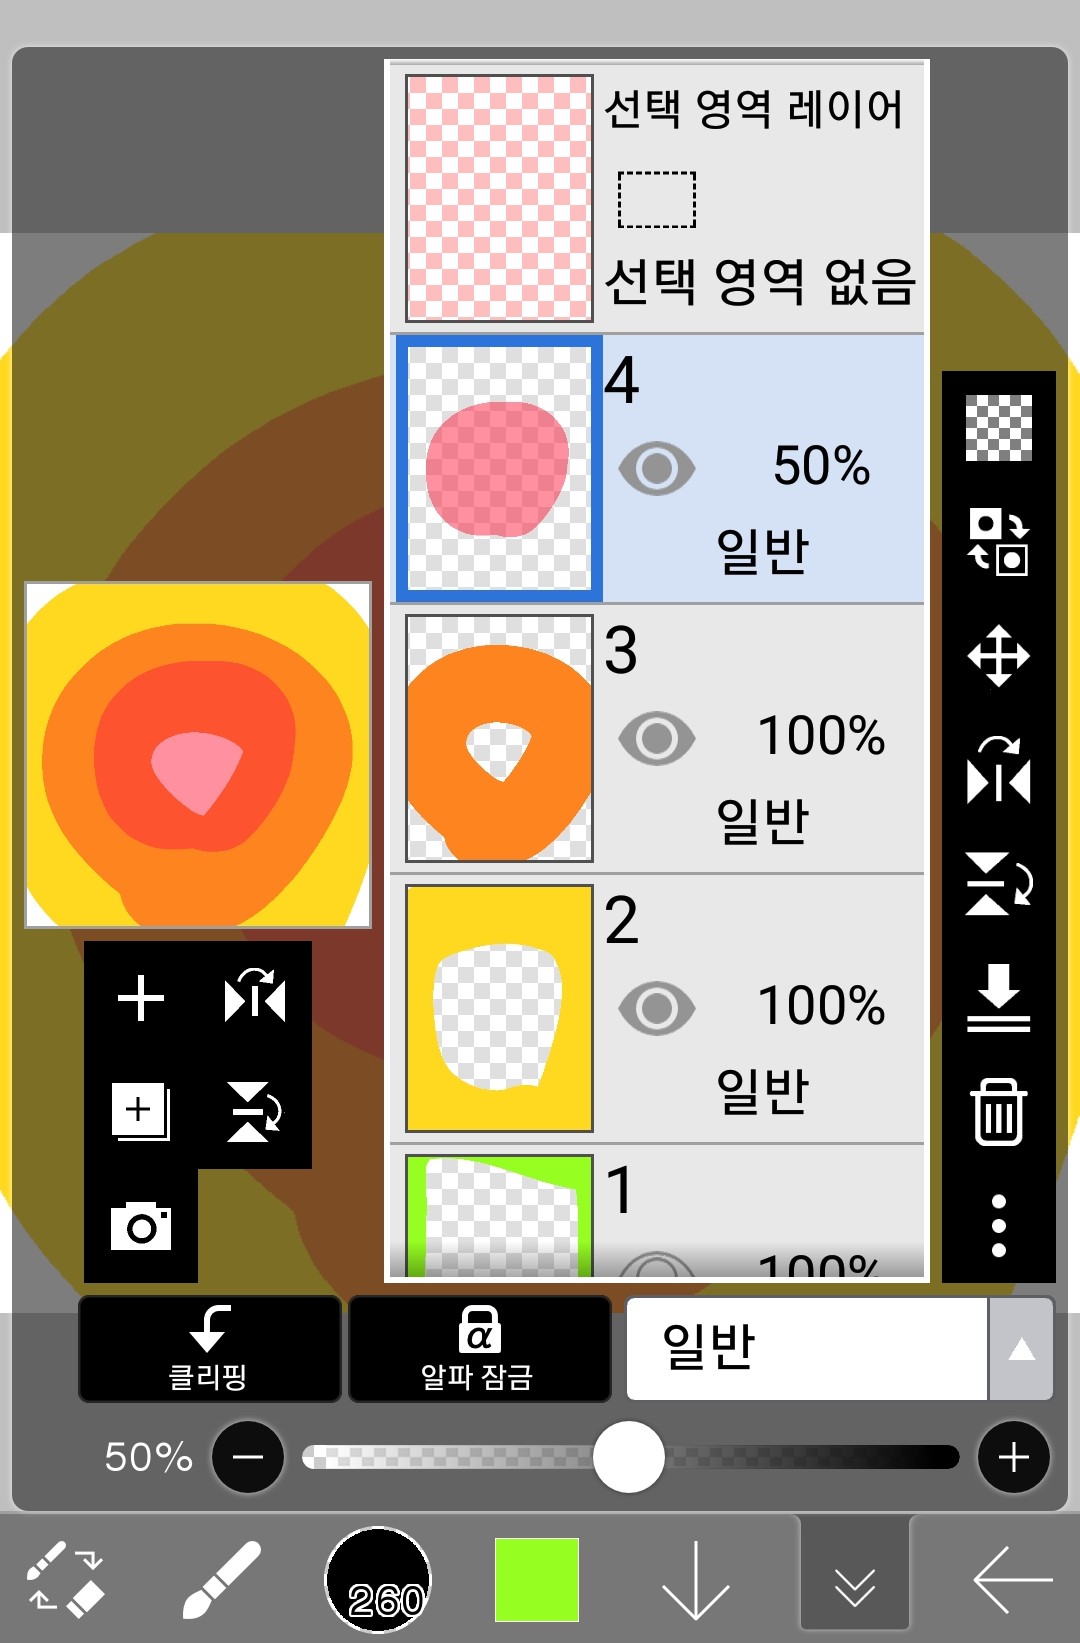
(4) Setting layer opacity
Makes the selected layer transparent
You can adjust it here
First, select the layer you want to make transparent.
It gradually lowers the value from 100%.
I'll lower layer 4 to 50% opacity.
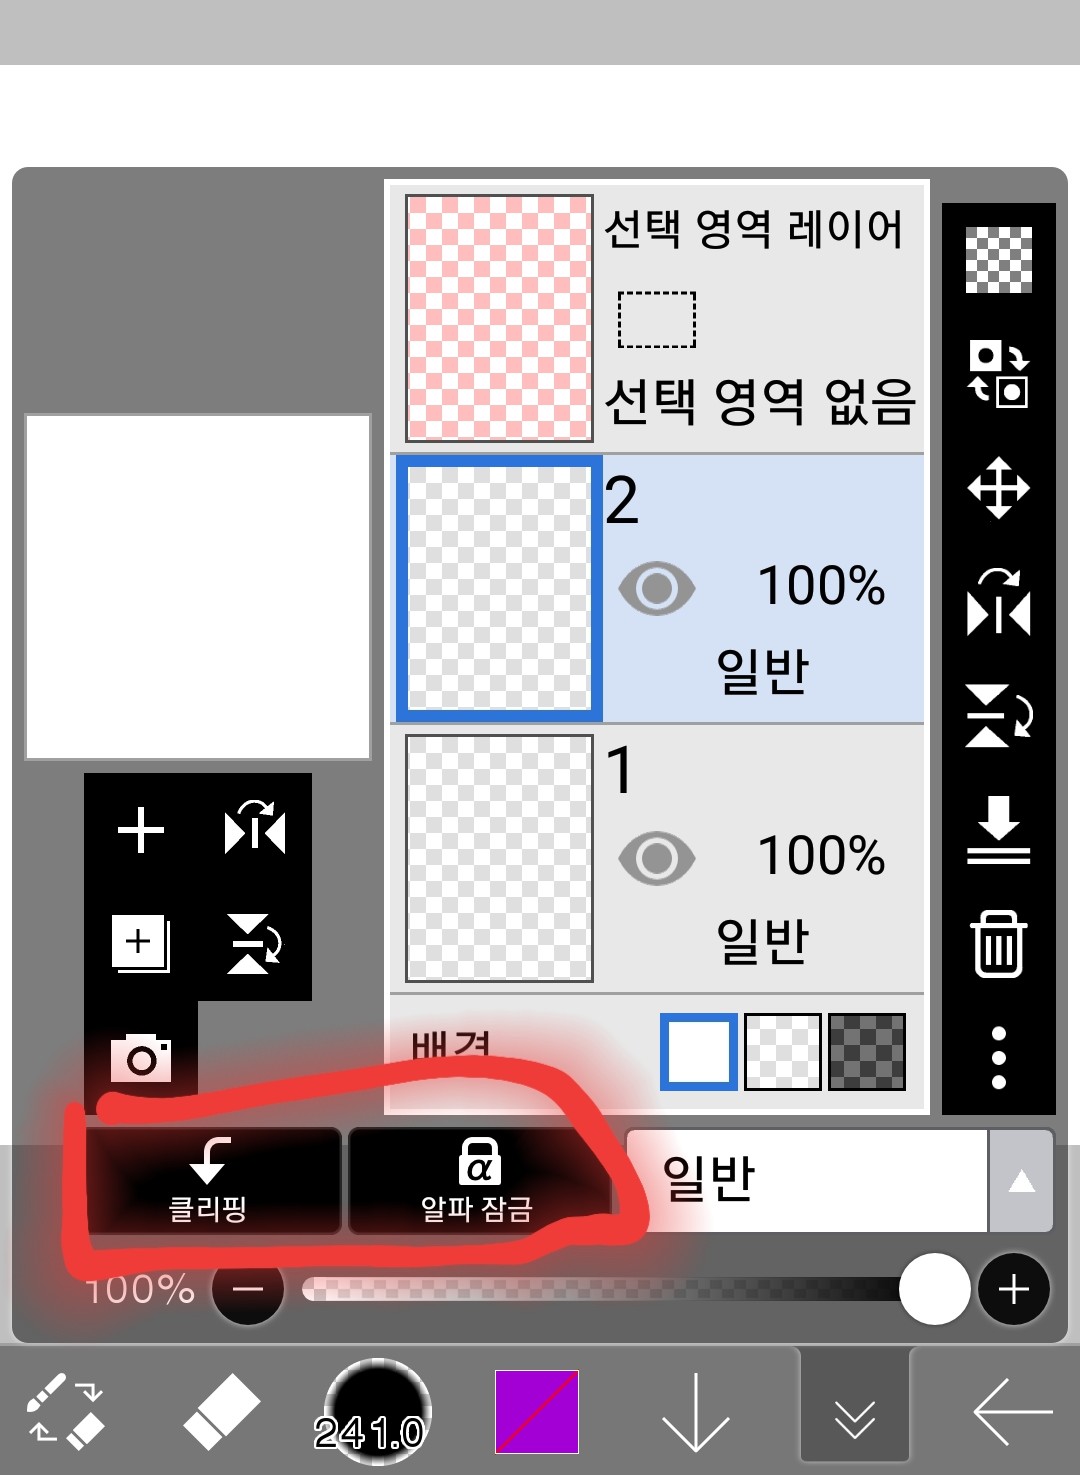
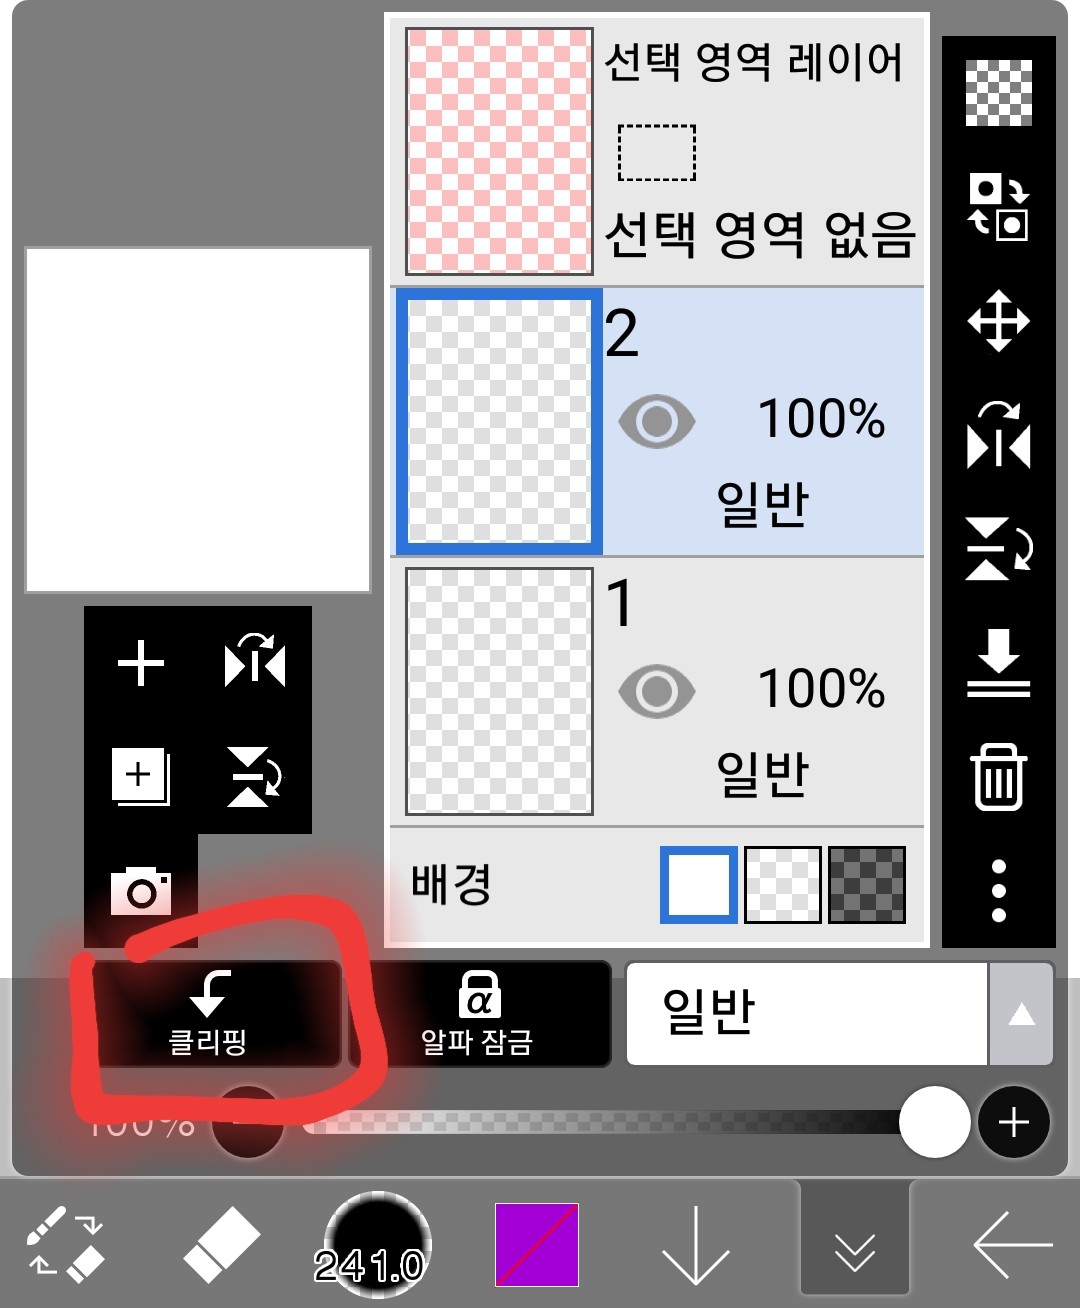
(5) Clipping and alpha locking
The reason I grouped these two together is because their functions are similar.
Here it is
-clip
Clipping allows you to draw only on top of the image drawn on the layer below it.
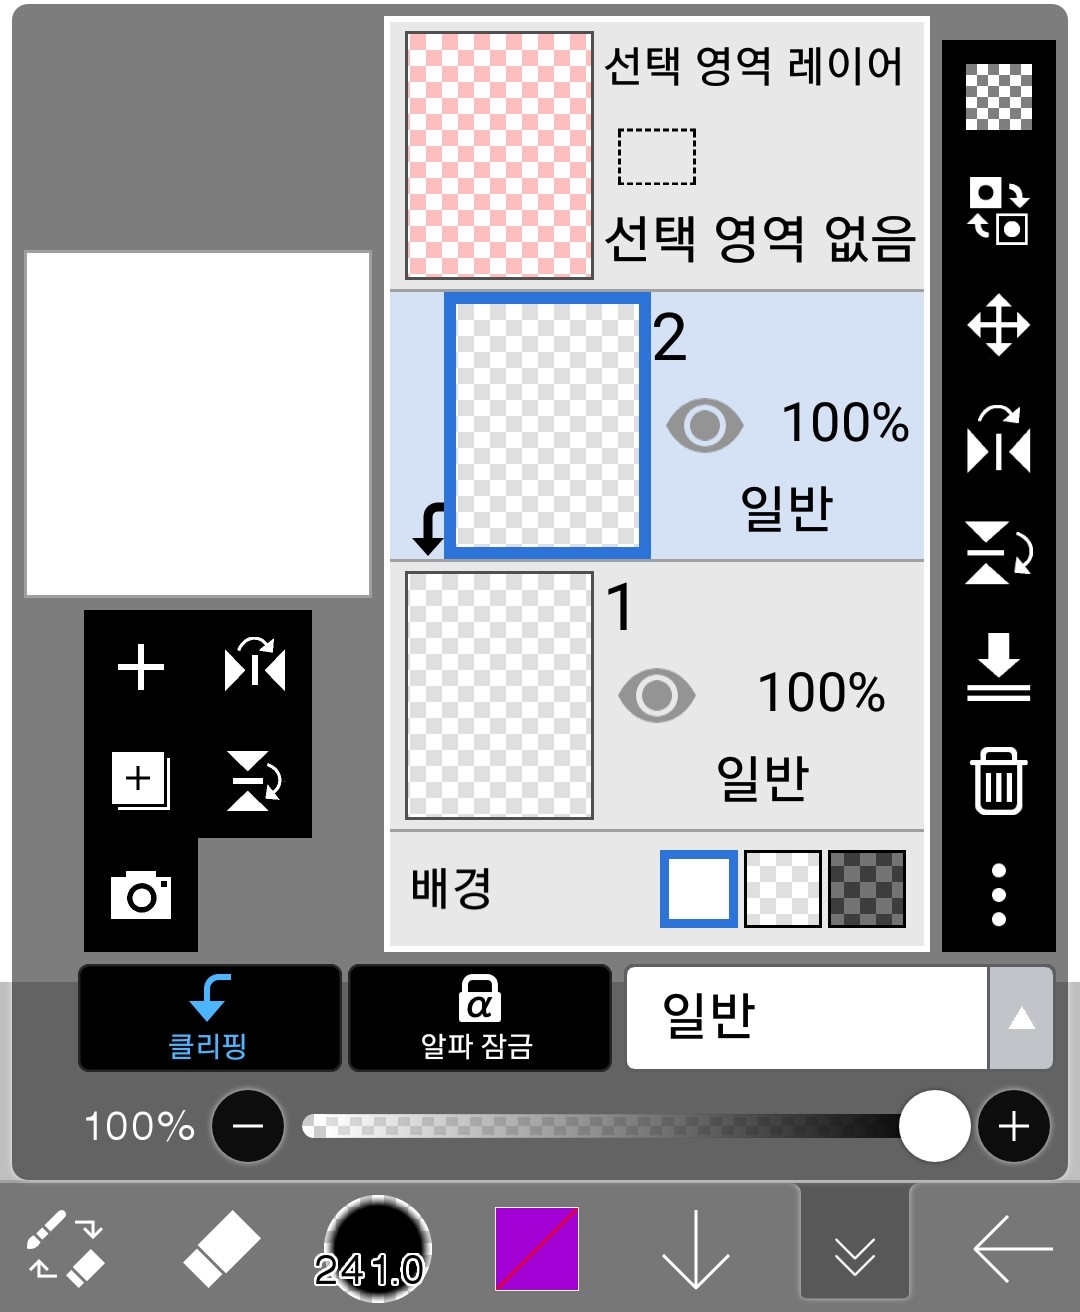
If you touch here
It becomes like this
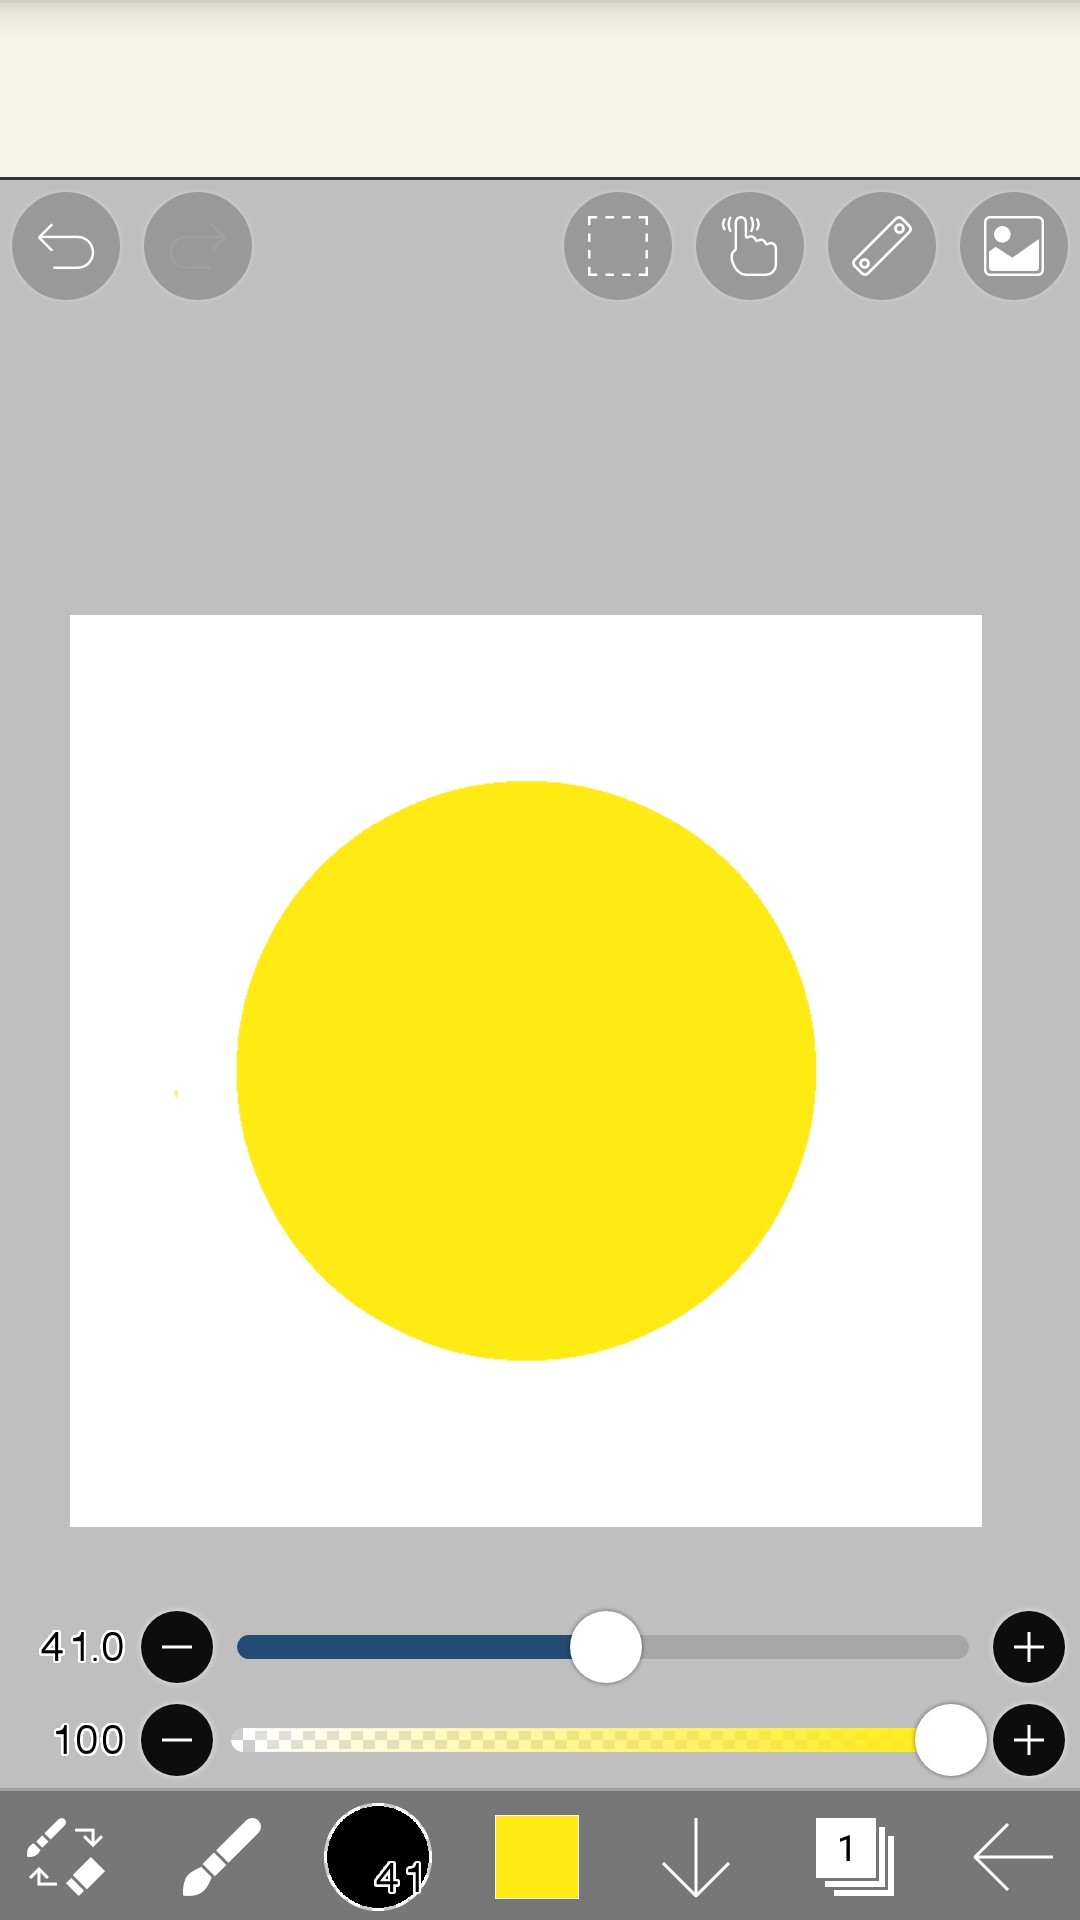
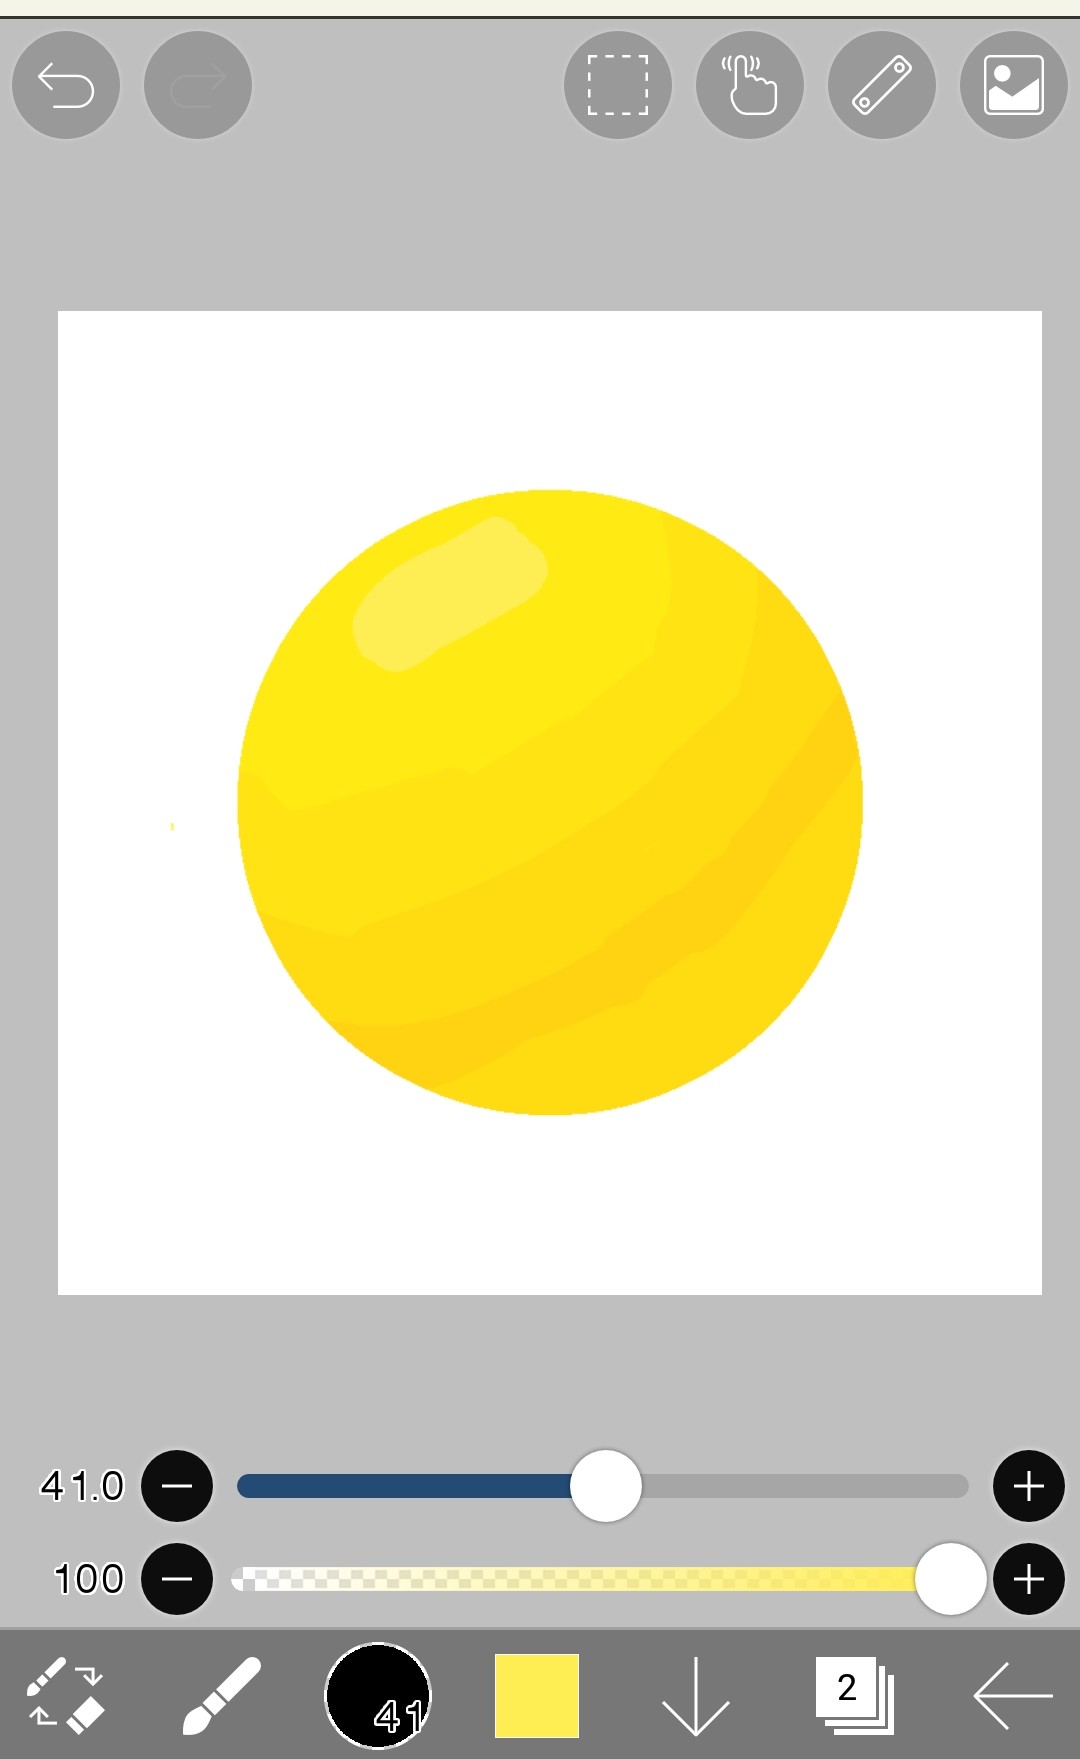
First, let's draw a picture on layer 1.
Something like this
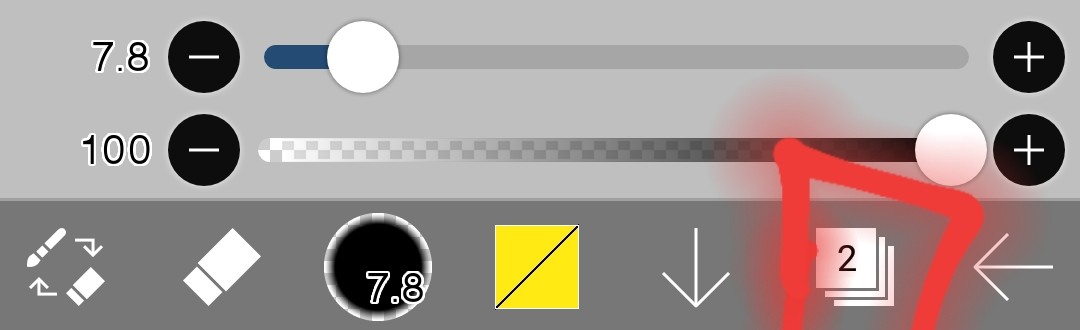
And set it to layer 2 with the clipping function turned on
Setup complete
And then, on top of the drawing on layer 1, add shading with a color slightly darker than yellow.
like this!
The yellow circle drawn on Layer 1 does not come out on Layer 2, which is using clipping.
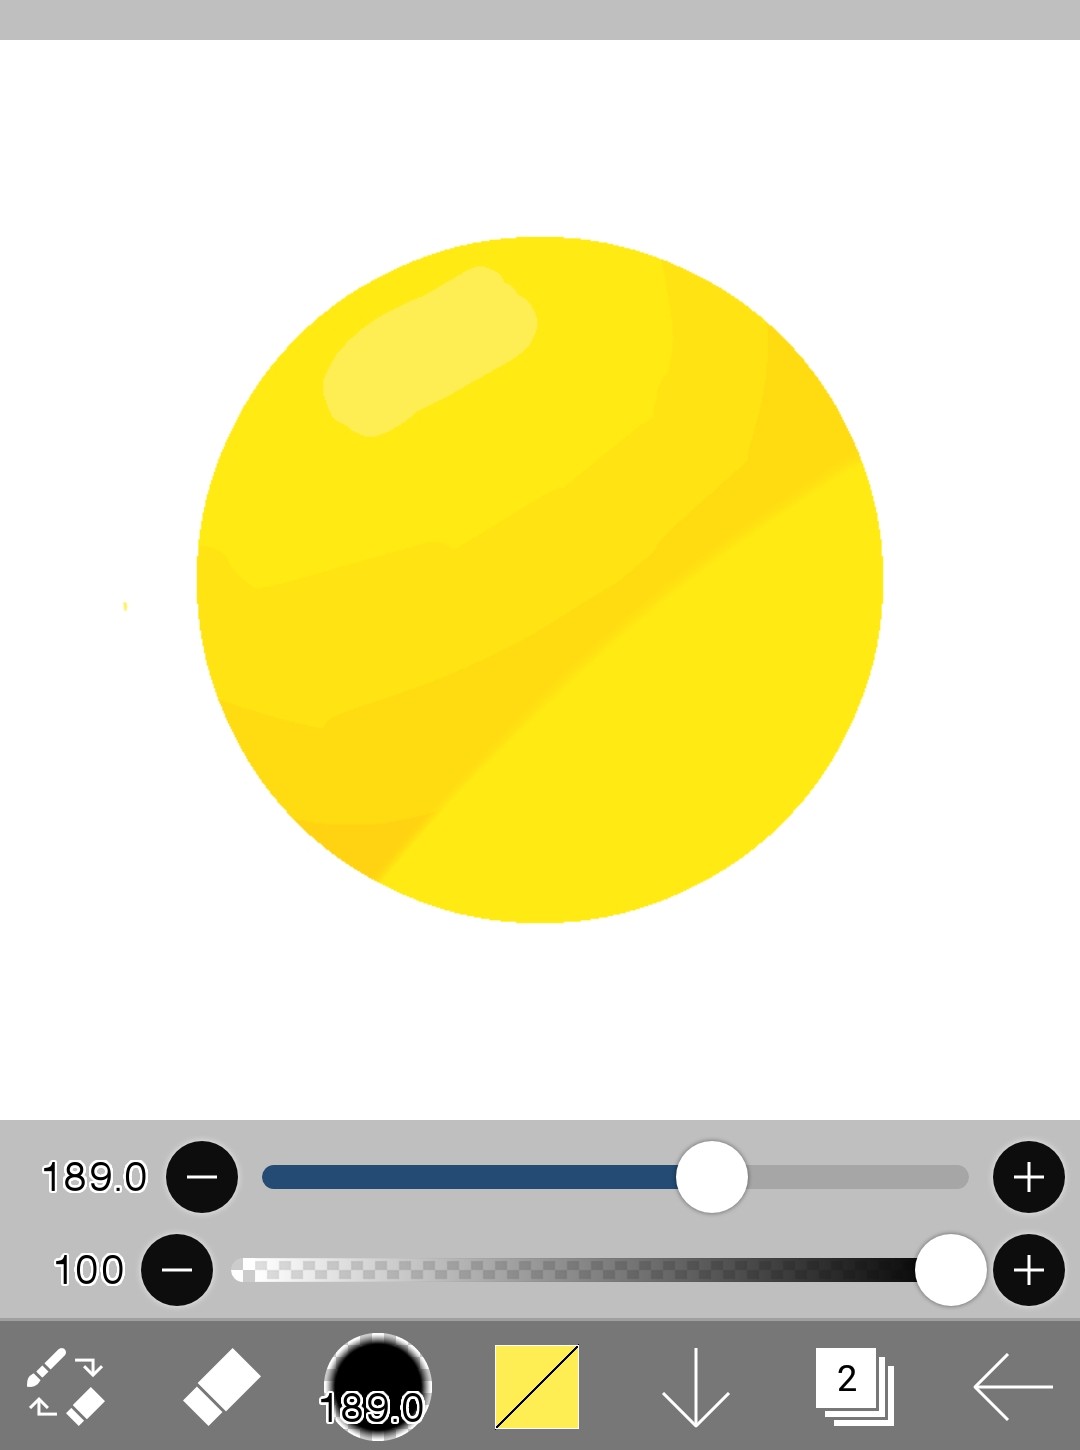
and
Even if you erase the shading drawn on layer 2
The yellow circle drawn on Layer 1 will not be erased.
-Alpha lock
Alpha locking is when you set alpha lock on the layer you are currently drawing on, so you can only draw on top of the drawing on that layer.
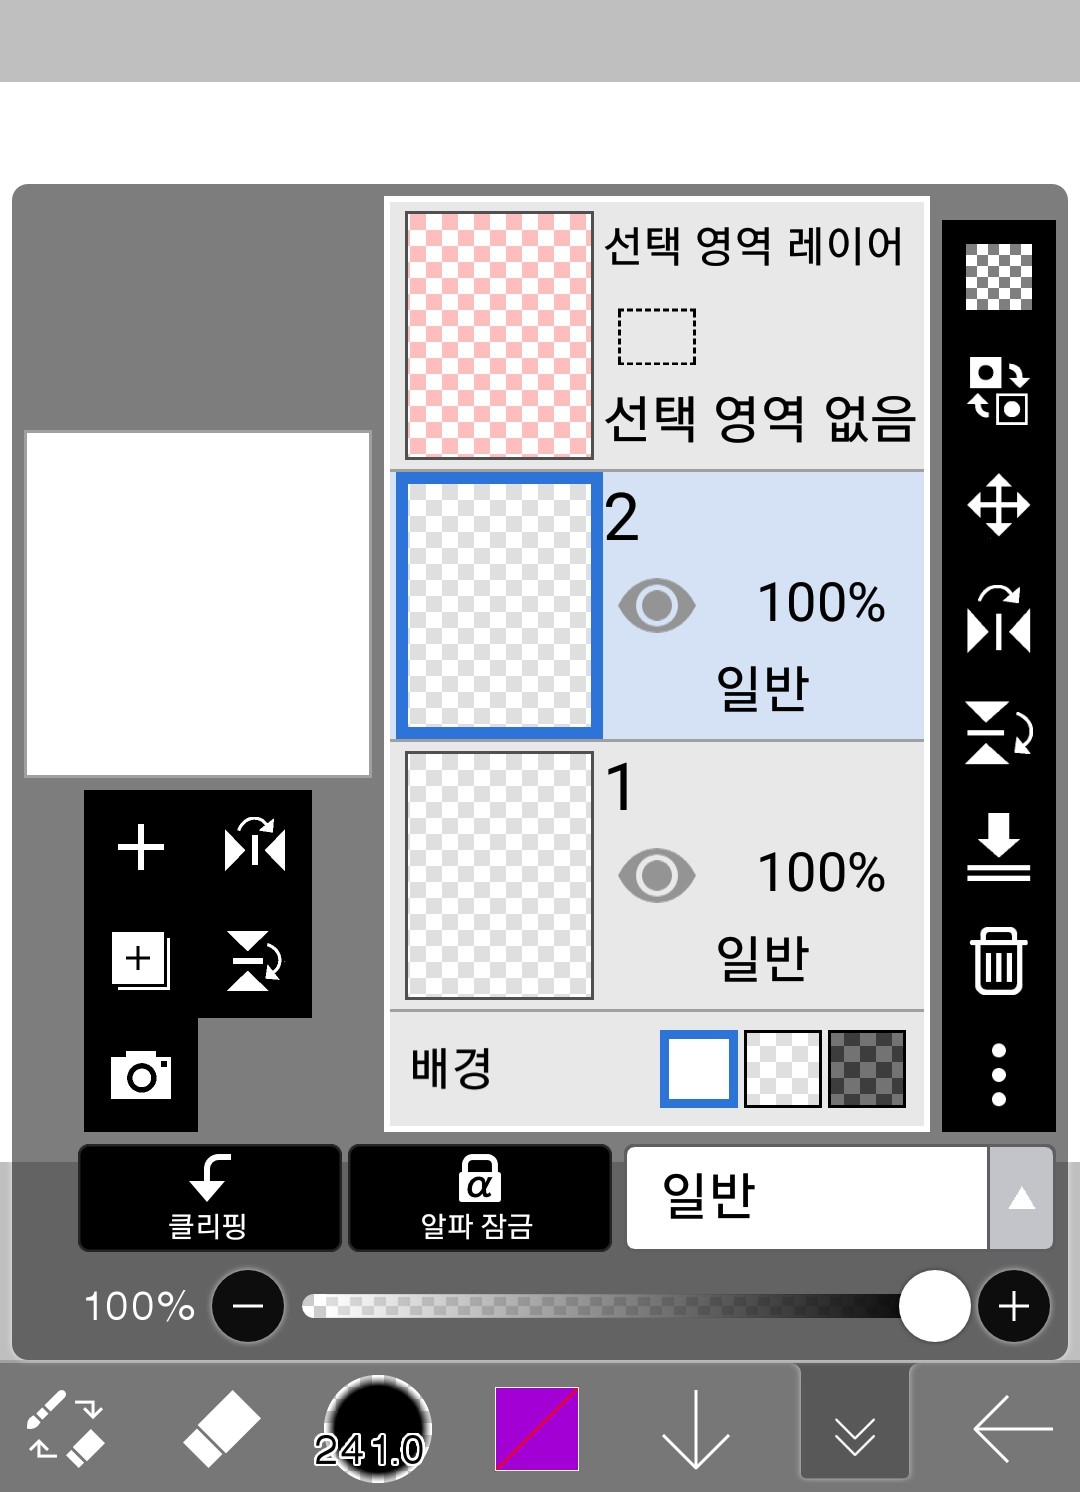
On a layer that has nothing set
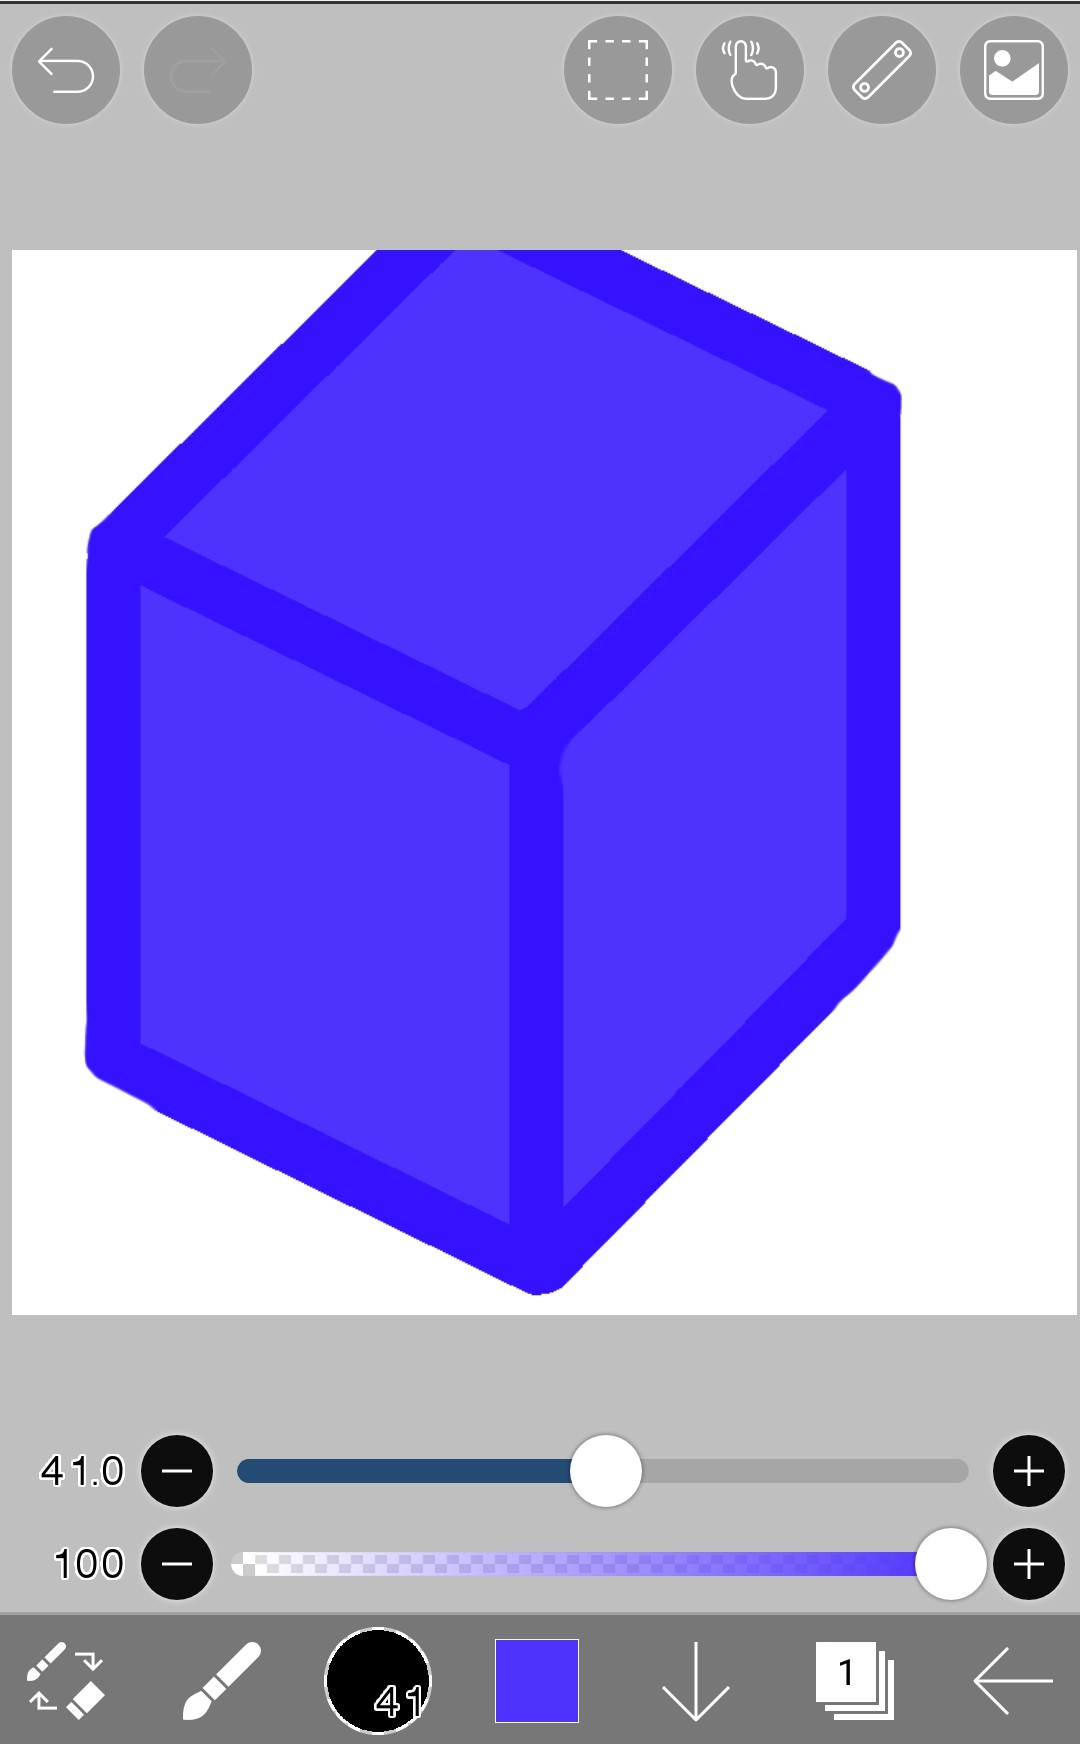 I'll draw any picture
And then I alpha-lock the layer 1 where I drew this picture.
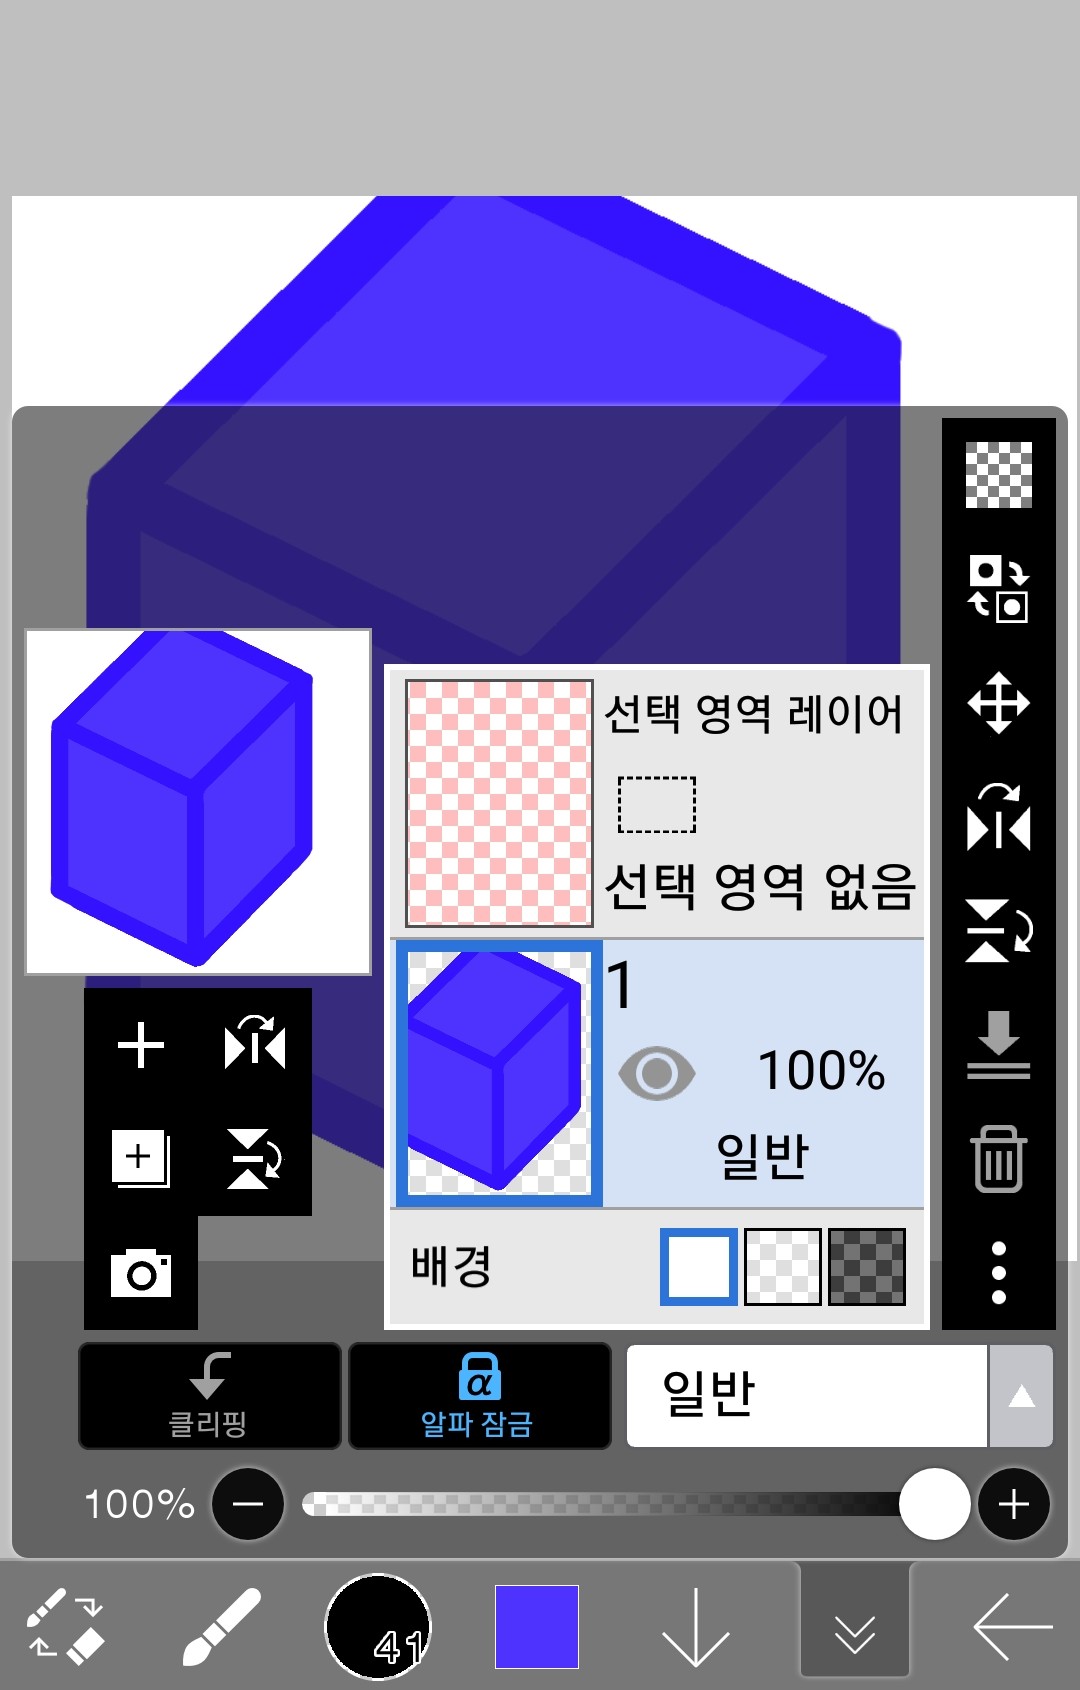 like this!
After that, continue drawing on layer 1.
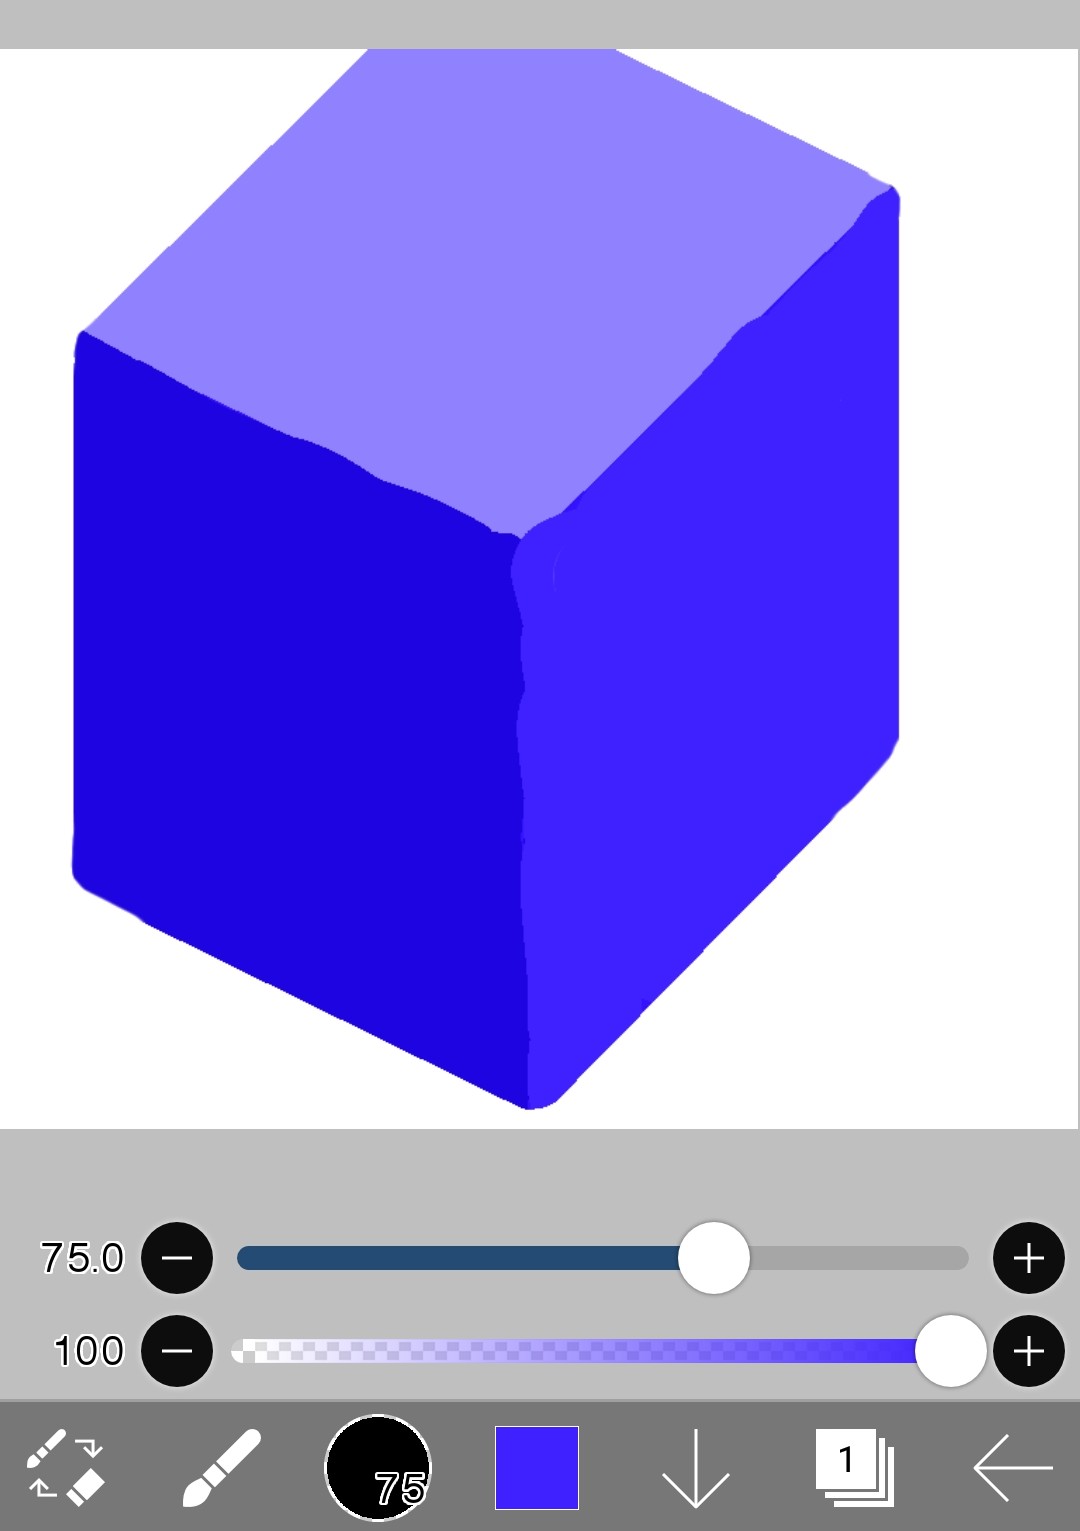
Like this, no picture is drawn outside the blue rectangular solid drawn before, but only inside it.
and
If you alpha lock and erase the picture,
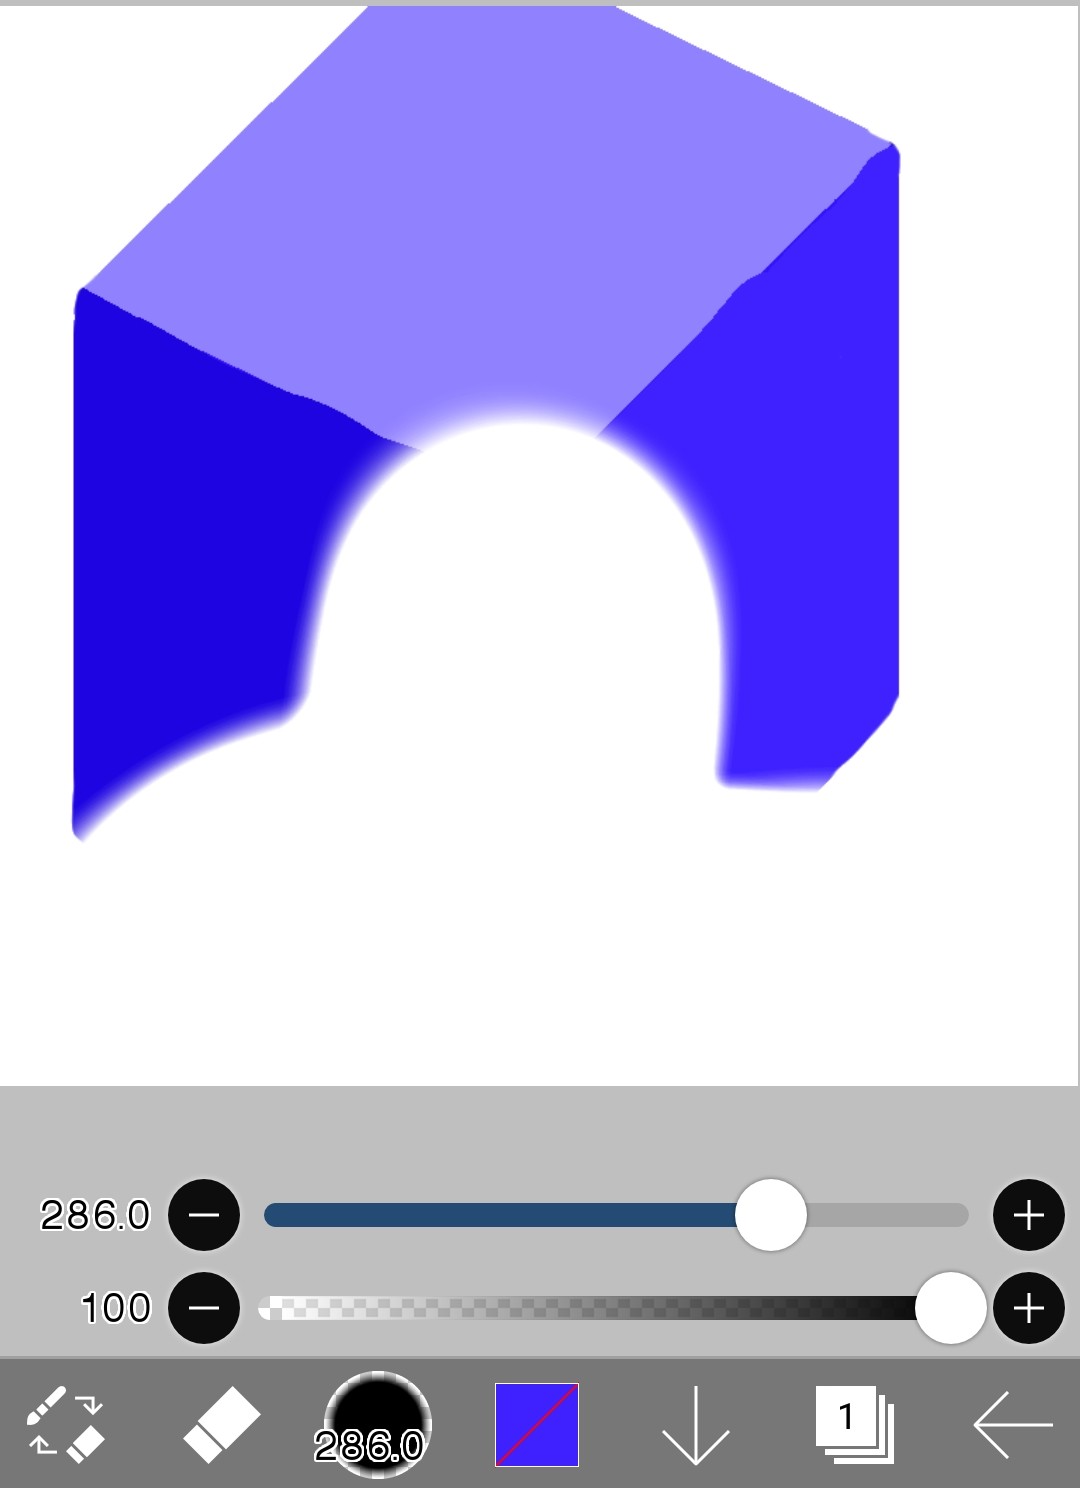 The blue rectangular solid drawn before is also erased.
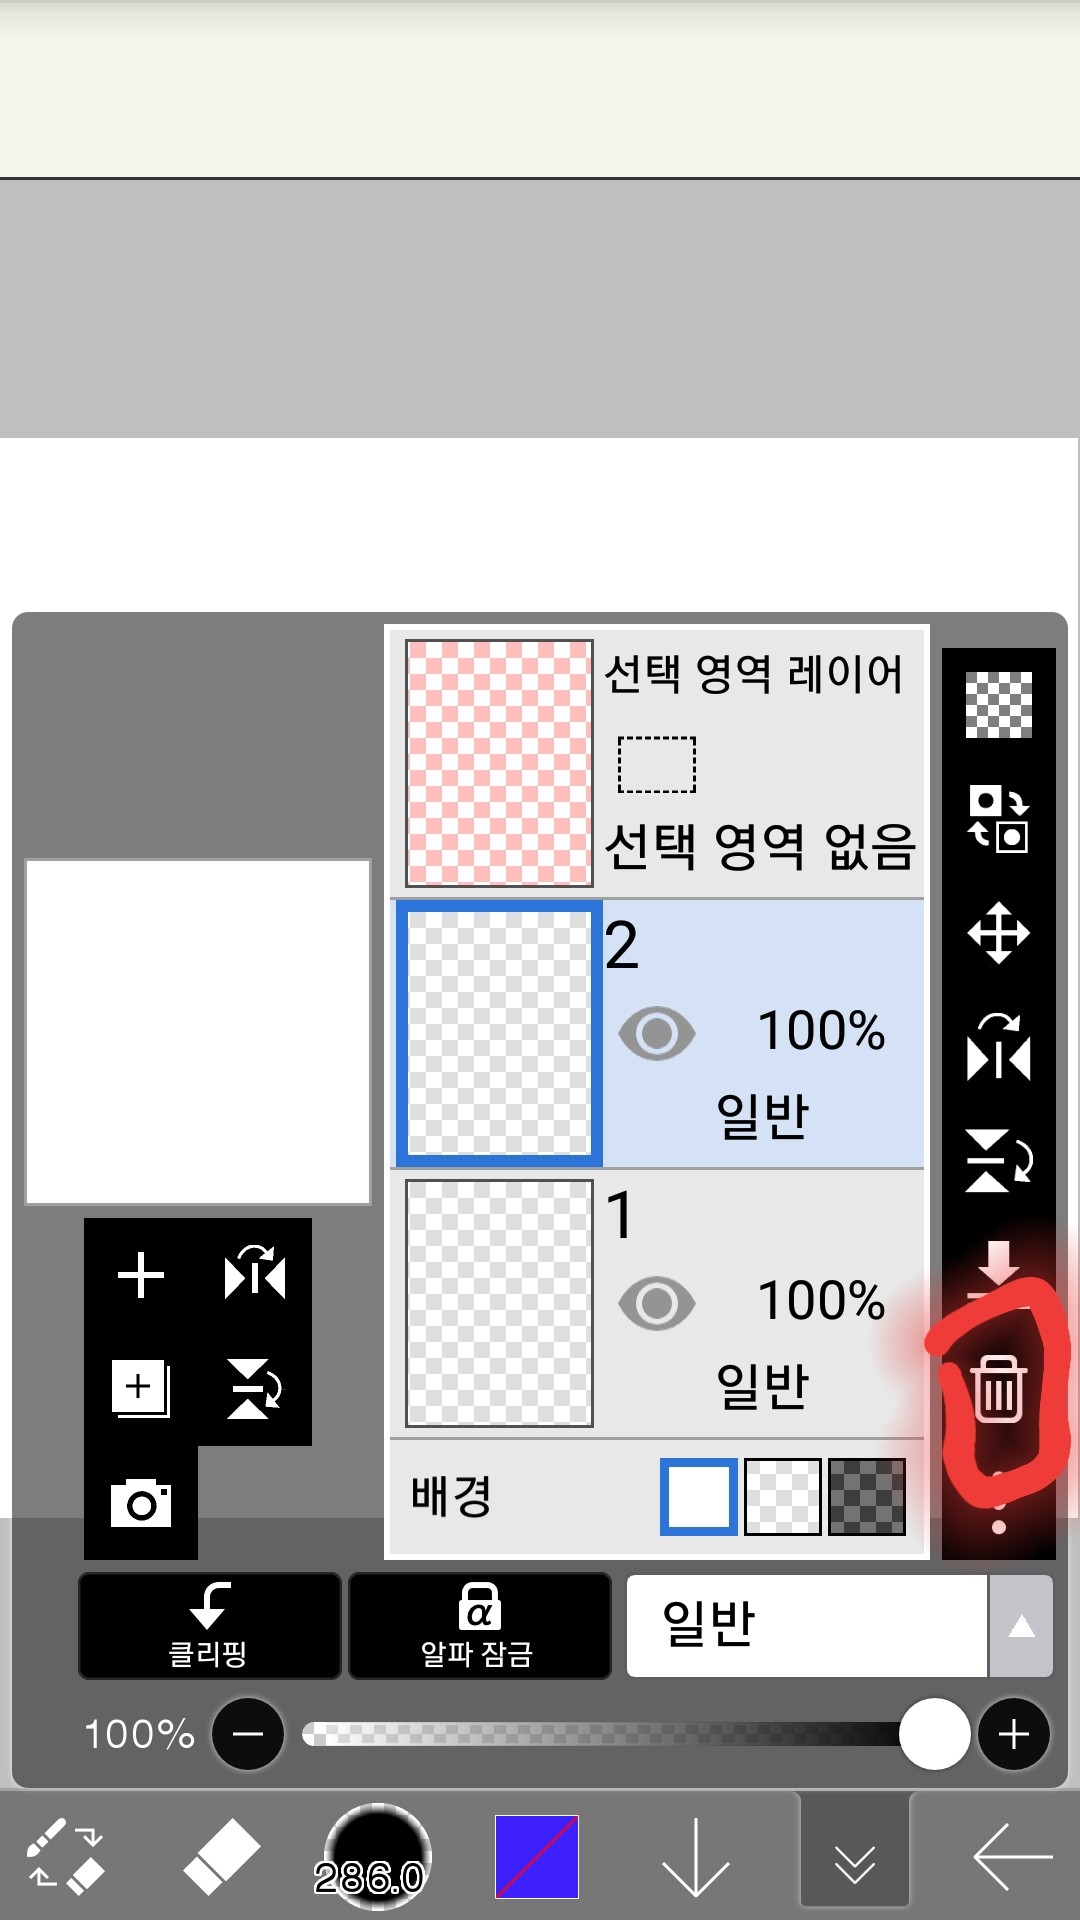
(6) Delete layer
Here it is
Select the layer you want to completely remove and click the trash can icon.
The entire layer disappears.
(7) Erase all layer drawings
Erase all the drawings on the layer.
Draw anything on Layer 1
But I want to erase this picture!
then
Touch here
When you touch
All layers disappear
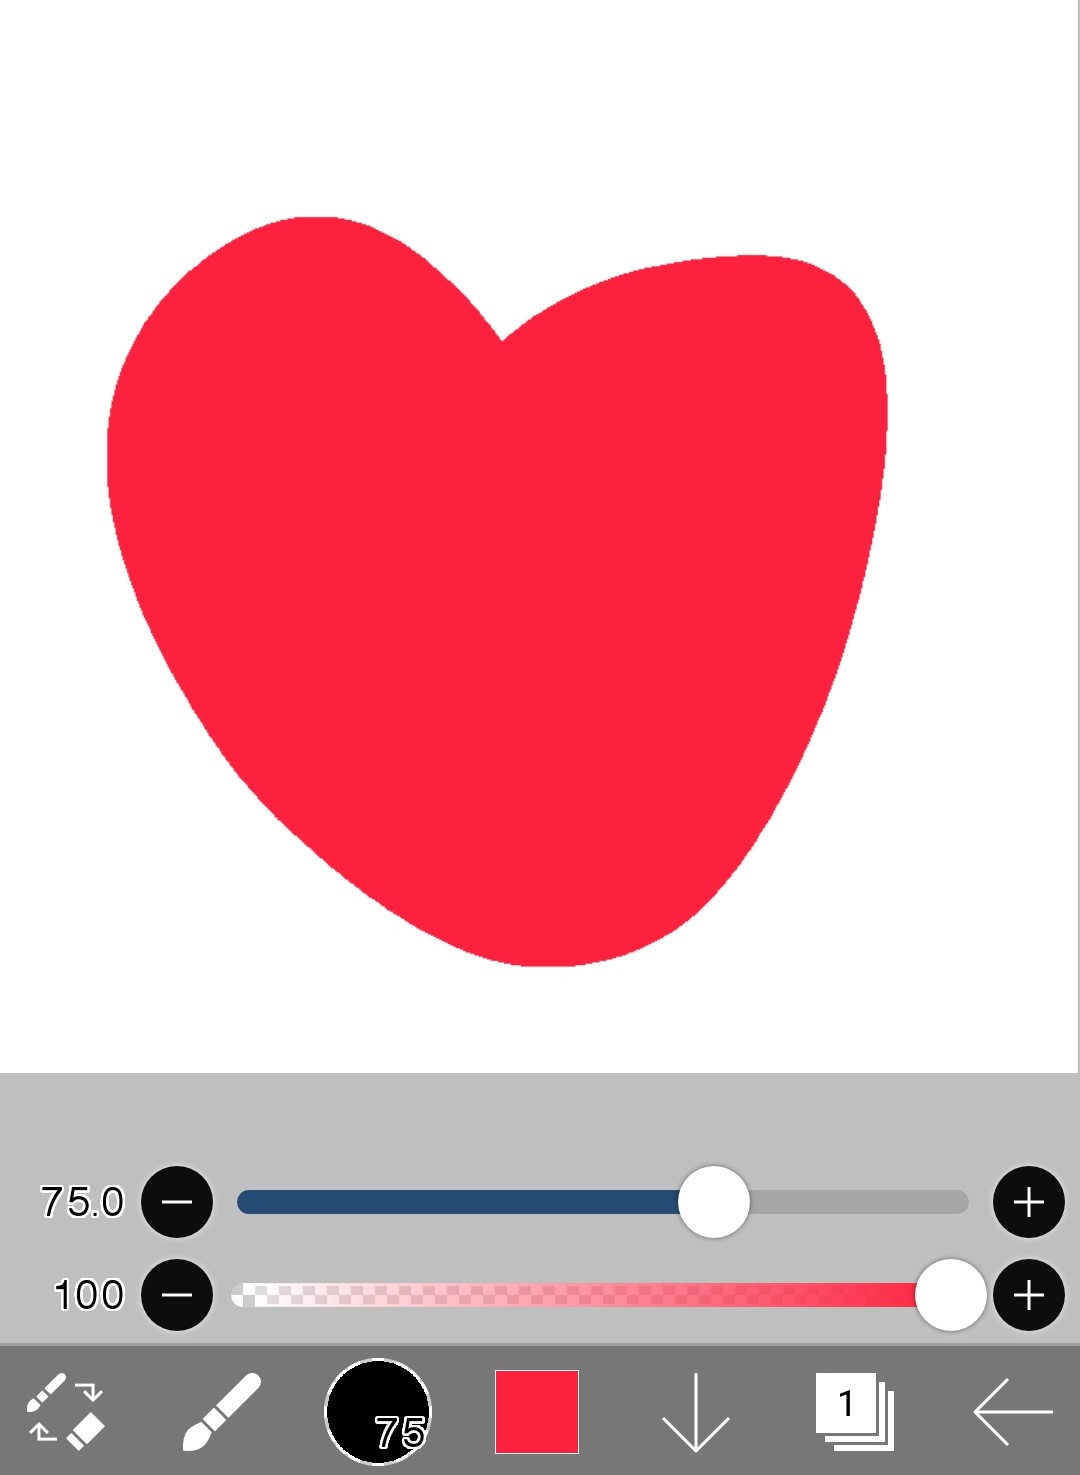
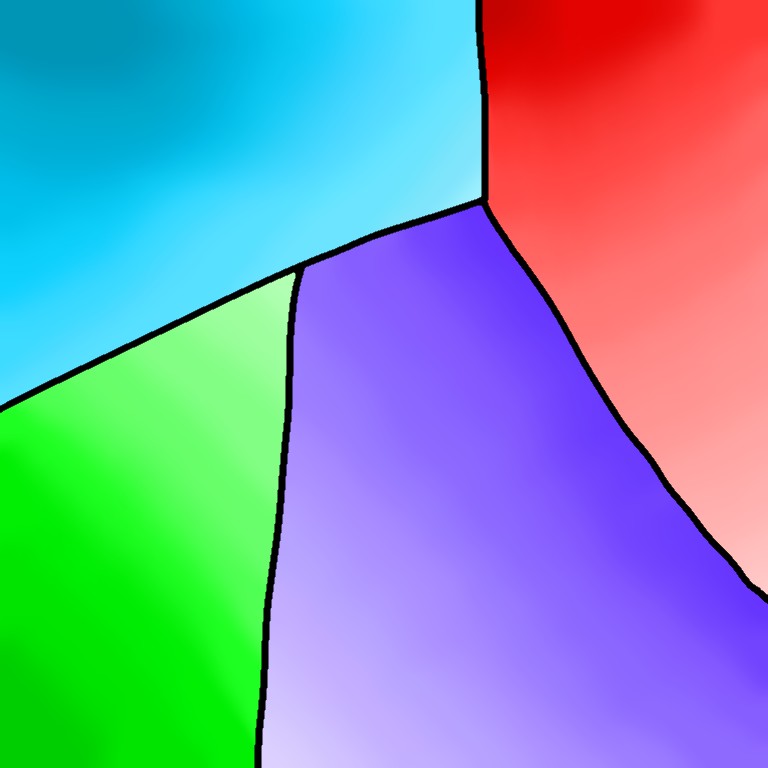
3. Homework!!
Please draw this picture
Square shape, size doesn't matter, just color should be similar
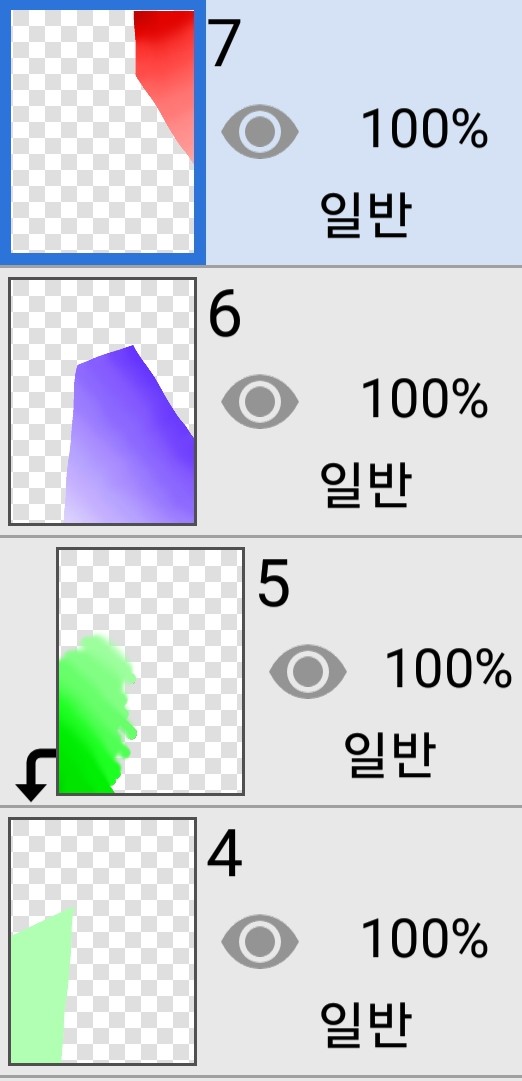
The layer is
Please do it like this
Layers 6 and 7InAlpha lockPlease use it
homework submit MeAdd as friendAfter oneFriends ChatYou can send it to me!
Sonting❤🙏🙏